Spring, spring, spring! It’s finally in the air here and my heart is very happy. We’ve even got little buds of green starting on the trees now. My favorite thing about spring has to be all of the flowers it brings. I love peonies and daisies, but I think my most favorite springtime flower has to be tulips.
Tulips are simple, yet elegant. They’re modern, yet timeless. As someone who loves all things simple and inviting, tulips are my flower of choice for my home in the springtime.
Today I’m partnering with Wayfair to share one of my new favorite floral arrangements. While I have small vases throughout my house filled with gorgeous blooms, I wanted to do something new and unique for my dining table’s centerpiece. After scouring Pinterest for inspiration, I decided to do my own version of a newer floral arrangement that fits well in modern and simple homes: A Bowl of Tulips.
[bctt tweet=”The perfect spring DIY for your home: A Bowl of Tulips” username=”SummerTelban”]

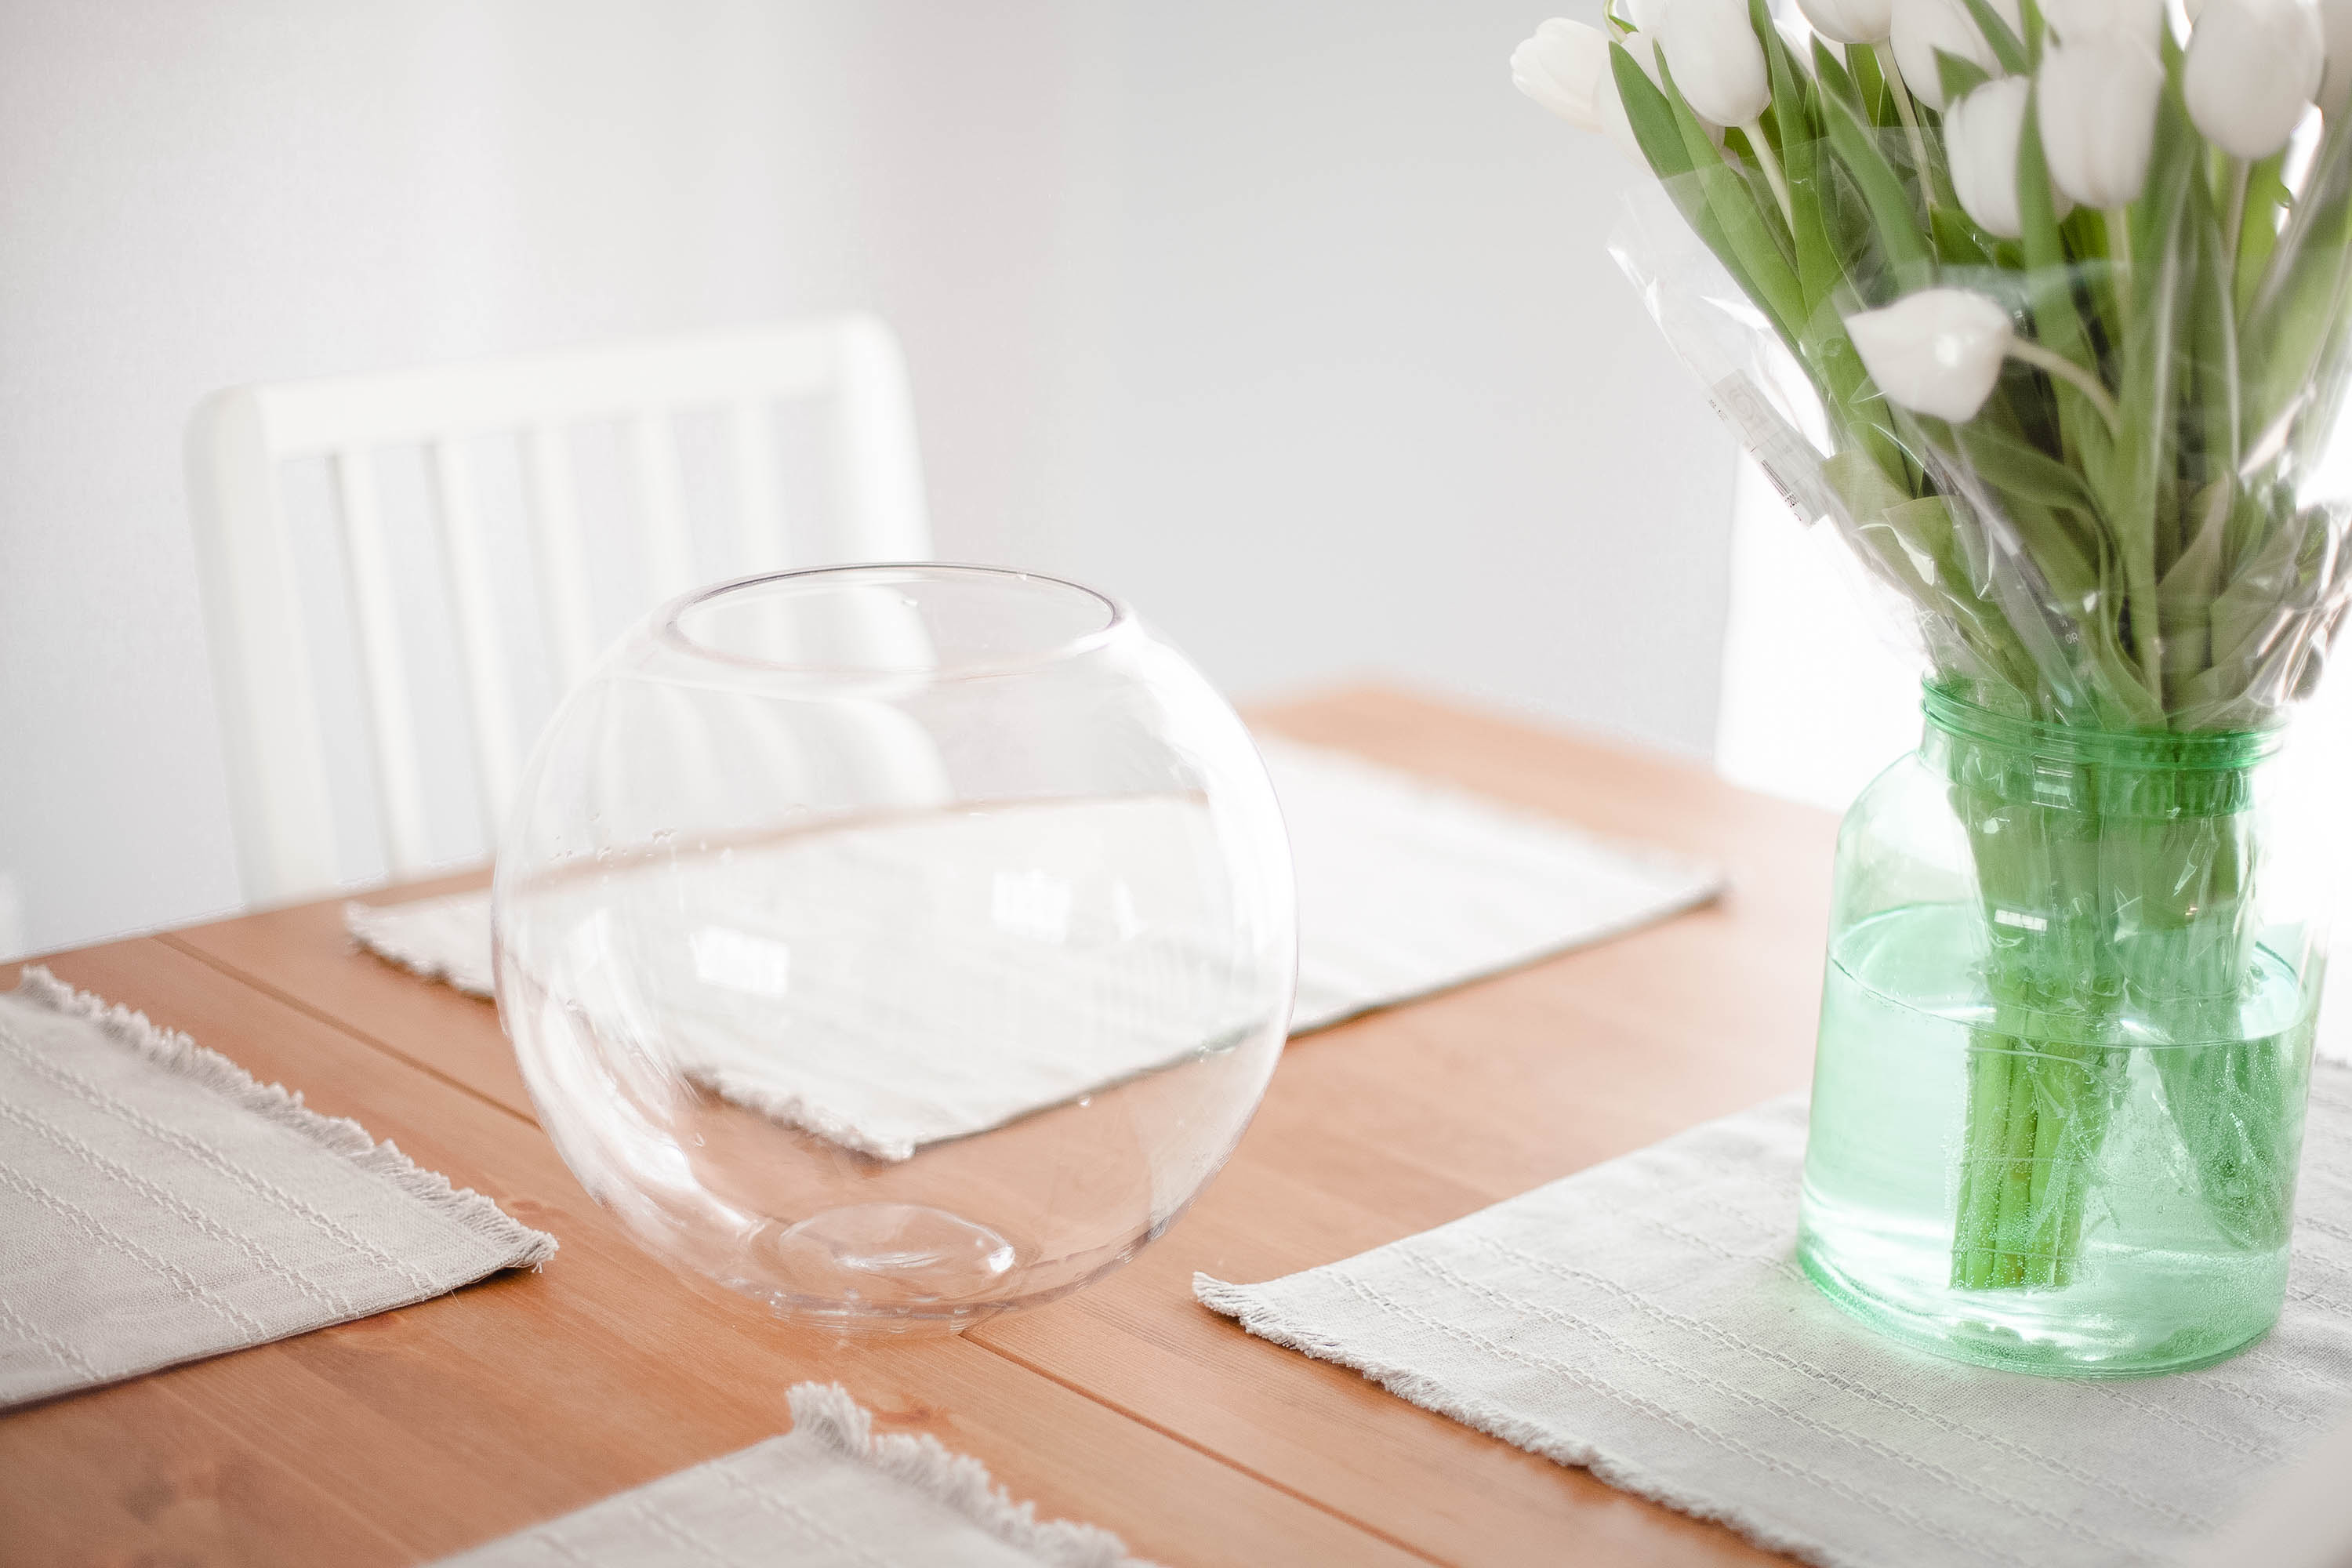
It’s really easy to DIY your own version of this arrangement. Most are usually filled with colorful and vibrant tulips, but since I’m a lover of neutrals and calm colors, I decided to go with bright white tulips for my floral arrangement.
MATERIALS:
- 1 Bubble Bowl (your choice of size – mine is 8″ X 10″)
- Bundle of Tulips (I have 20 tulips total)
- Flower Food
- Water
- Scissors

DIRECTIONS:
1. Fill the bubble bowl 1/3 of the way. This is what I recommend no matter what size your bubble bowl is. You can a good amount of water in the bowl but not too much. Feel free to eye it up to your preference.
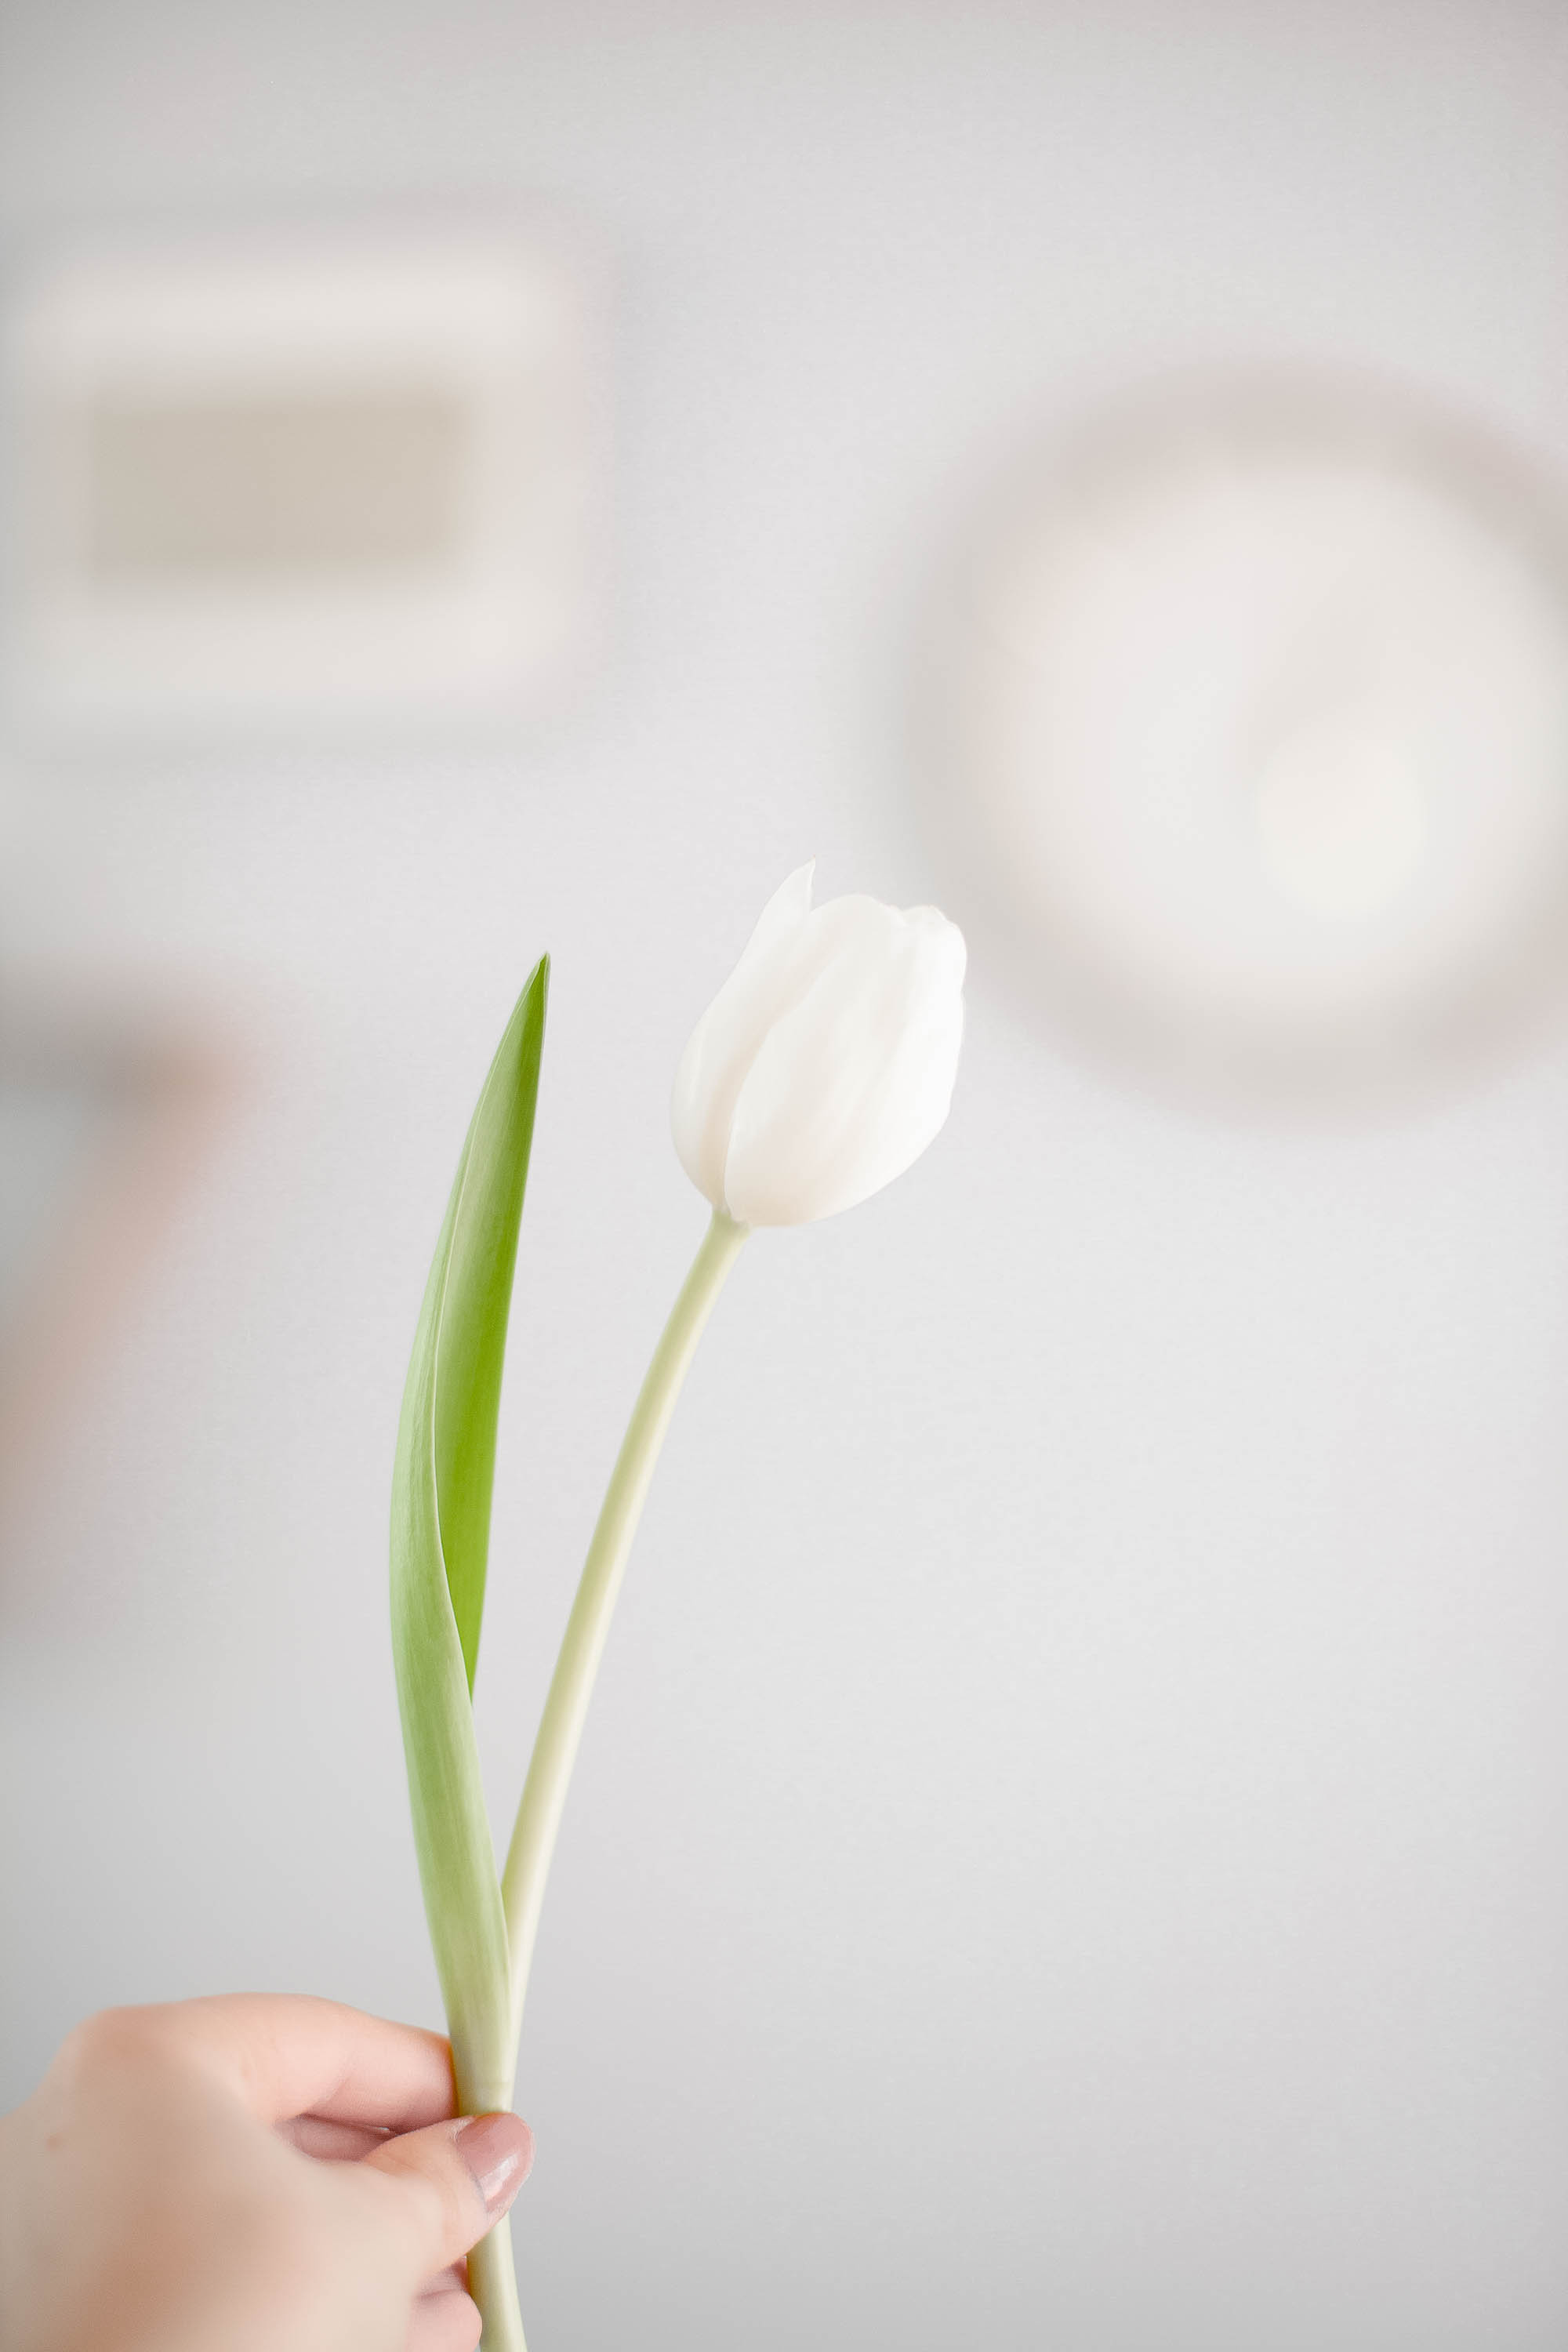
2. Prep the tulips. Tulips come with multiple leaves on each stem. Remove all excess leaves and leave behind only one leaf on each. Too many leaves will take away from the beauty of the tulips themselves.
When I was halfway through my arrangement, I actually decided to go through and remove the single leaves on some of the stems. Again, this is something you can customize to your own taste. If you’re using a much small bubble bowl than I am, you may want to remove the leave altogether.
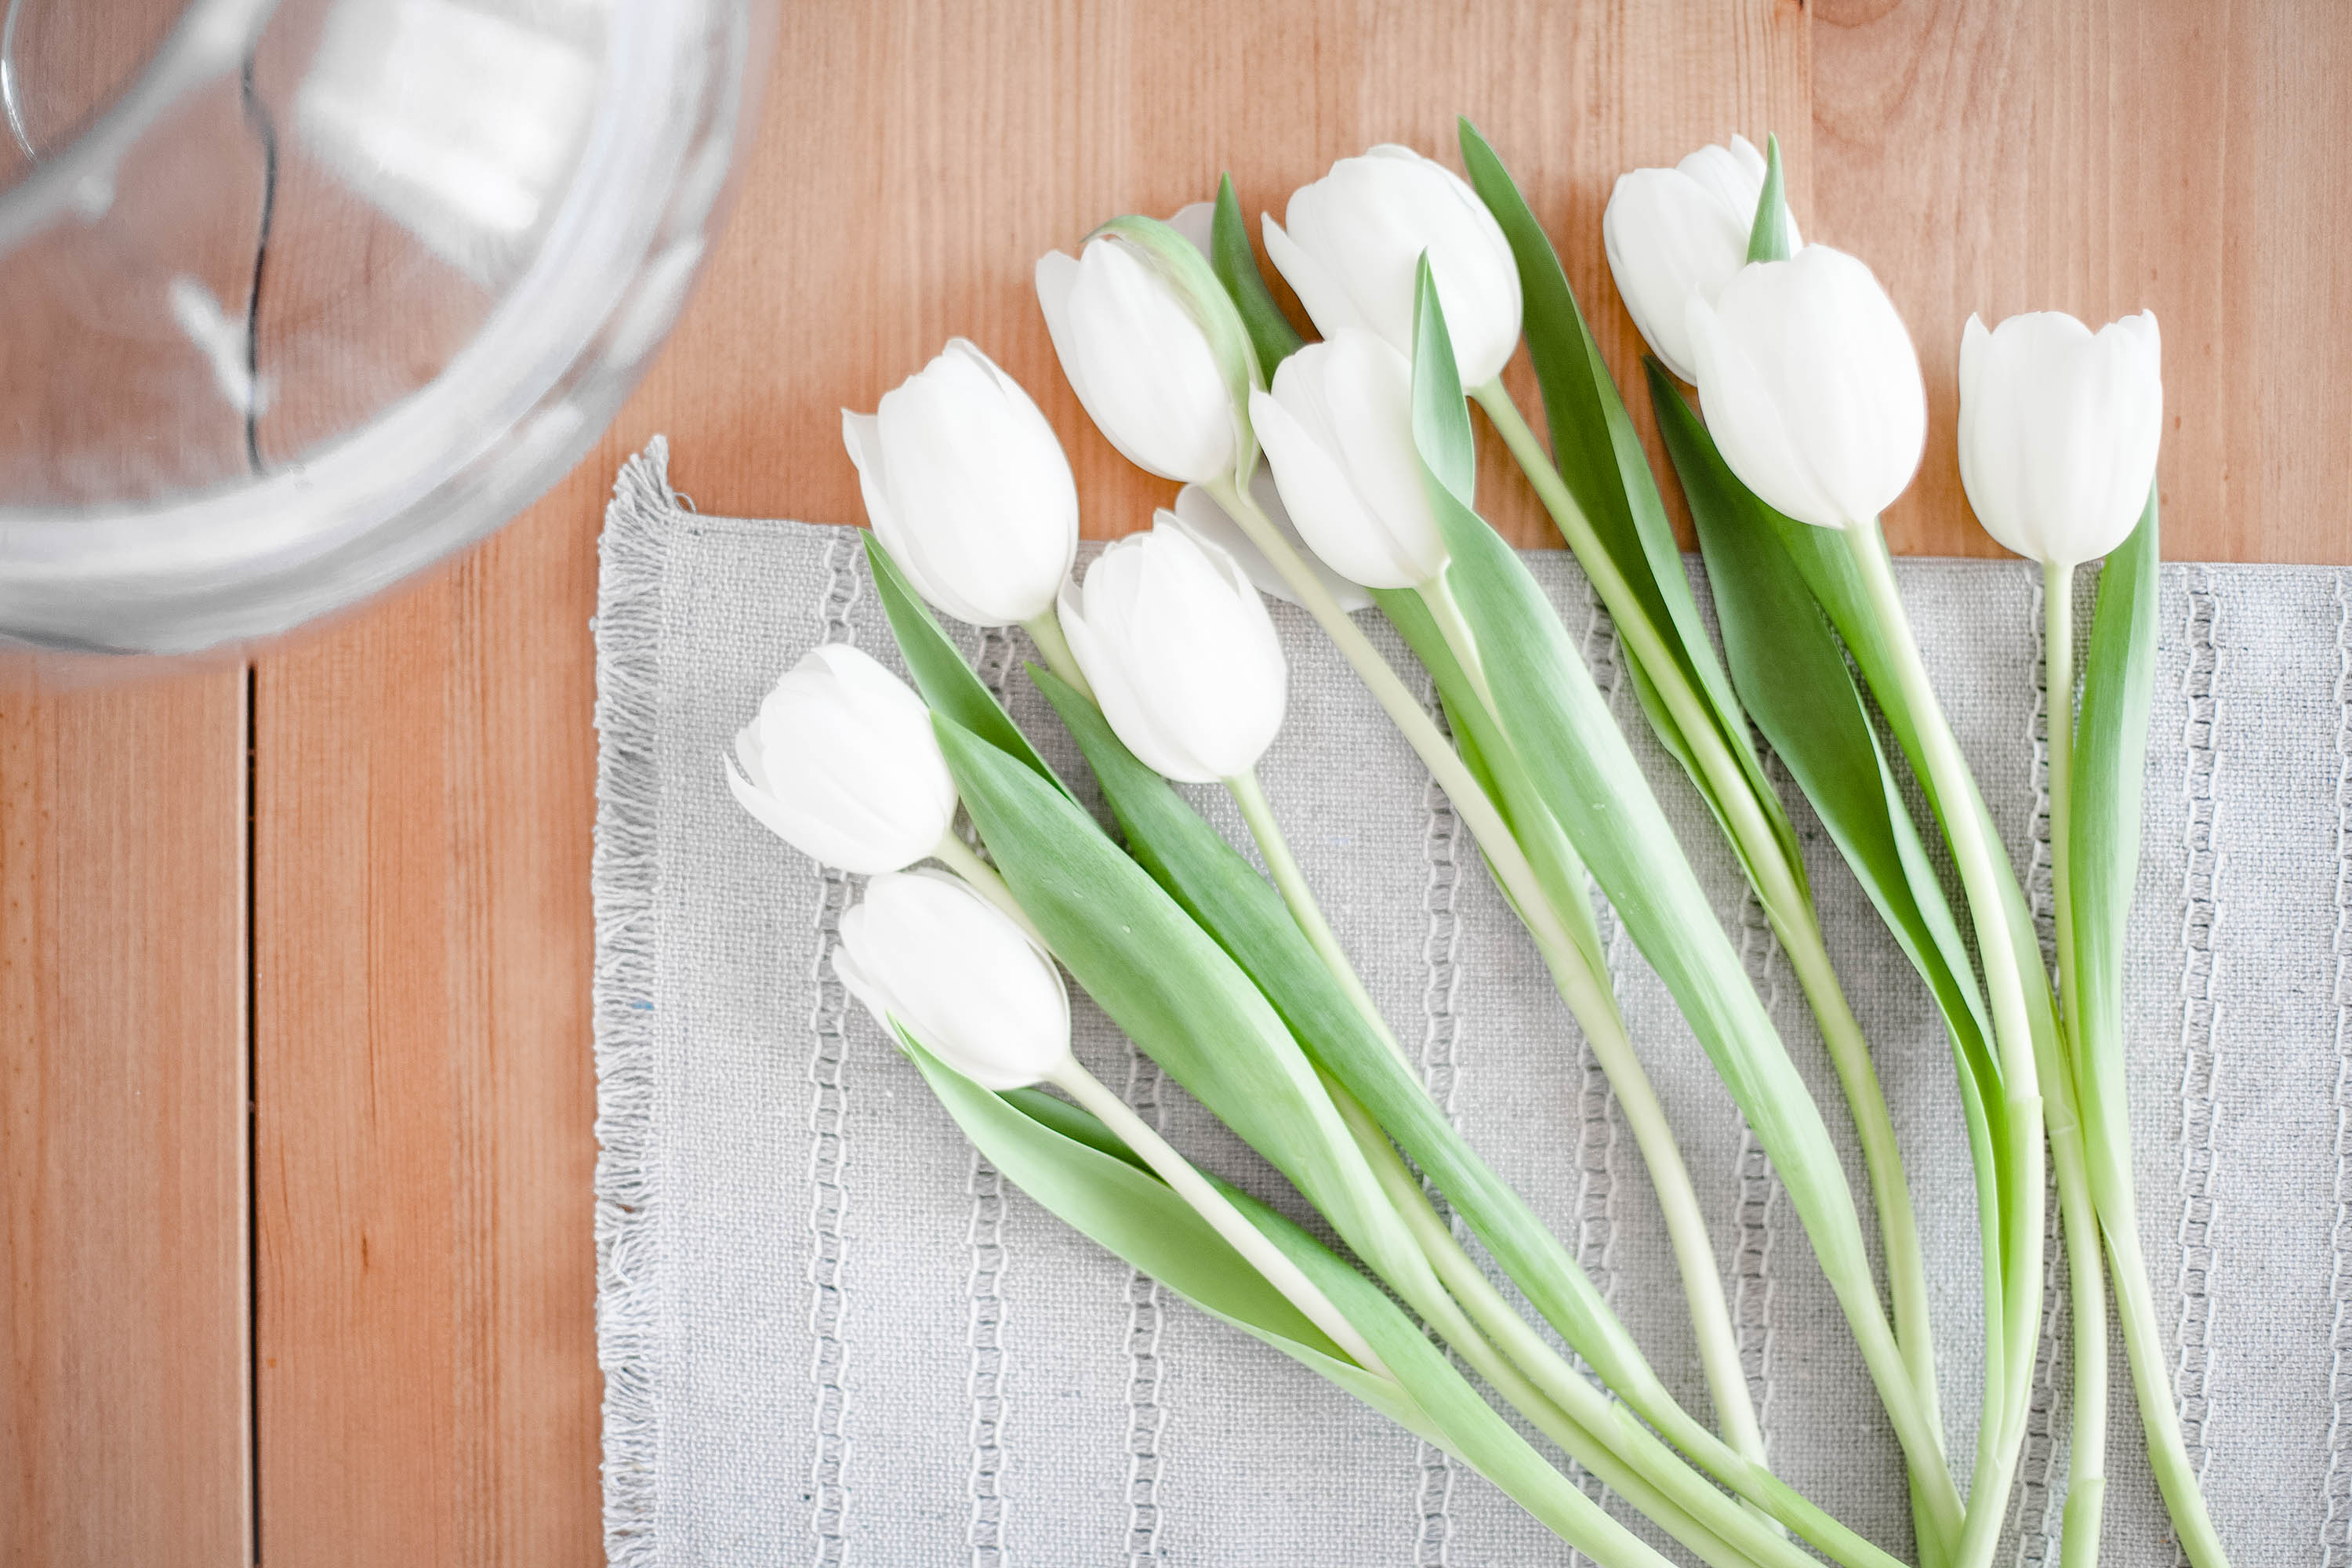
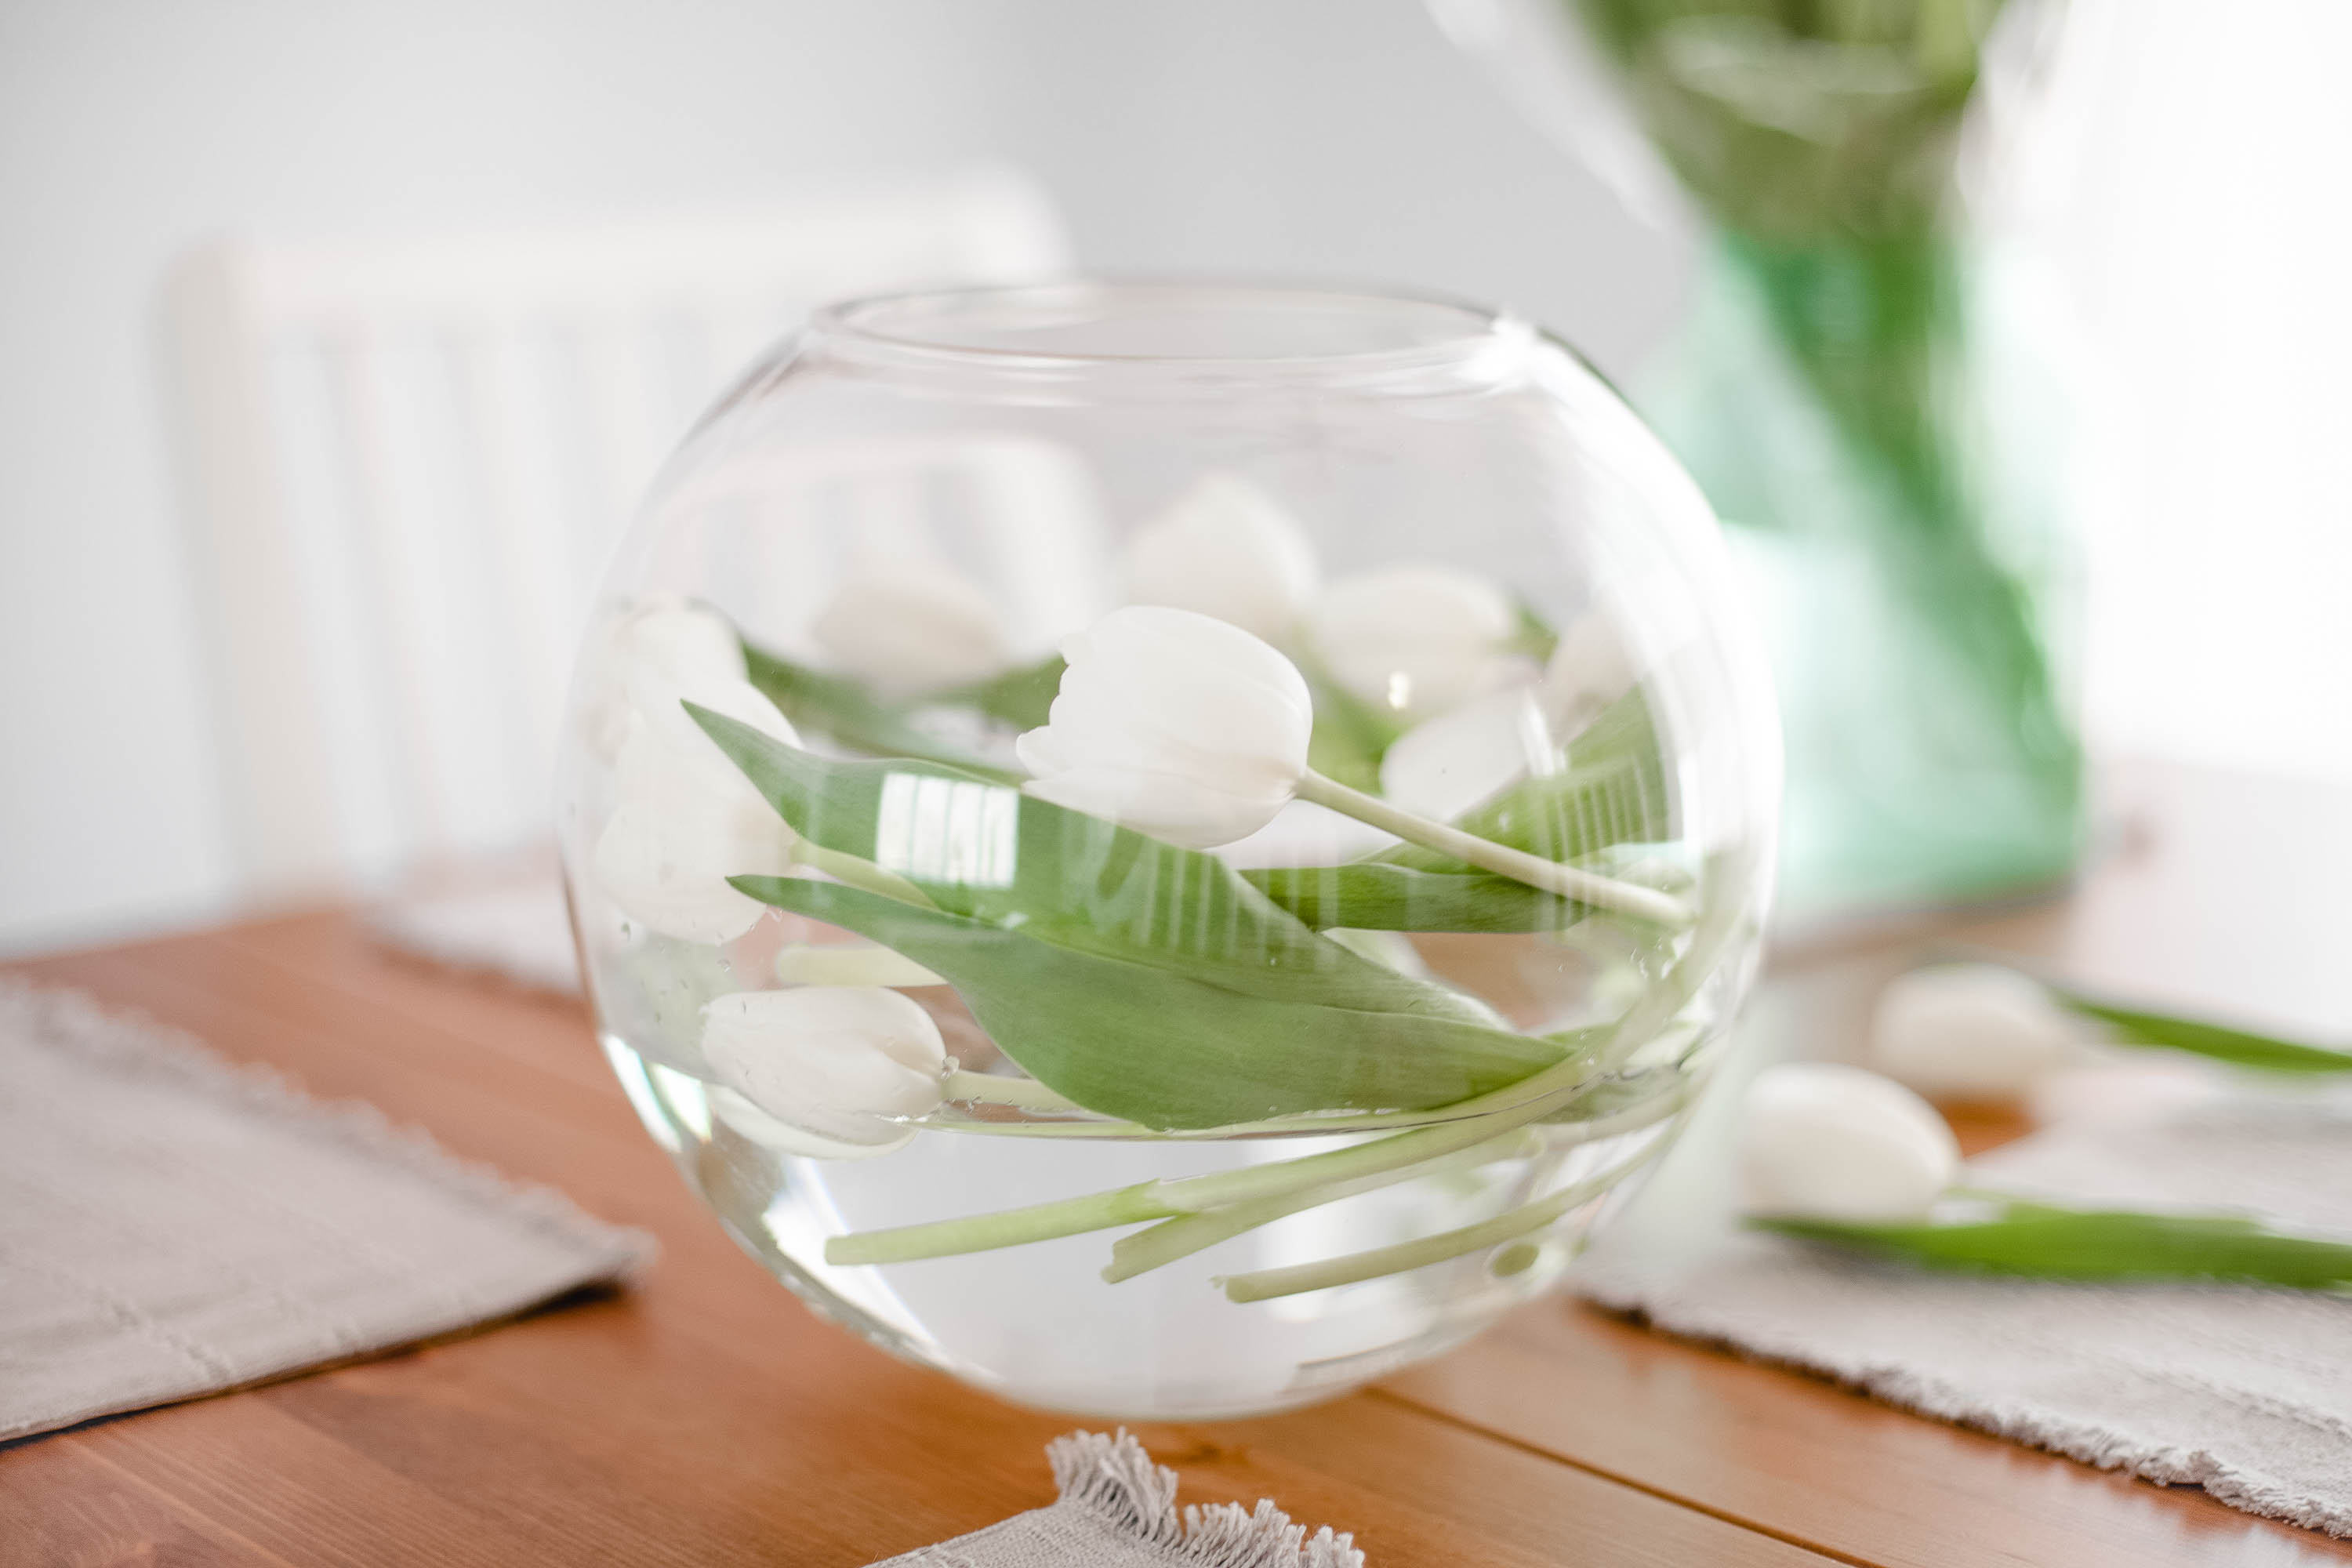
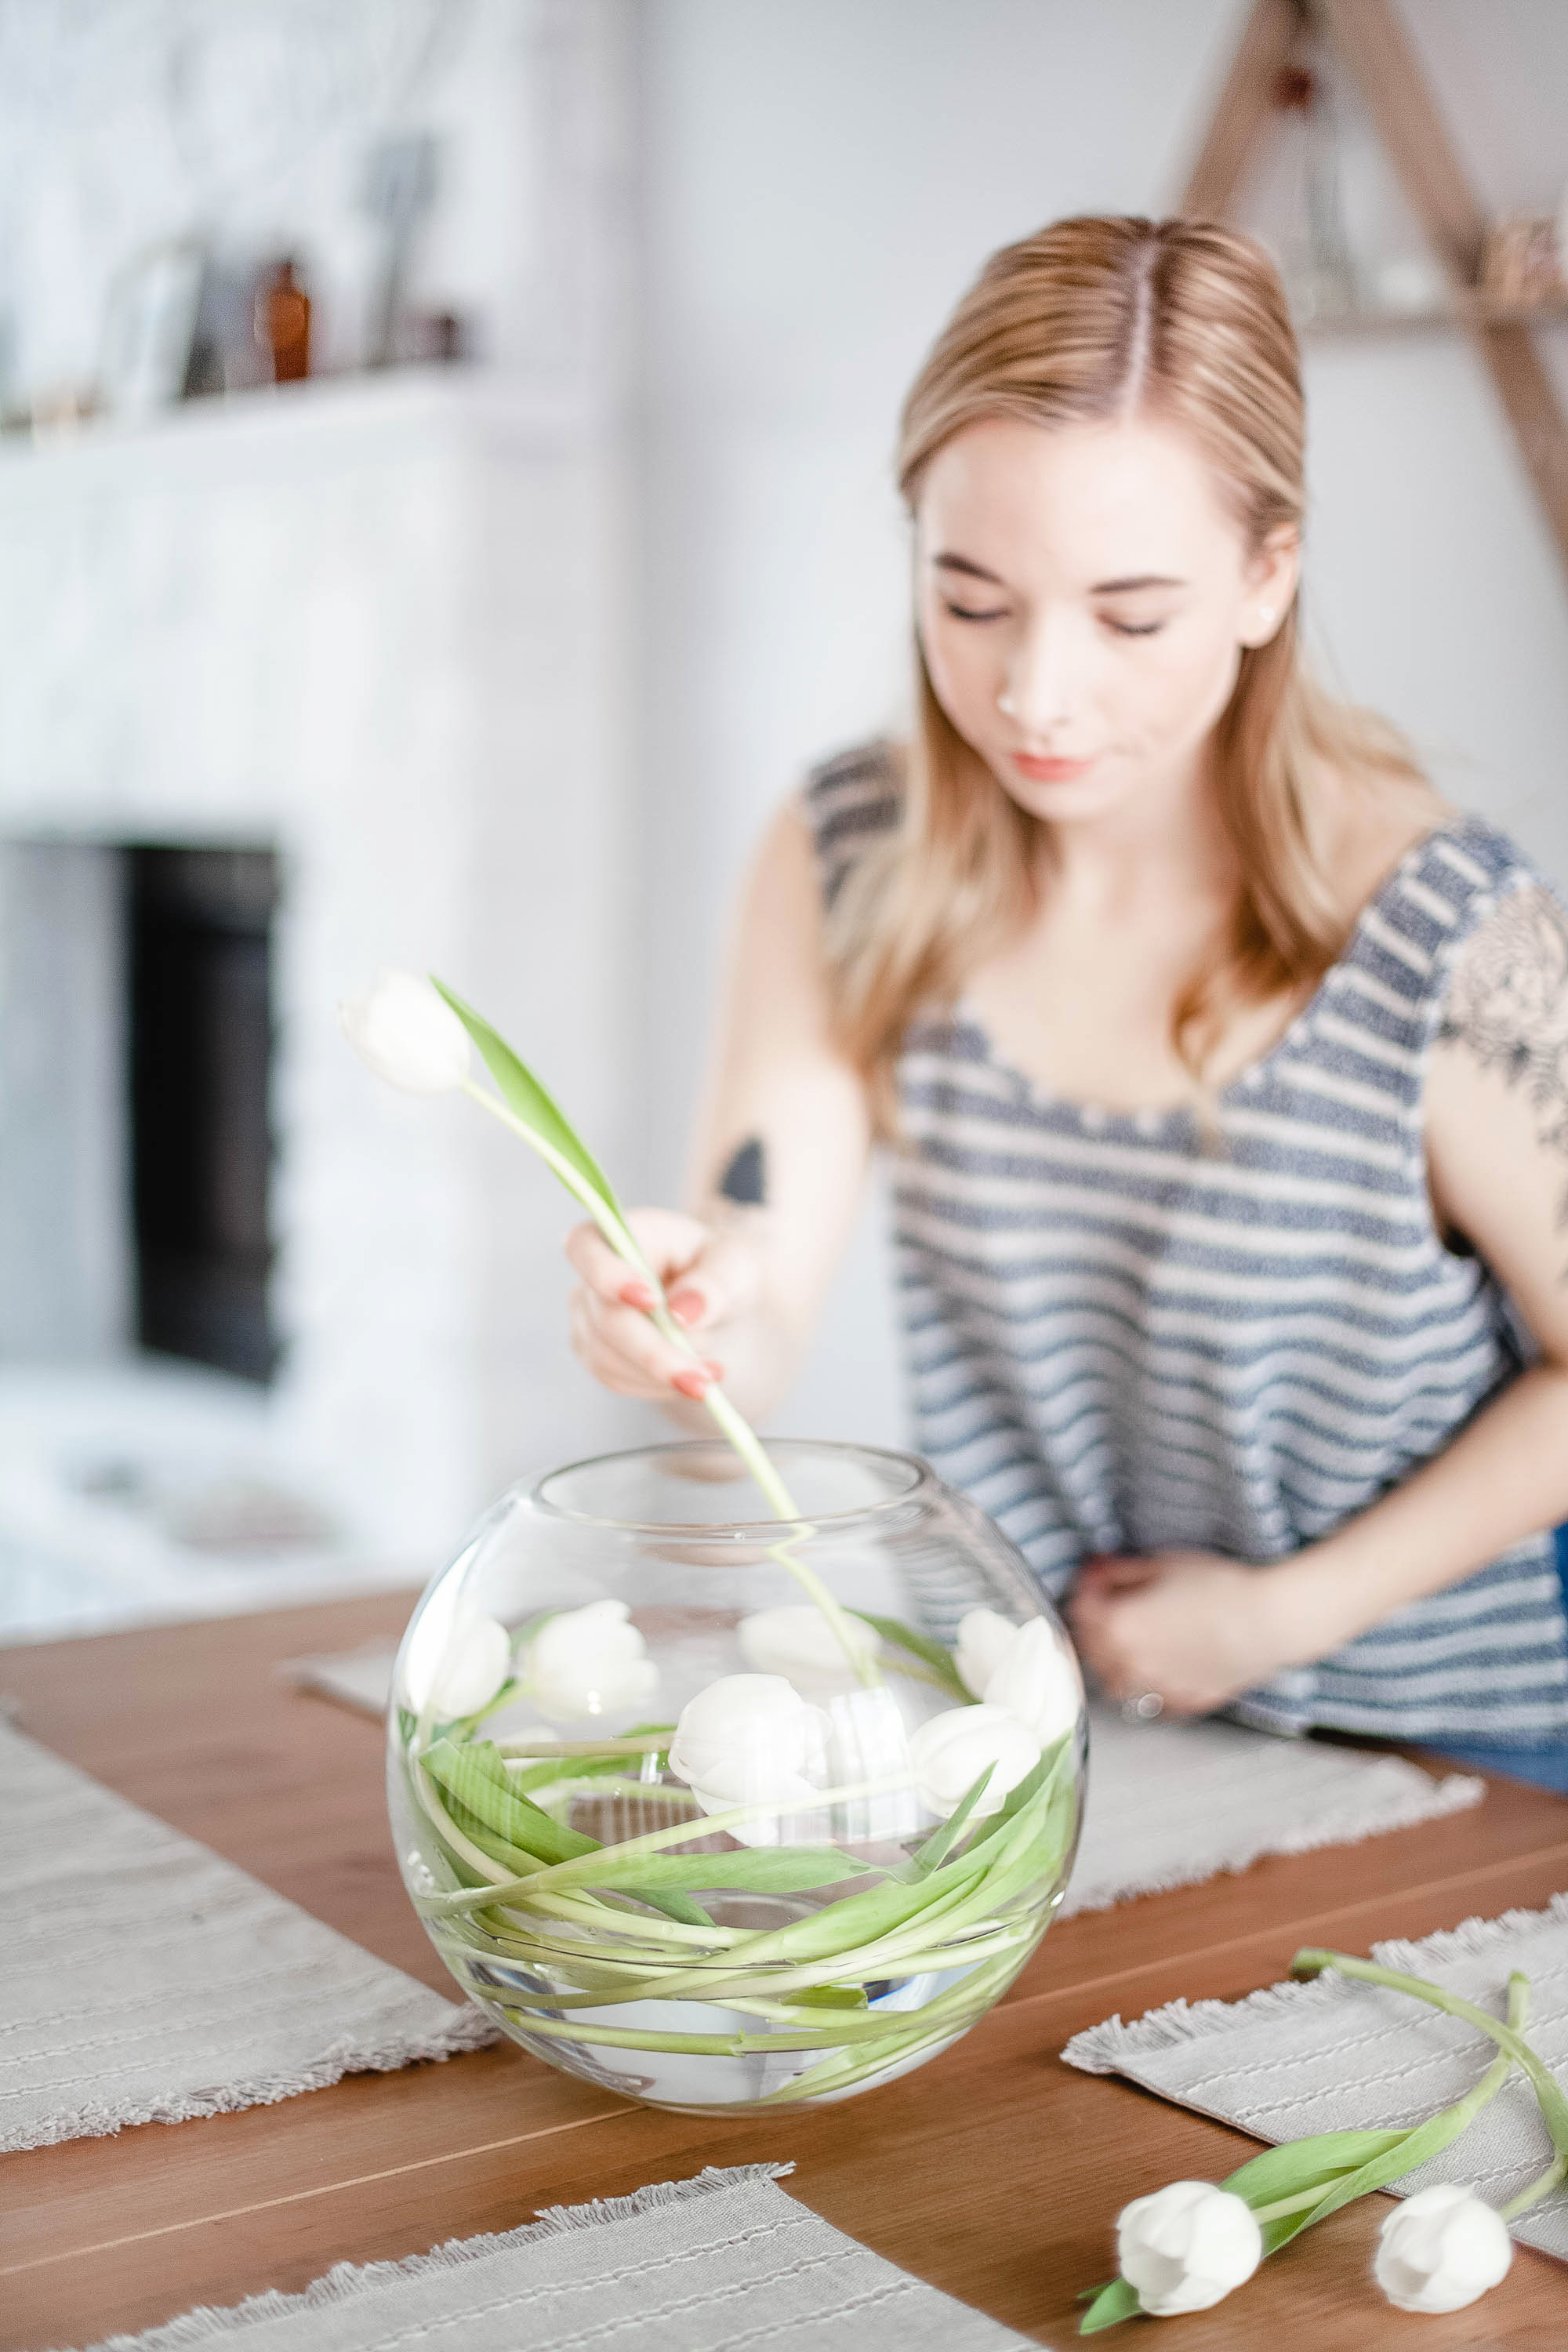
3. Start to place the tulips into the bubble bowl. One of the neatest things about tulips is how flexible their stems are. You’re able to mold them and shape them into almost any position you want. This comes in really handy with the bubble bowl vase!
The whole point of this floral arrangement is to keep things simple and to keep all of the tulips inside of the bowl. Take your time with placing the tulips inside.
Some tips:
- Start off by gently bending the stems into a curved position
- Place them gently inside the bowl, starting at the top of the water
- You want the lowest tulips to be just above the water
- Bend the stems far down into the water
- Repeat the step above and slowly work your way moving up the rest of the bubble bowl
- You have two main options for this arrangement: having the tulips all go around the vase in one direction or in both. I decided to switch things up and do both directions. In my opinion, this makes the entire vase look full which is what I was personally going for.
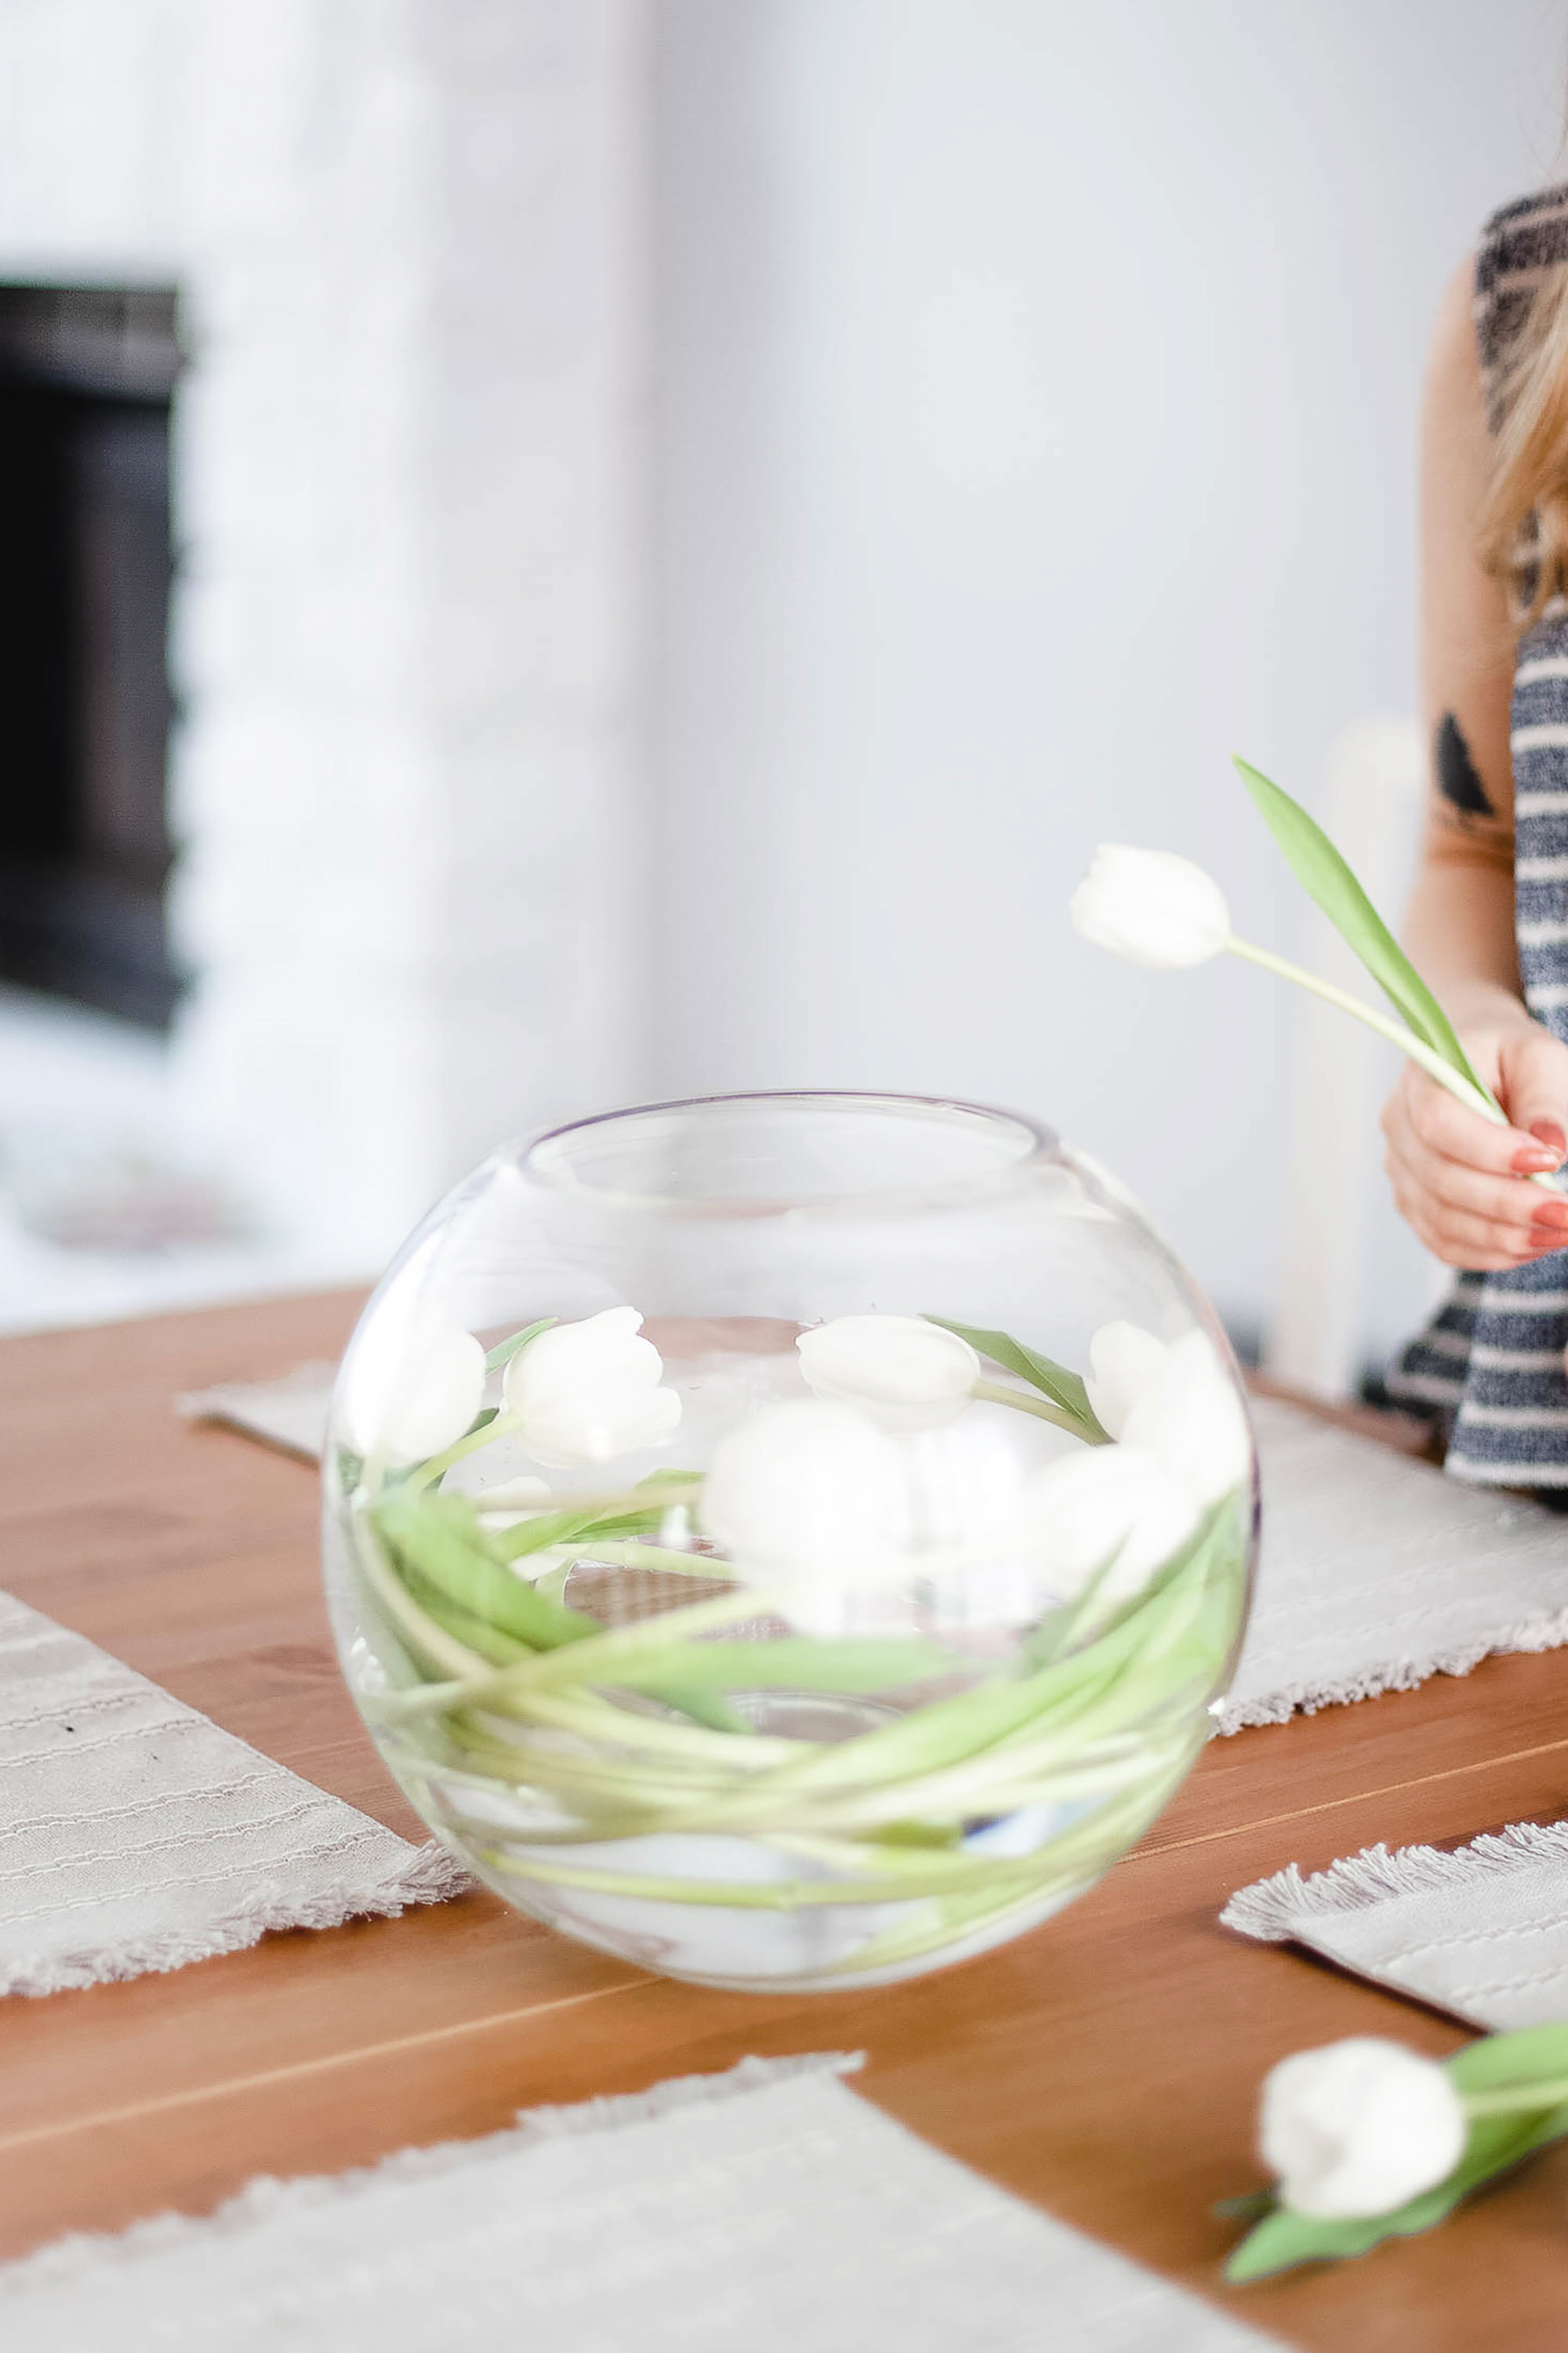
4. Don’t rush your creation! While this is a very easy arrangement to create, you don’t want to rush it. Take your time with the arrangement and get it just where you want it. I went back a couple of times to rearrange some of the tulips that I had already placed which is totally normal. If you’re seeing too many stems in one area, fill it in with more of the flowers.
Overall, the arrangement probably took me about 20 – 25 minutes to create from start to finish.
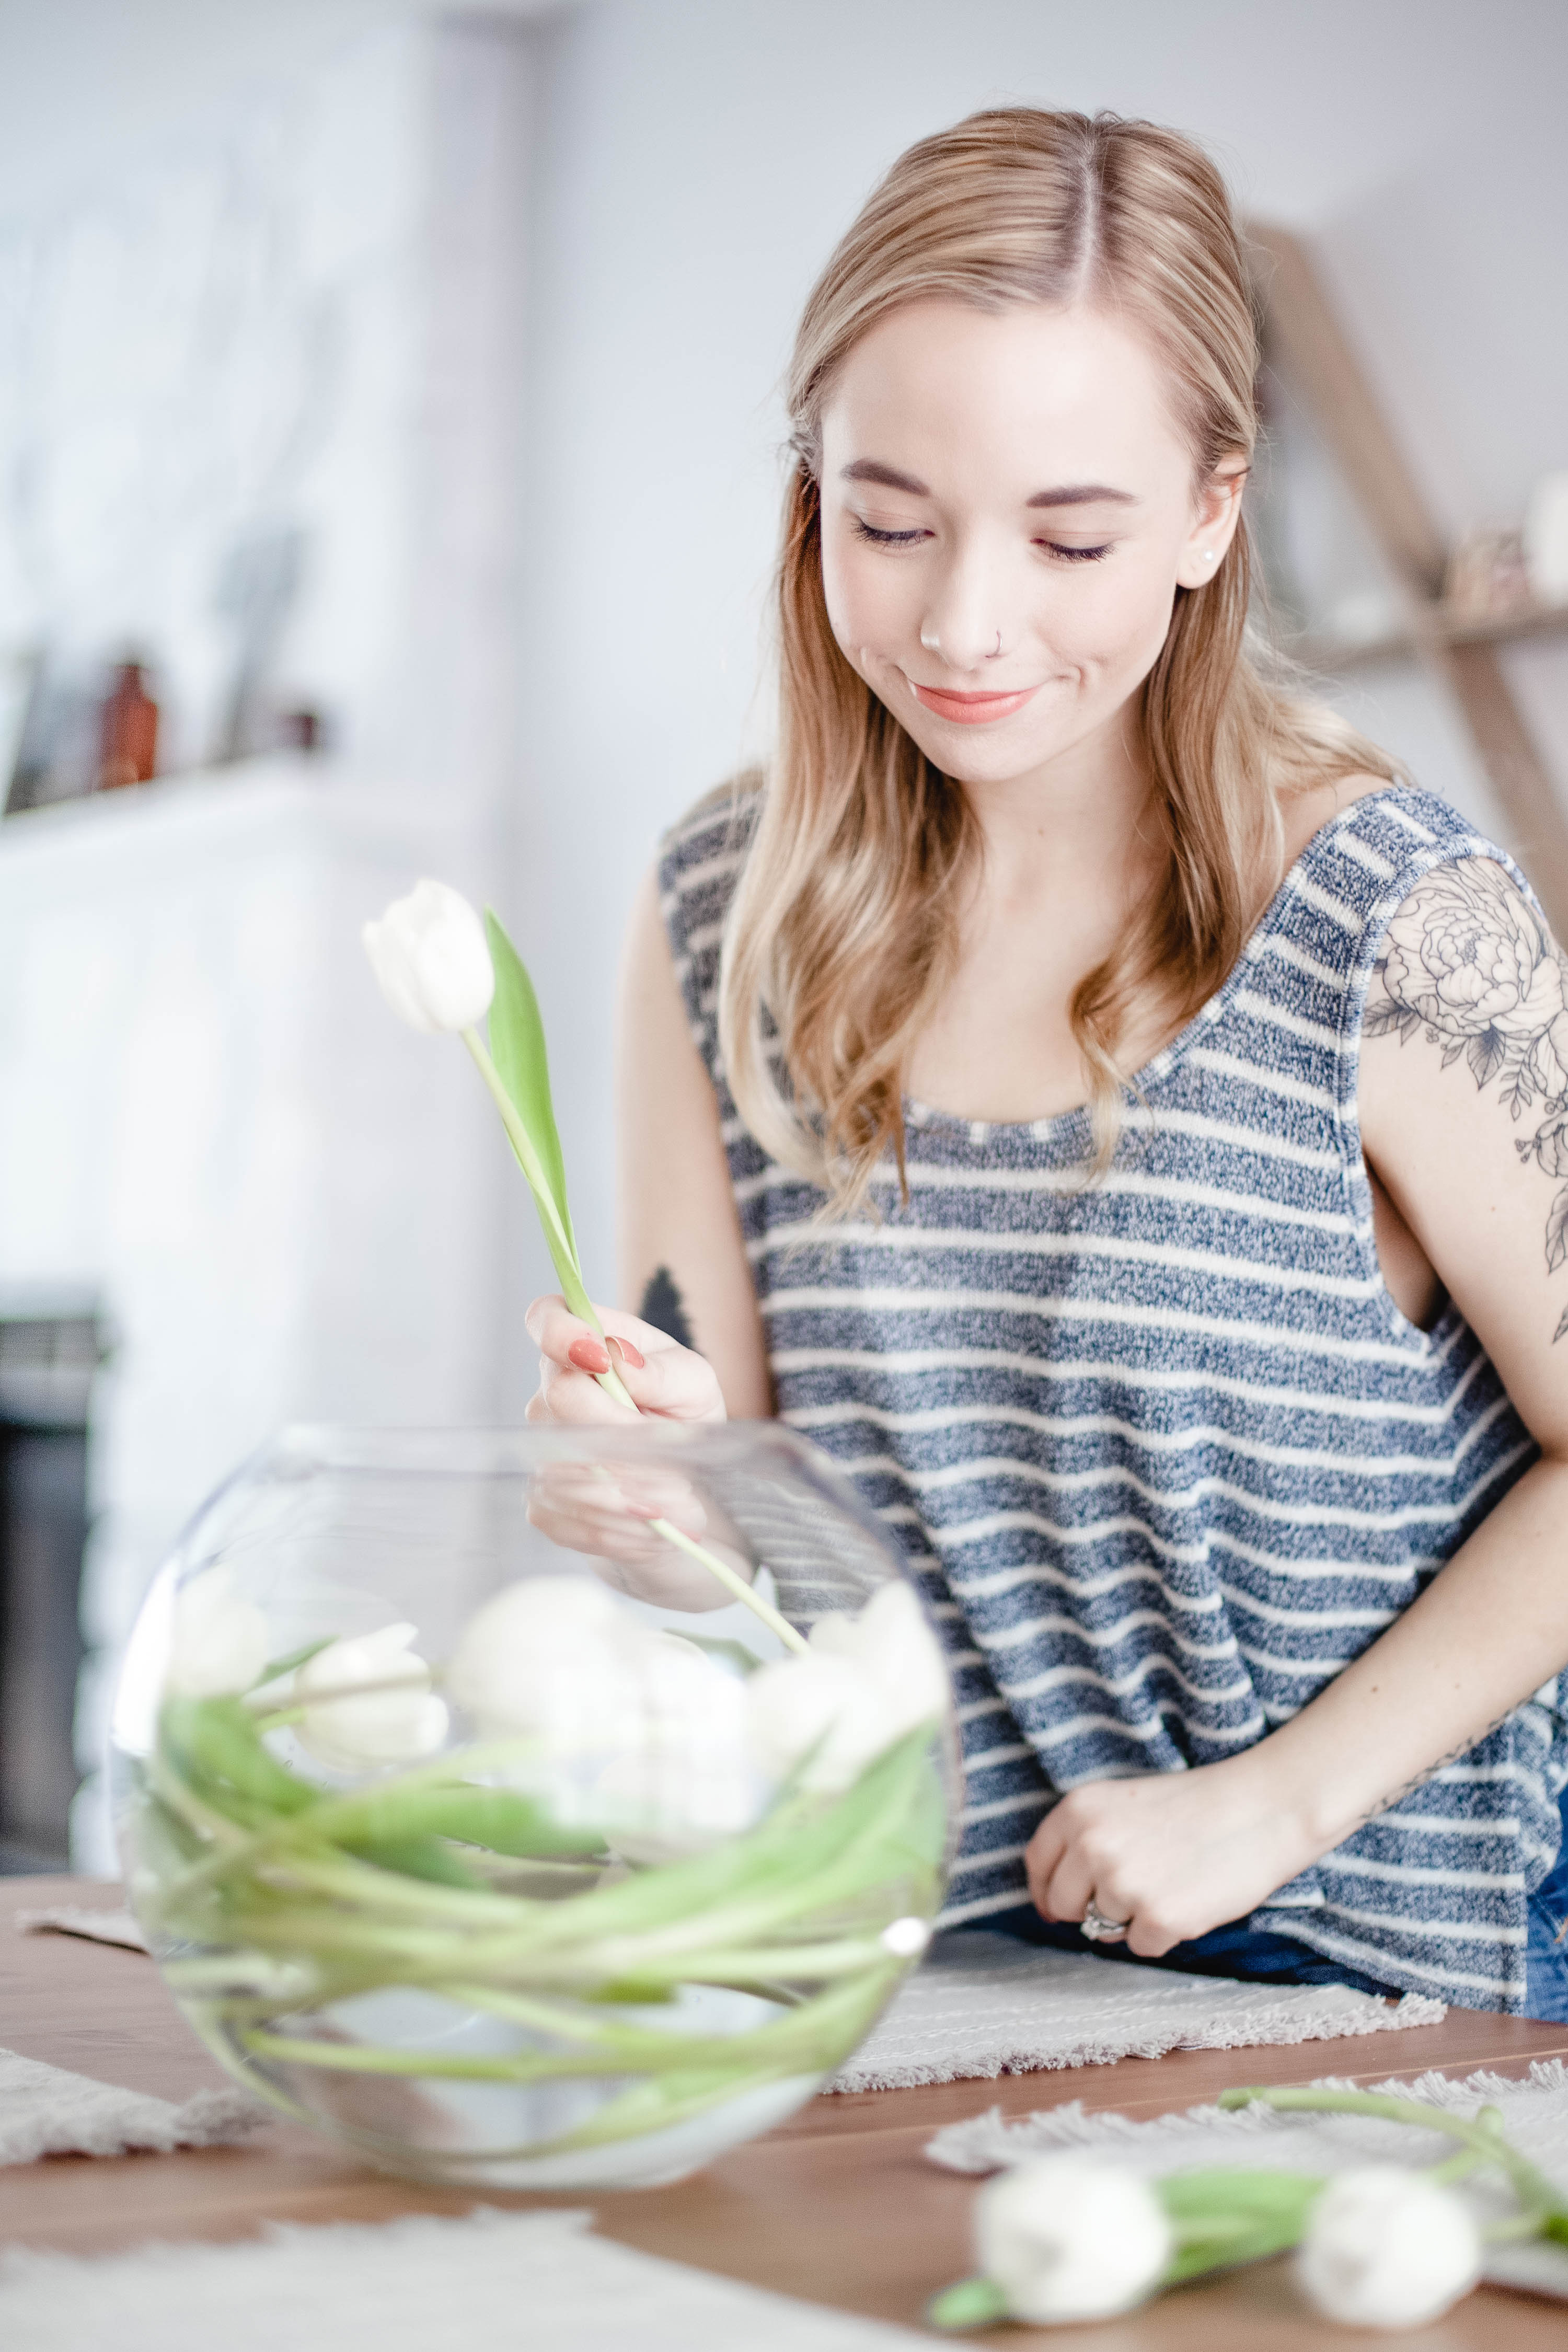
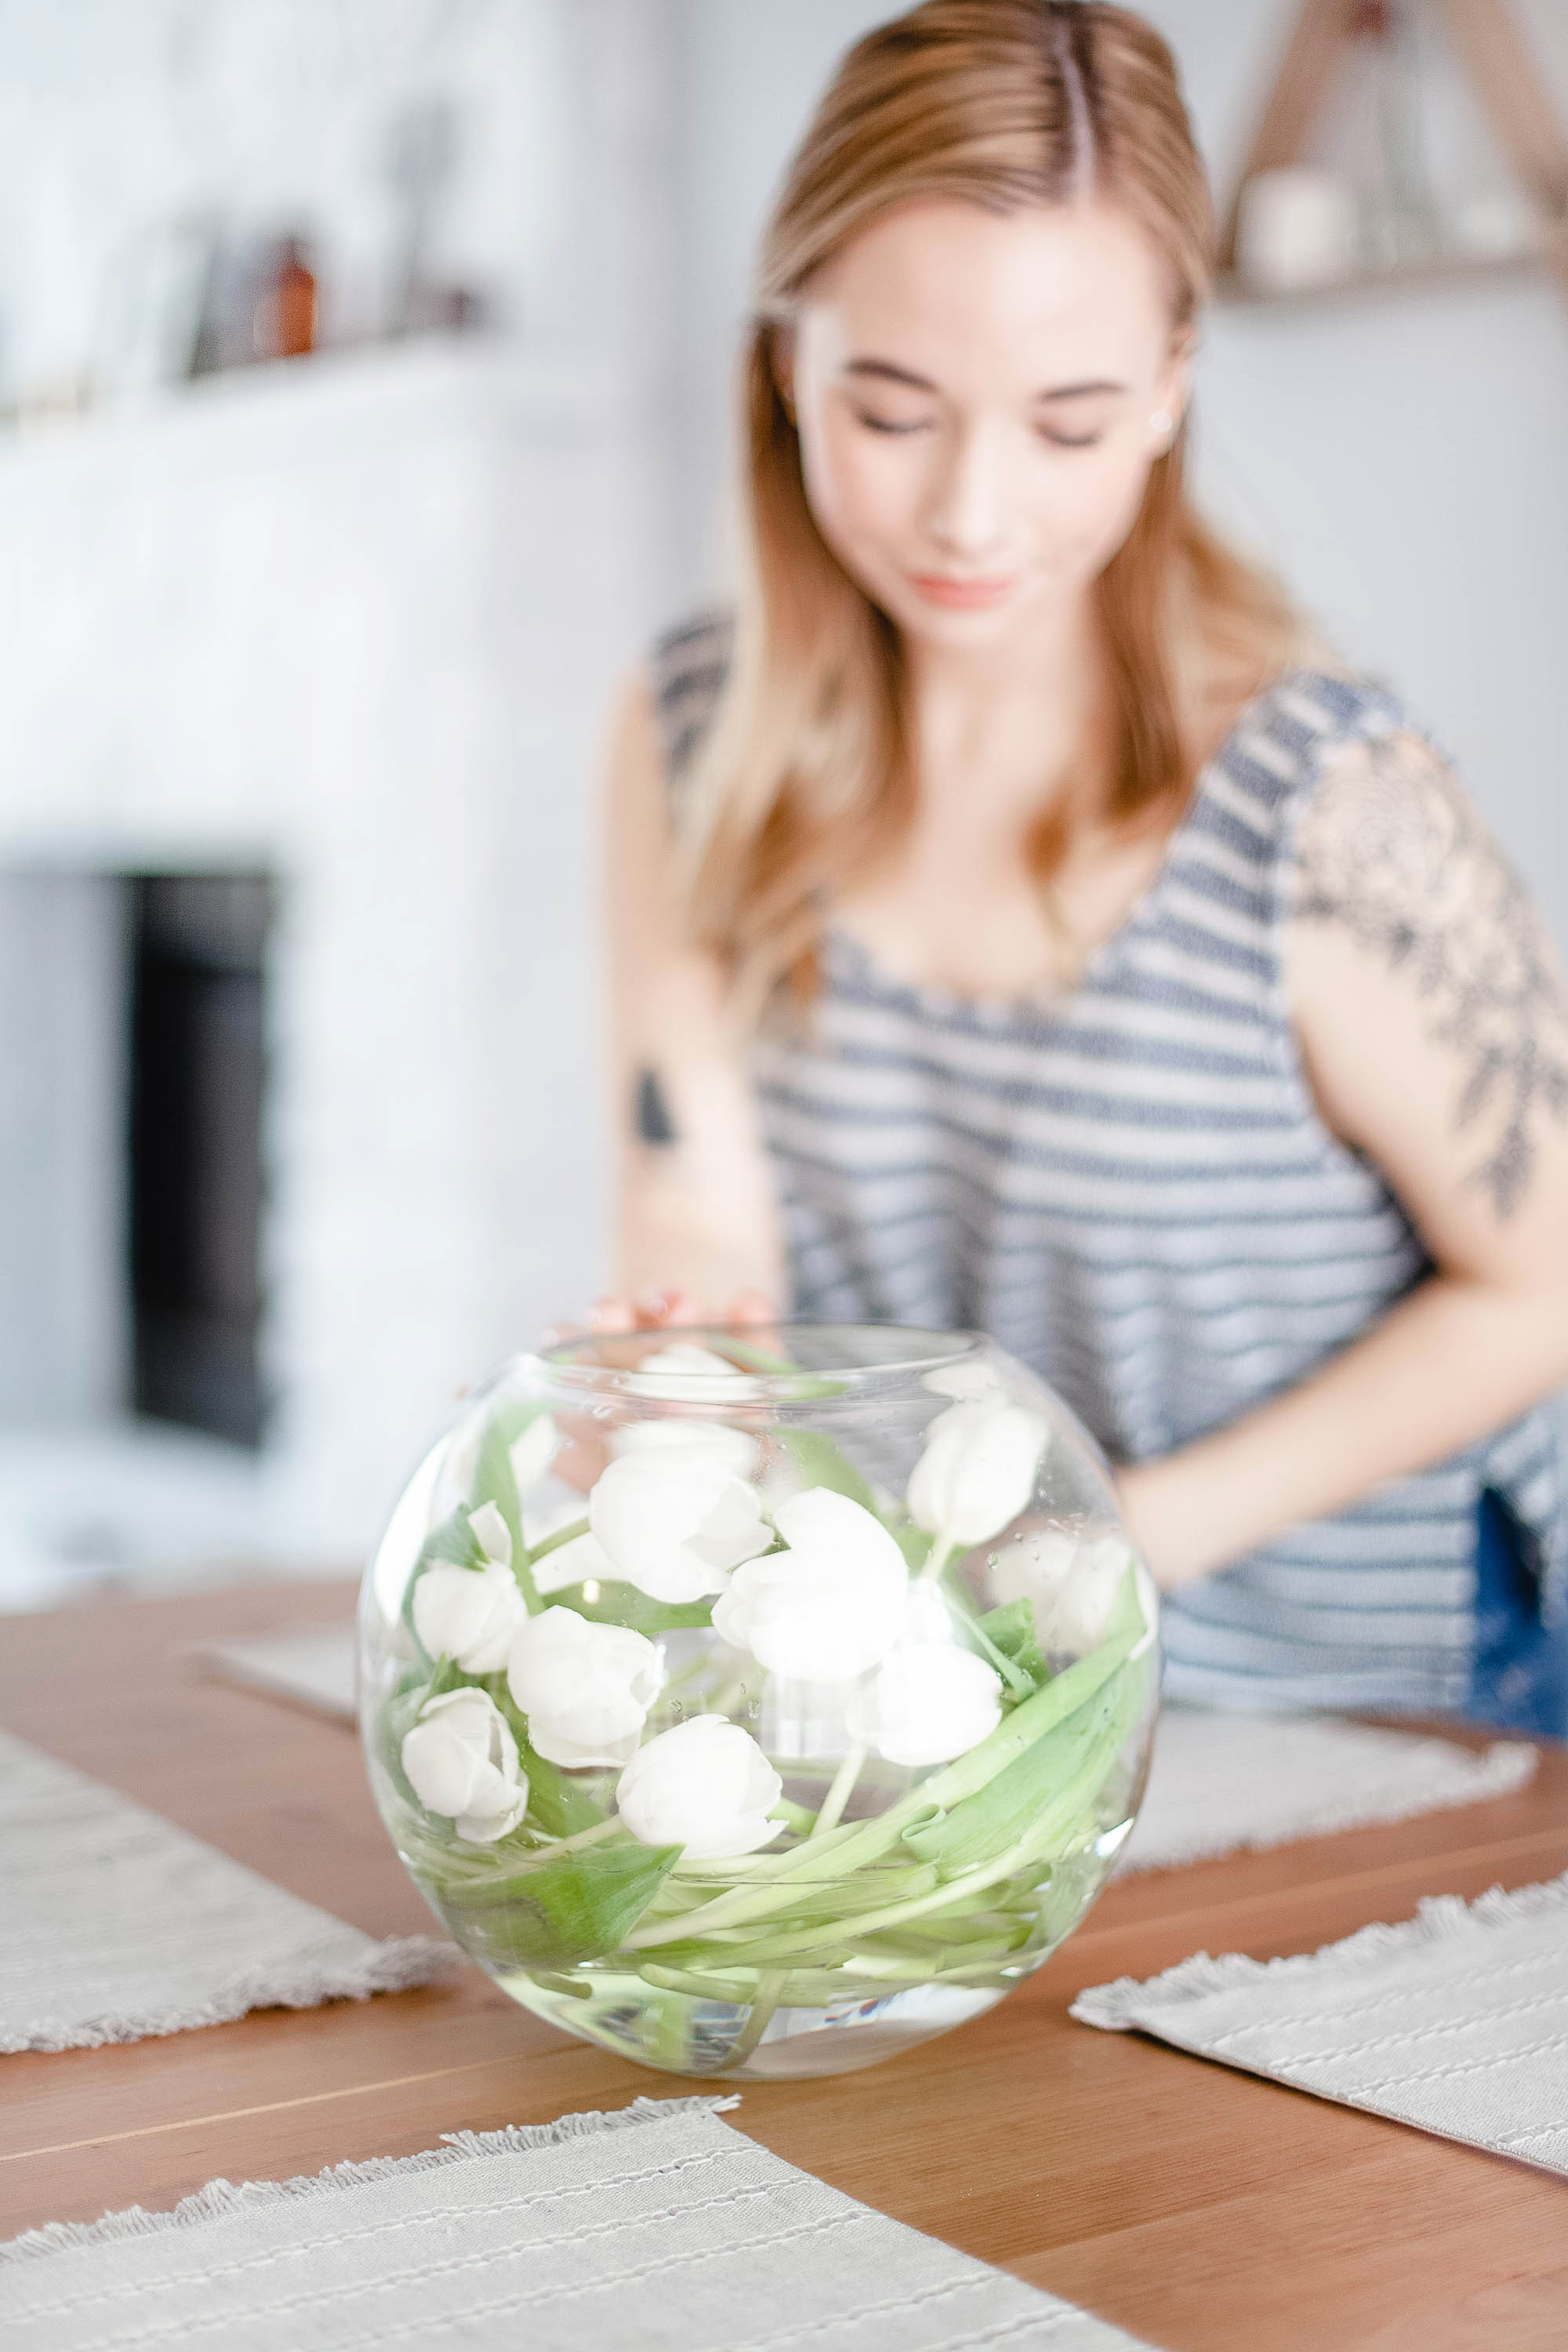
I am so, so happy with the finished product! I think it suits my taste and personality in decor perfectly. I’ll definitely be doing similar arrangements in the future. I love that this one with the bubble bowl can also be done with other color tulips, as well as other flowers.
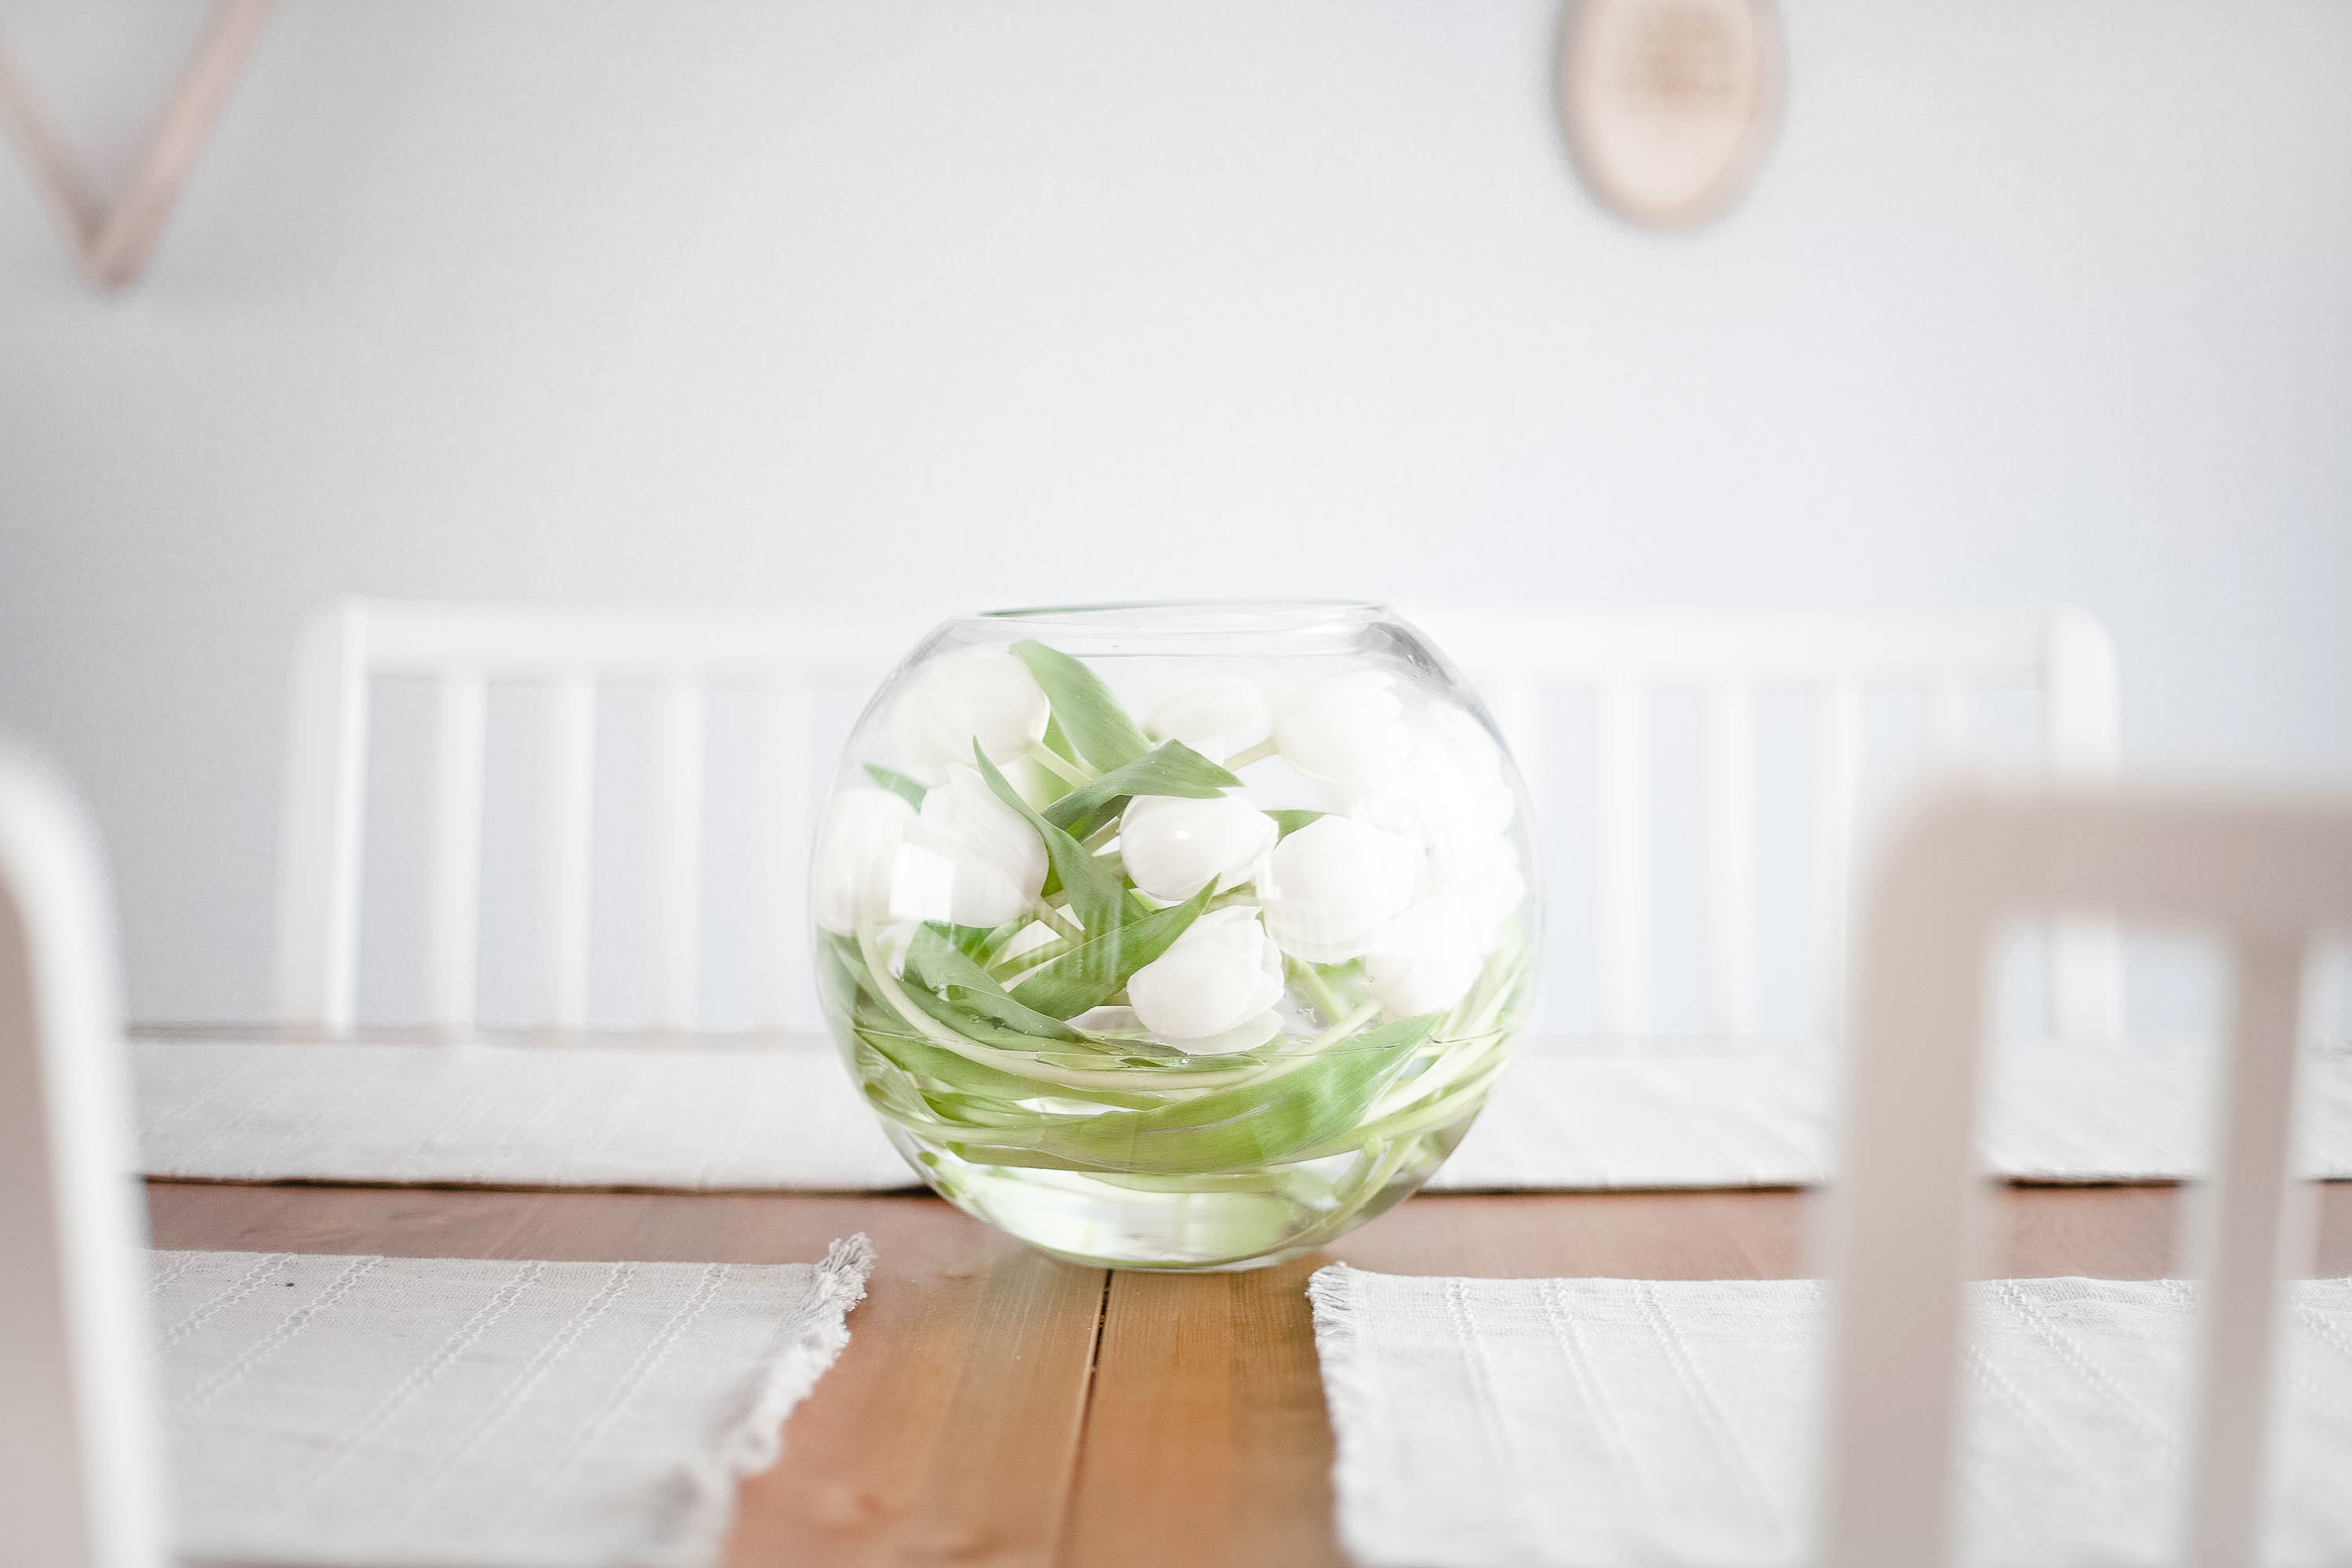
Have you ever done this arrangement or a similar arrangement before? If not, you’ve got to hop on trying this one out this spring. Would you go with white tulips or colorful ones? Let me know!
Let’s connect! >> Facebook | Instagram | Twitter | Pinterest

