This post has been sponsored by Behr. All thoughts are completely authentic and my own. As always, I only share about brands I love and know you’ll love, too! Enjoy!
The first time we stepped foot into what would be our future home, I knew that I would want to whitewash the stone fireplace. I’m a lover of all things bright and white, so I knew that a whitewashed fireplace would definitely make my heart happy. Not only that, I knew it’d make the best focal point of our home.
I’m partnering with Behr for all of our home painting needs, from the walls to our whitewashed fireplace! Behr is the paint brand that my family has always turned to, so I decided to carry that tradition down since we now have our own home. I could not be more impressed with the quality of Behr’s paint! It glides on easily, covers extremely well, and is super durable.
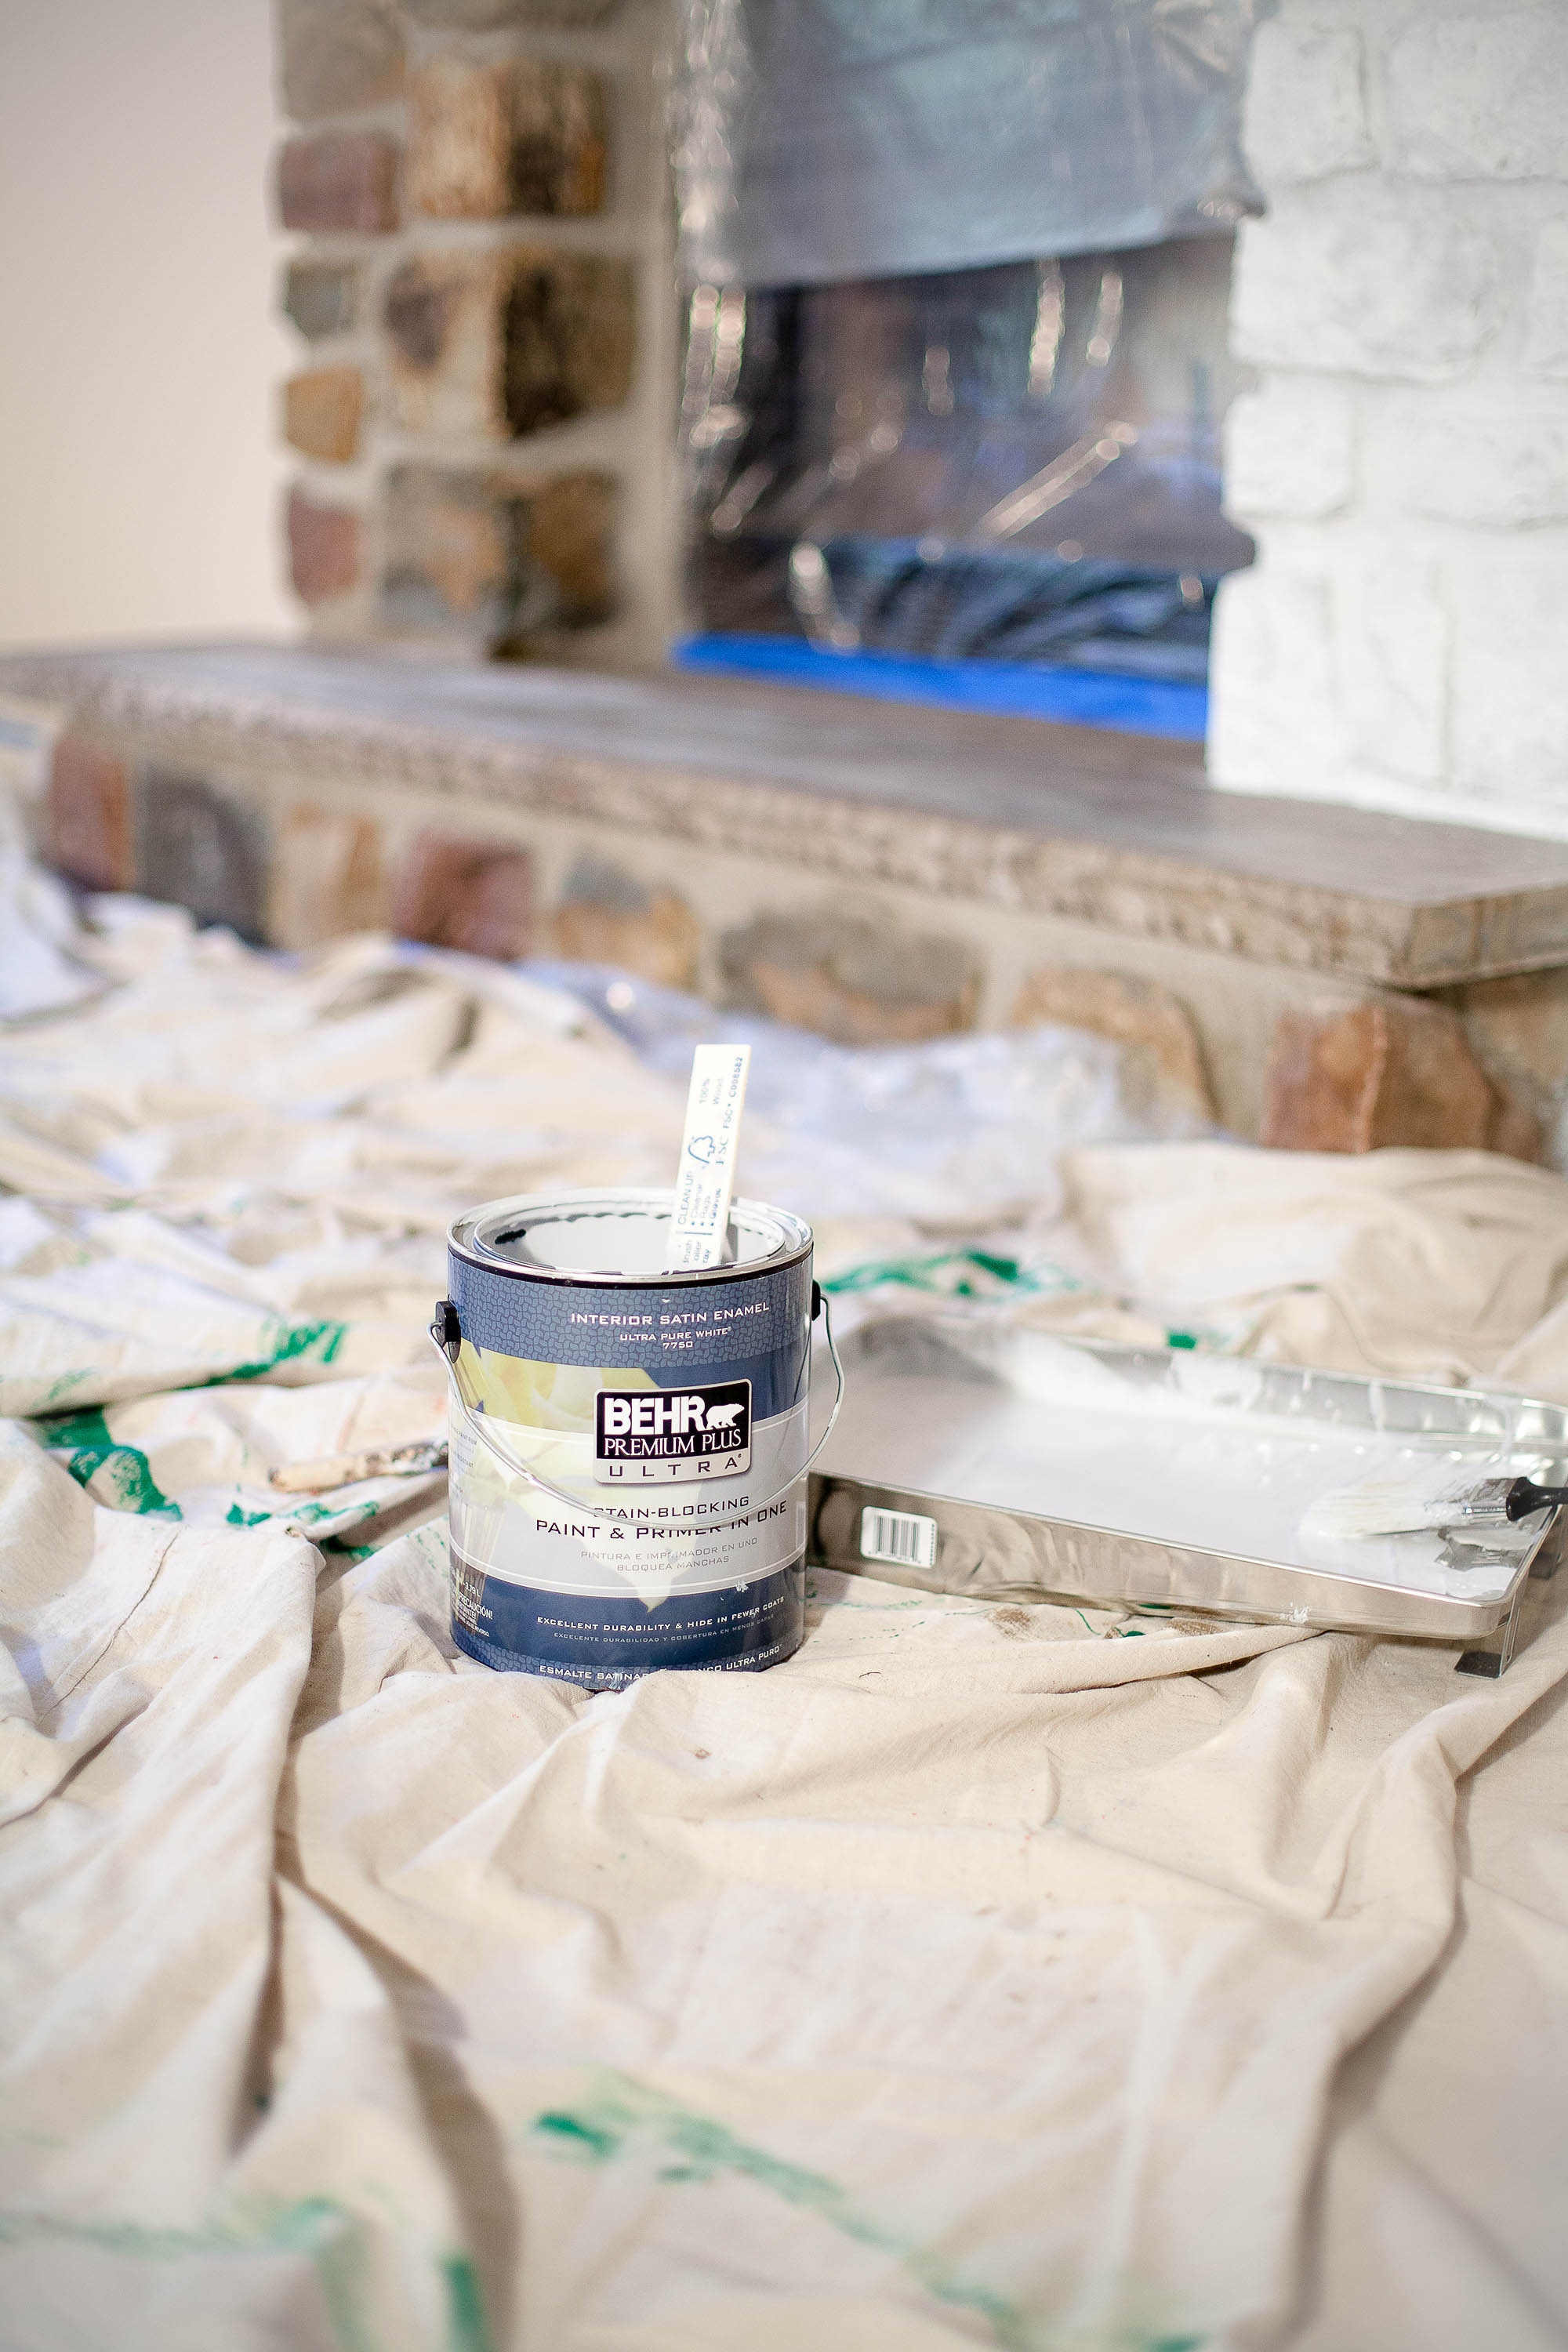
When we first started painting our home, I was so eager to start whitewashing that I ended up taking on the project the day after we started painting the walls. How could I not get started on this right away?
Here’s the BEFORE photo of our fireplace before I walk you through the whitewashing process.
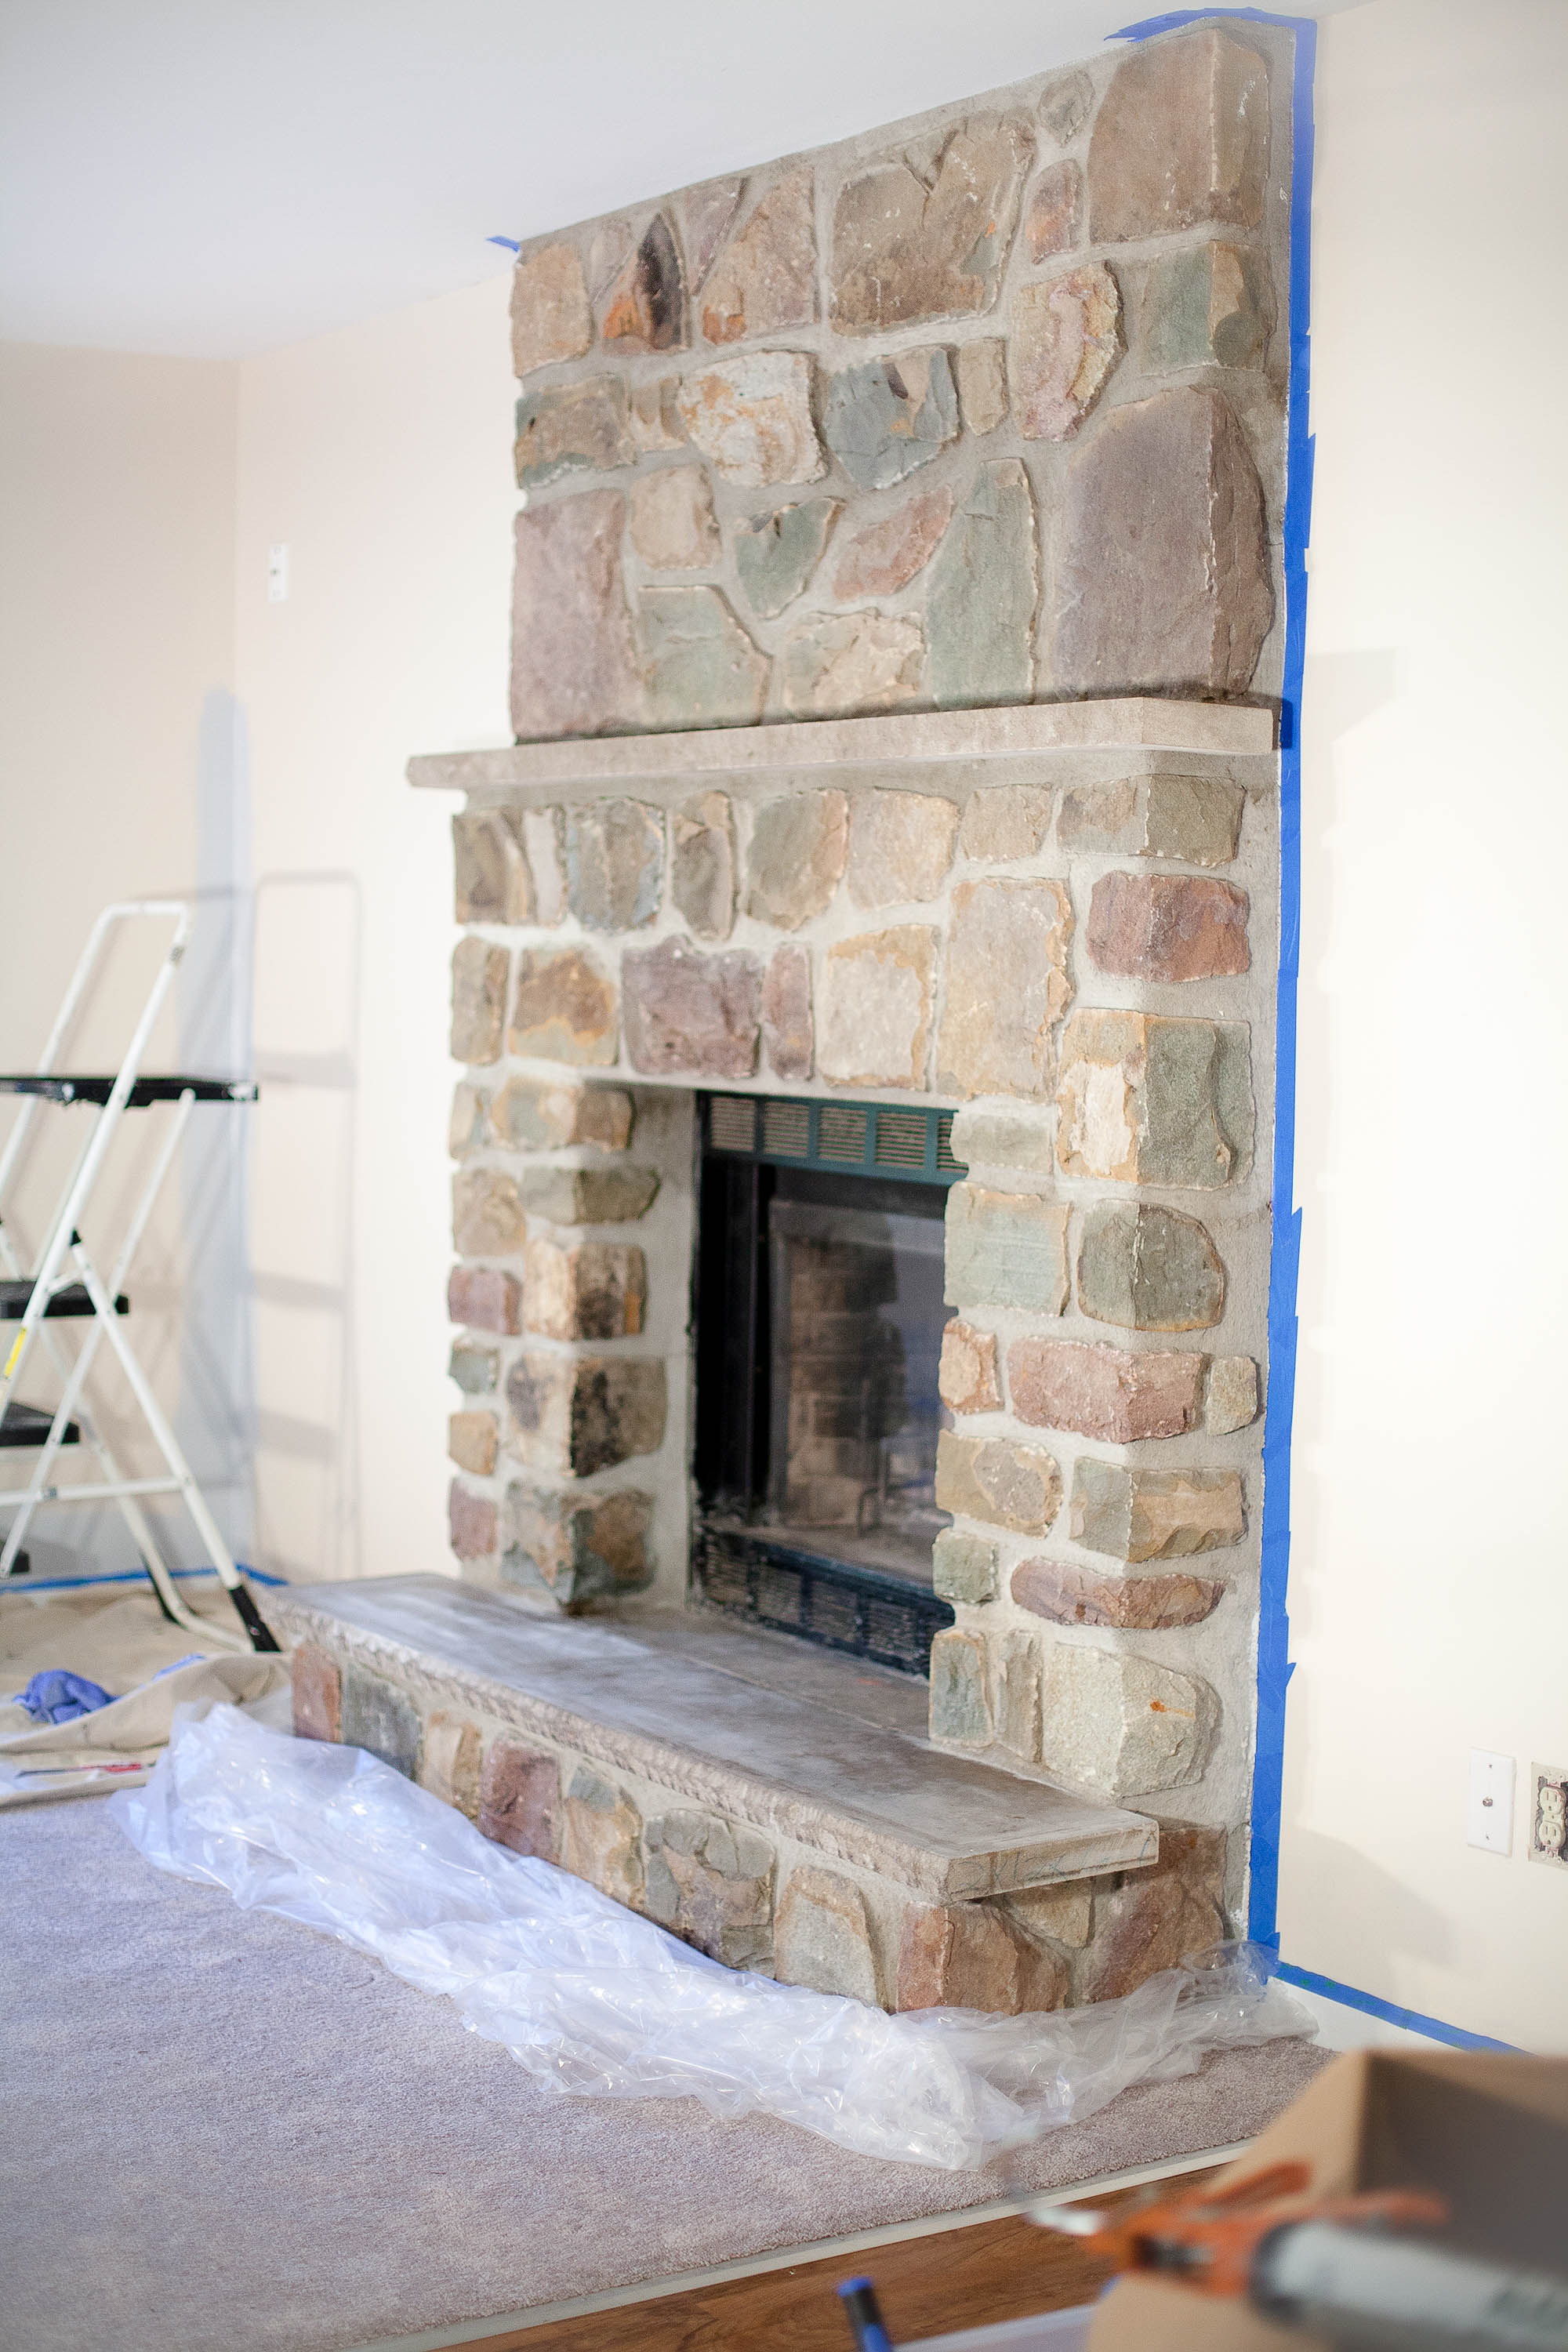
Before whitewashing the fireplace, it was natural stone. It was beautiful, but it wasn’t my style at all. I’m someone who loves all things bright and white, so I knew this natural look had to go.
– SUPPLIES –
- Behr Interior Satin – in a light/medium gray of your choosing
- Behr Interior Matte – in Ultra Pure White
- Paint Brushes (angled, medium to stiff bristles)
- Handy Paint Cup
- Old Towel Rags
- Paint Tray
Before starting the painting process, I wiped down the stone to make sure it was clear of any dirt and dust. Luckily, ours was kept in great condition, so that didn’t take more than 10 minutes.
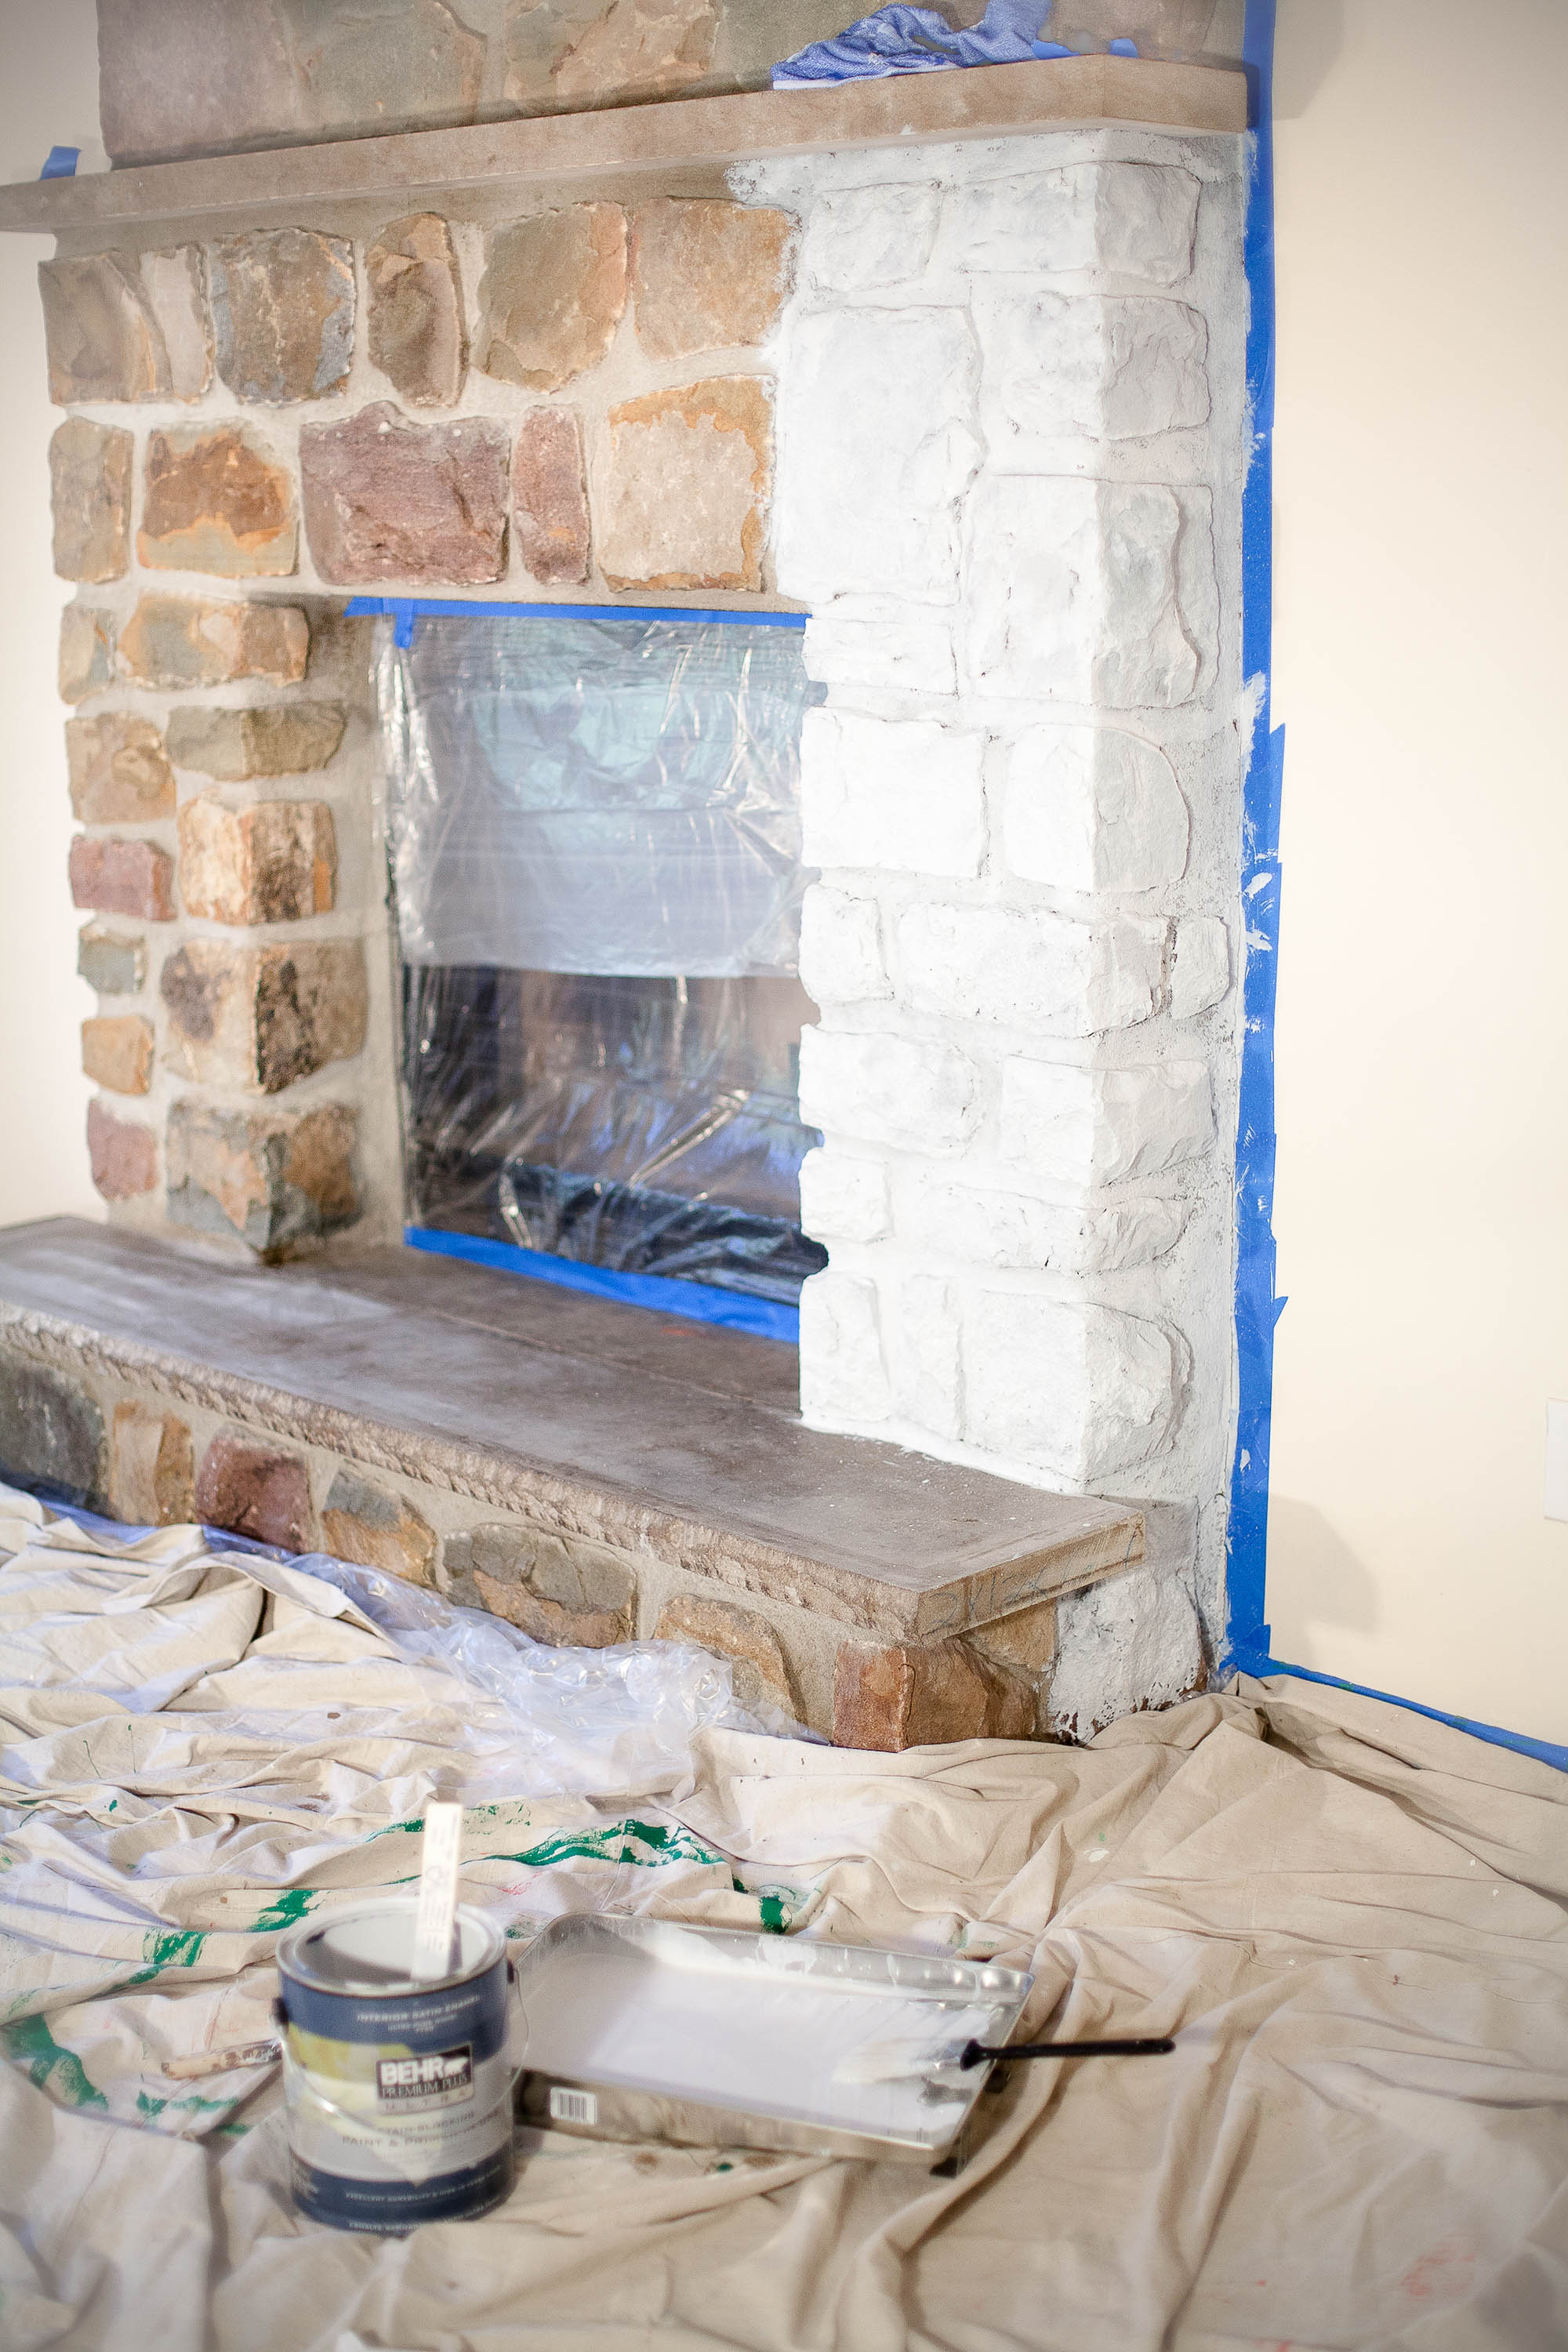
STEP 1: Pour a measured amount of the gray paint into the paint tray and then add the same measured amount of water to the paint. You can choose the measured amount, but always make sure you use equal measurements of paint to water. If needed, feel free to switch it up, depending on your taste style. If you need to make more mixture, make sure you follow the same measurements you did the first time, so the mixture is the same over the entire fireplace.
STEP 2: Start painting on one of the sides of the fireplace. This is where you can experiment with your mixture to see how well it covers. I was pleased with my gray mixture, so I didn’t need to make any changes to it. It took me about 15-20 minutes to cover the side shown above. It took a little bit to figure out how to best paint on the base color.
I ended up using a few different ways to paint – X-like motions, circular motions, and stippling.

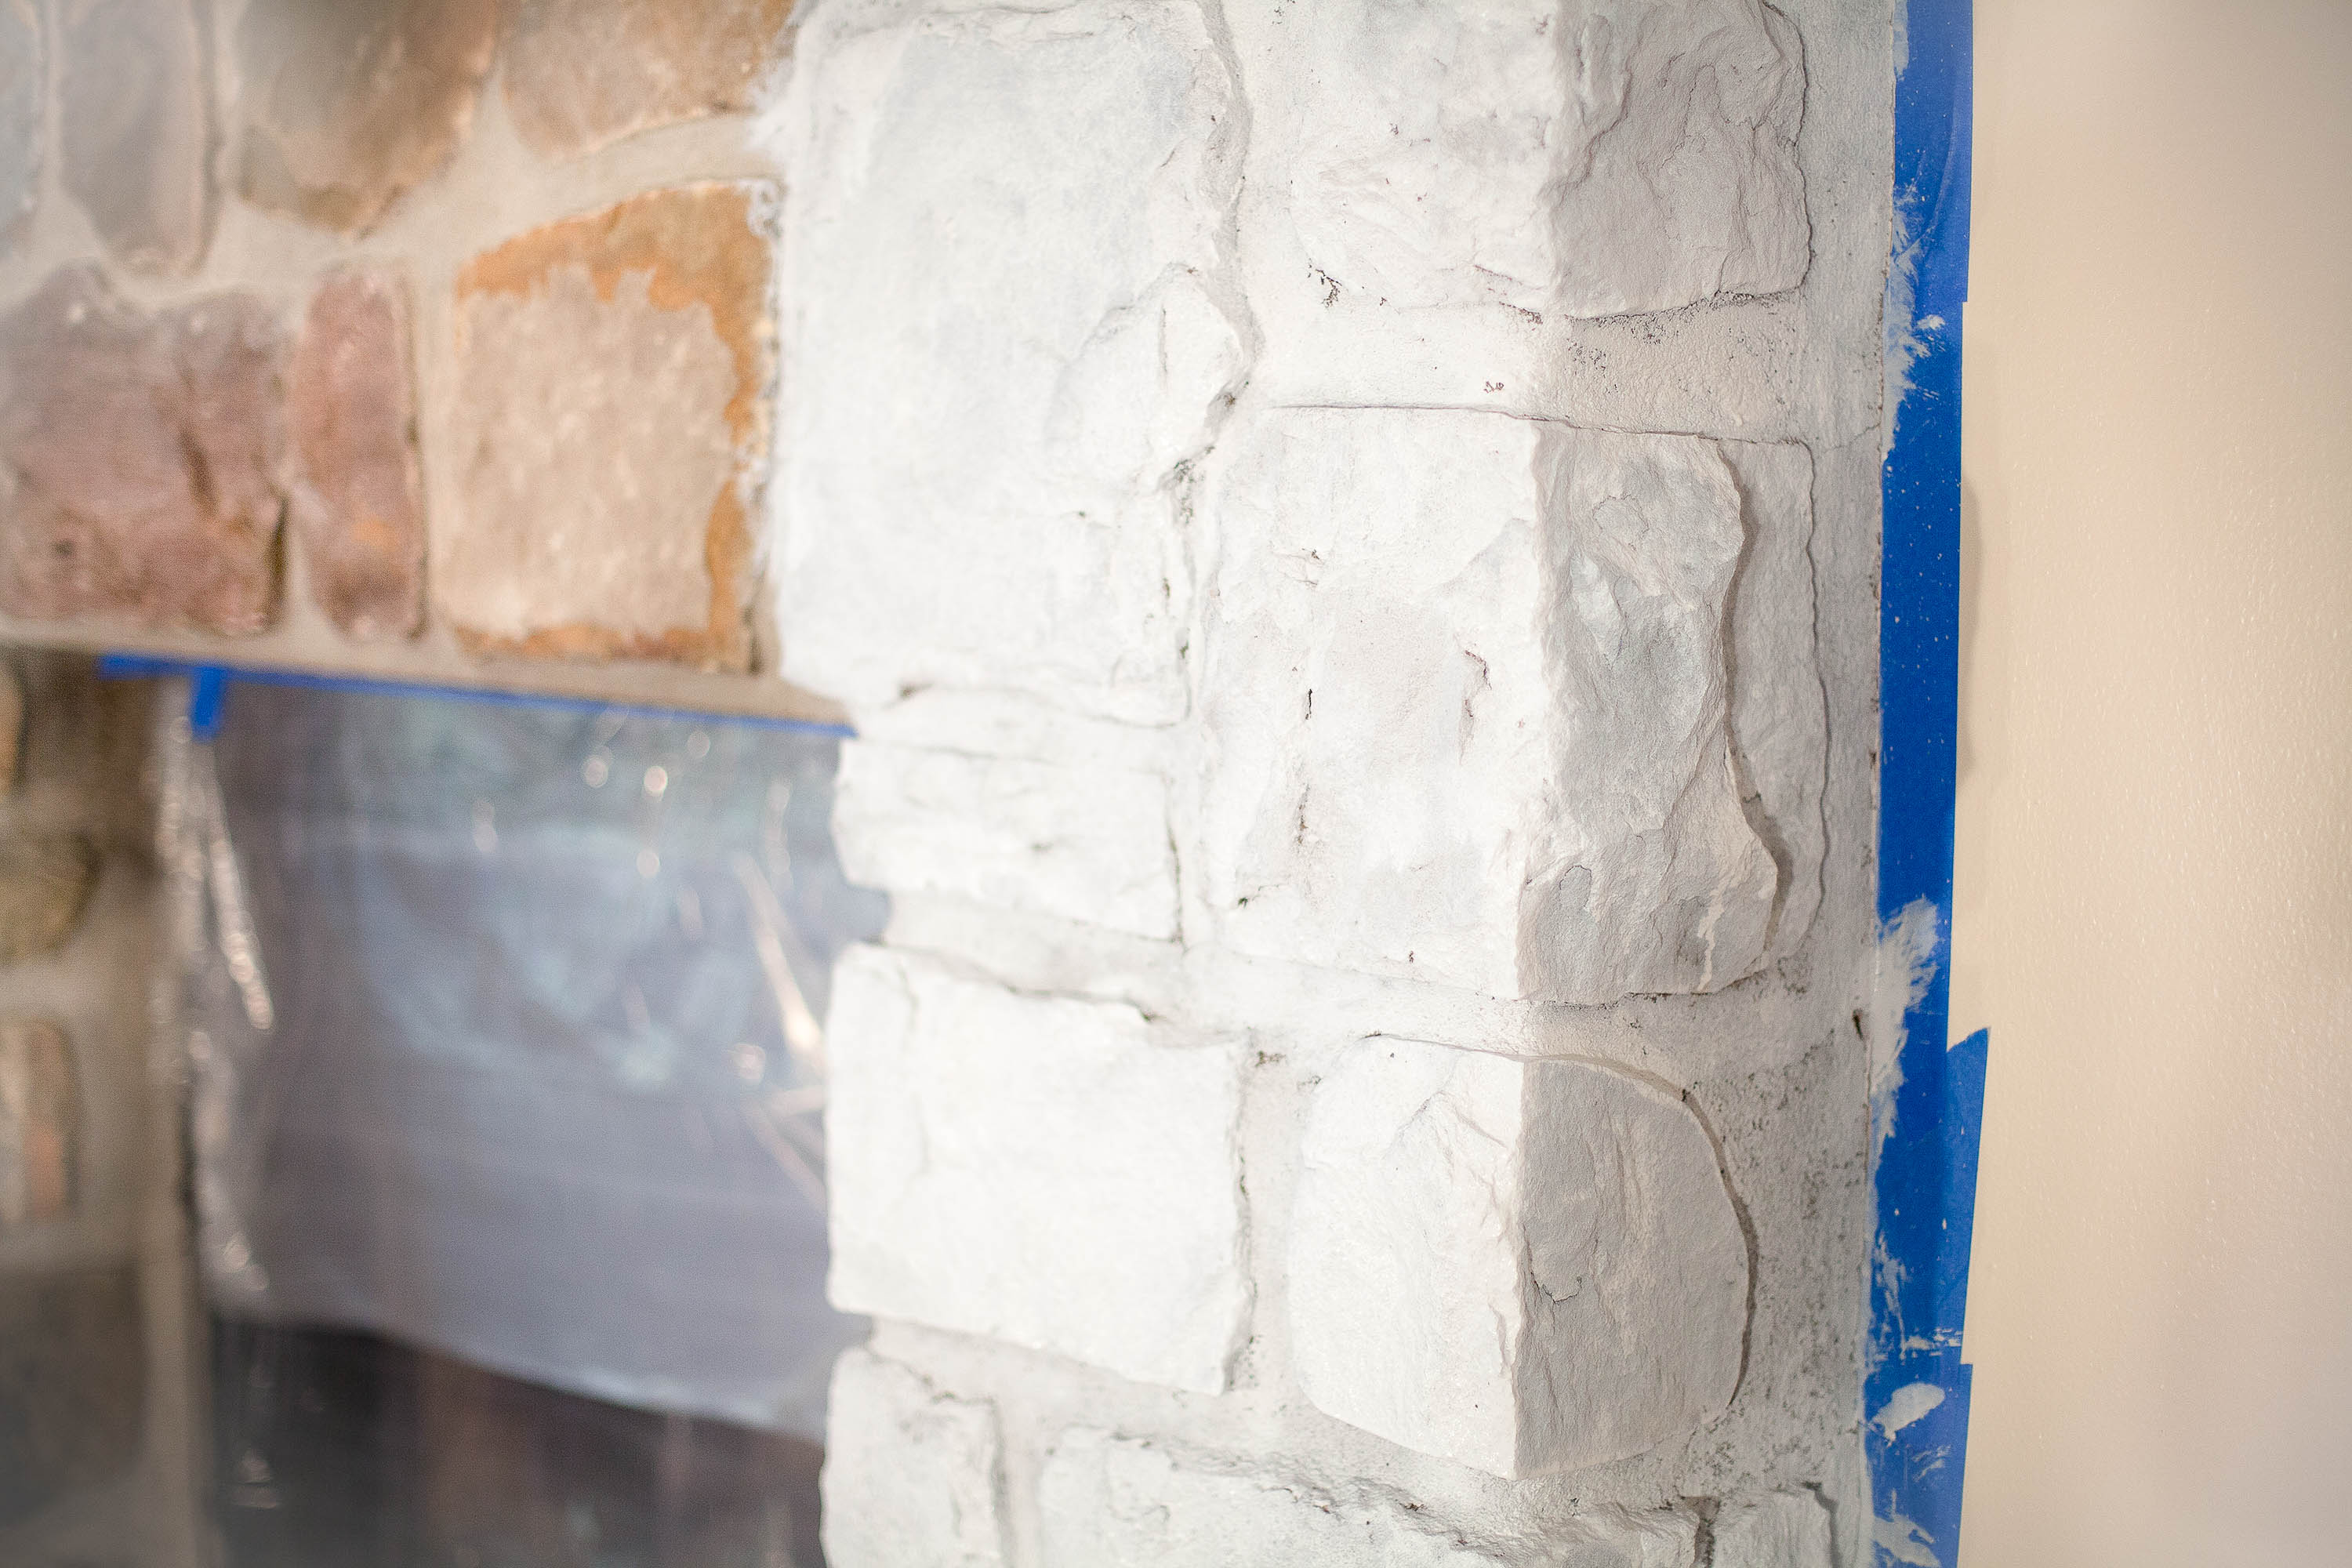
After finishing the first lower section, I waited until it dried to move onto the rest. I wanted to make sure I was satisfied and that I covered all of the porous areas. Luckily, I was happy with it and moved on, continuing the same steps over and over.
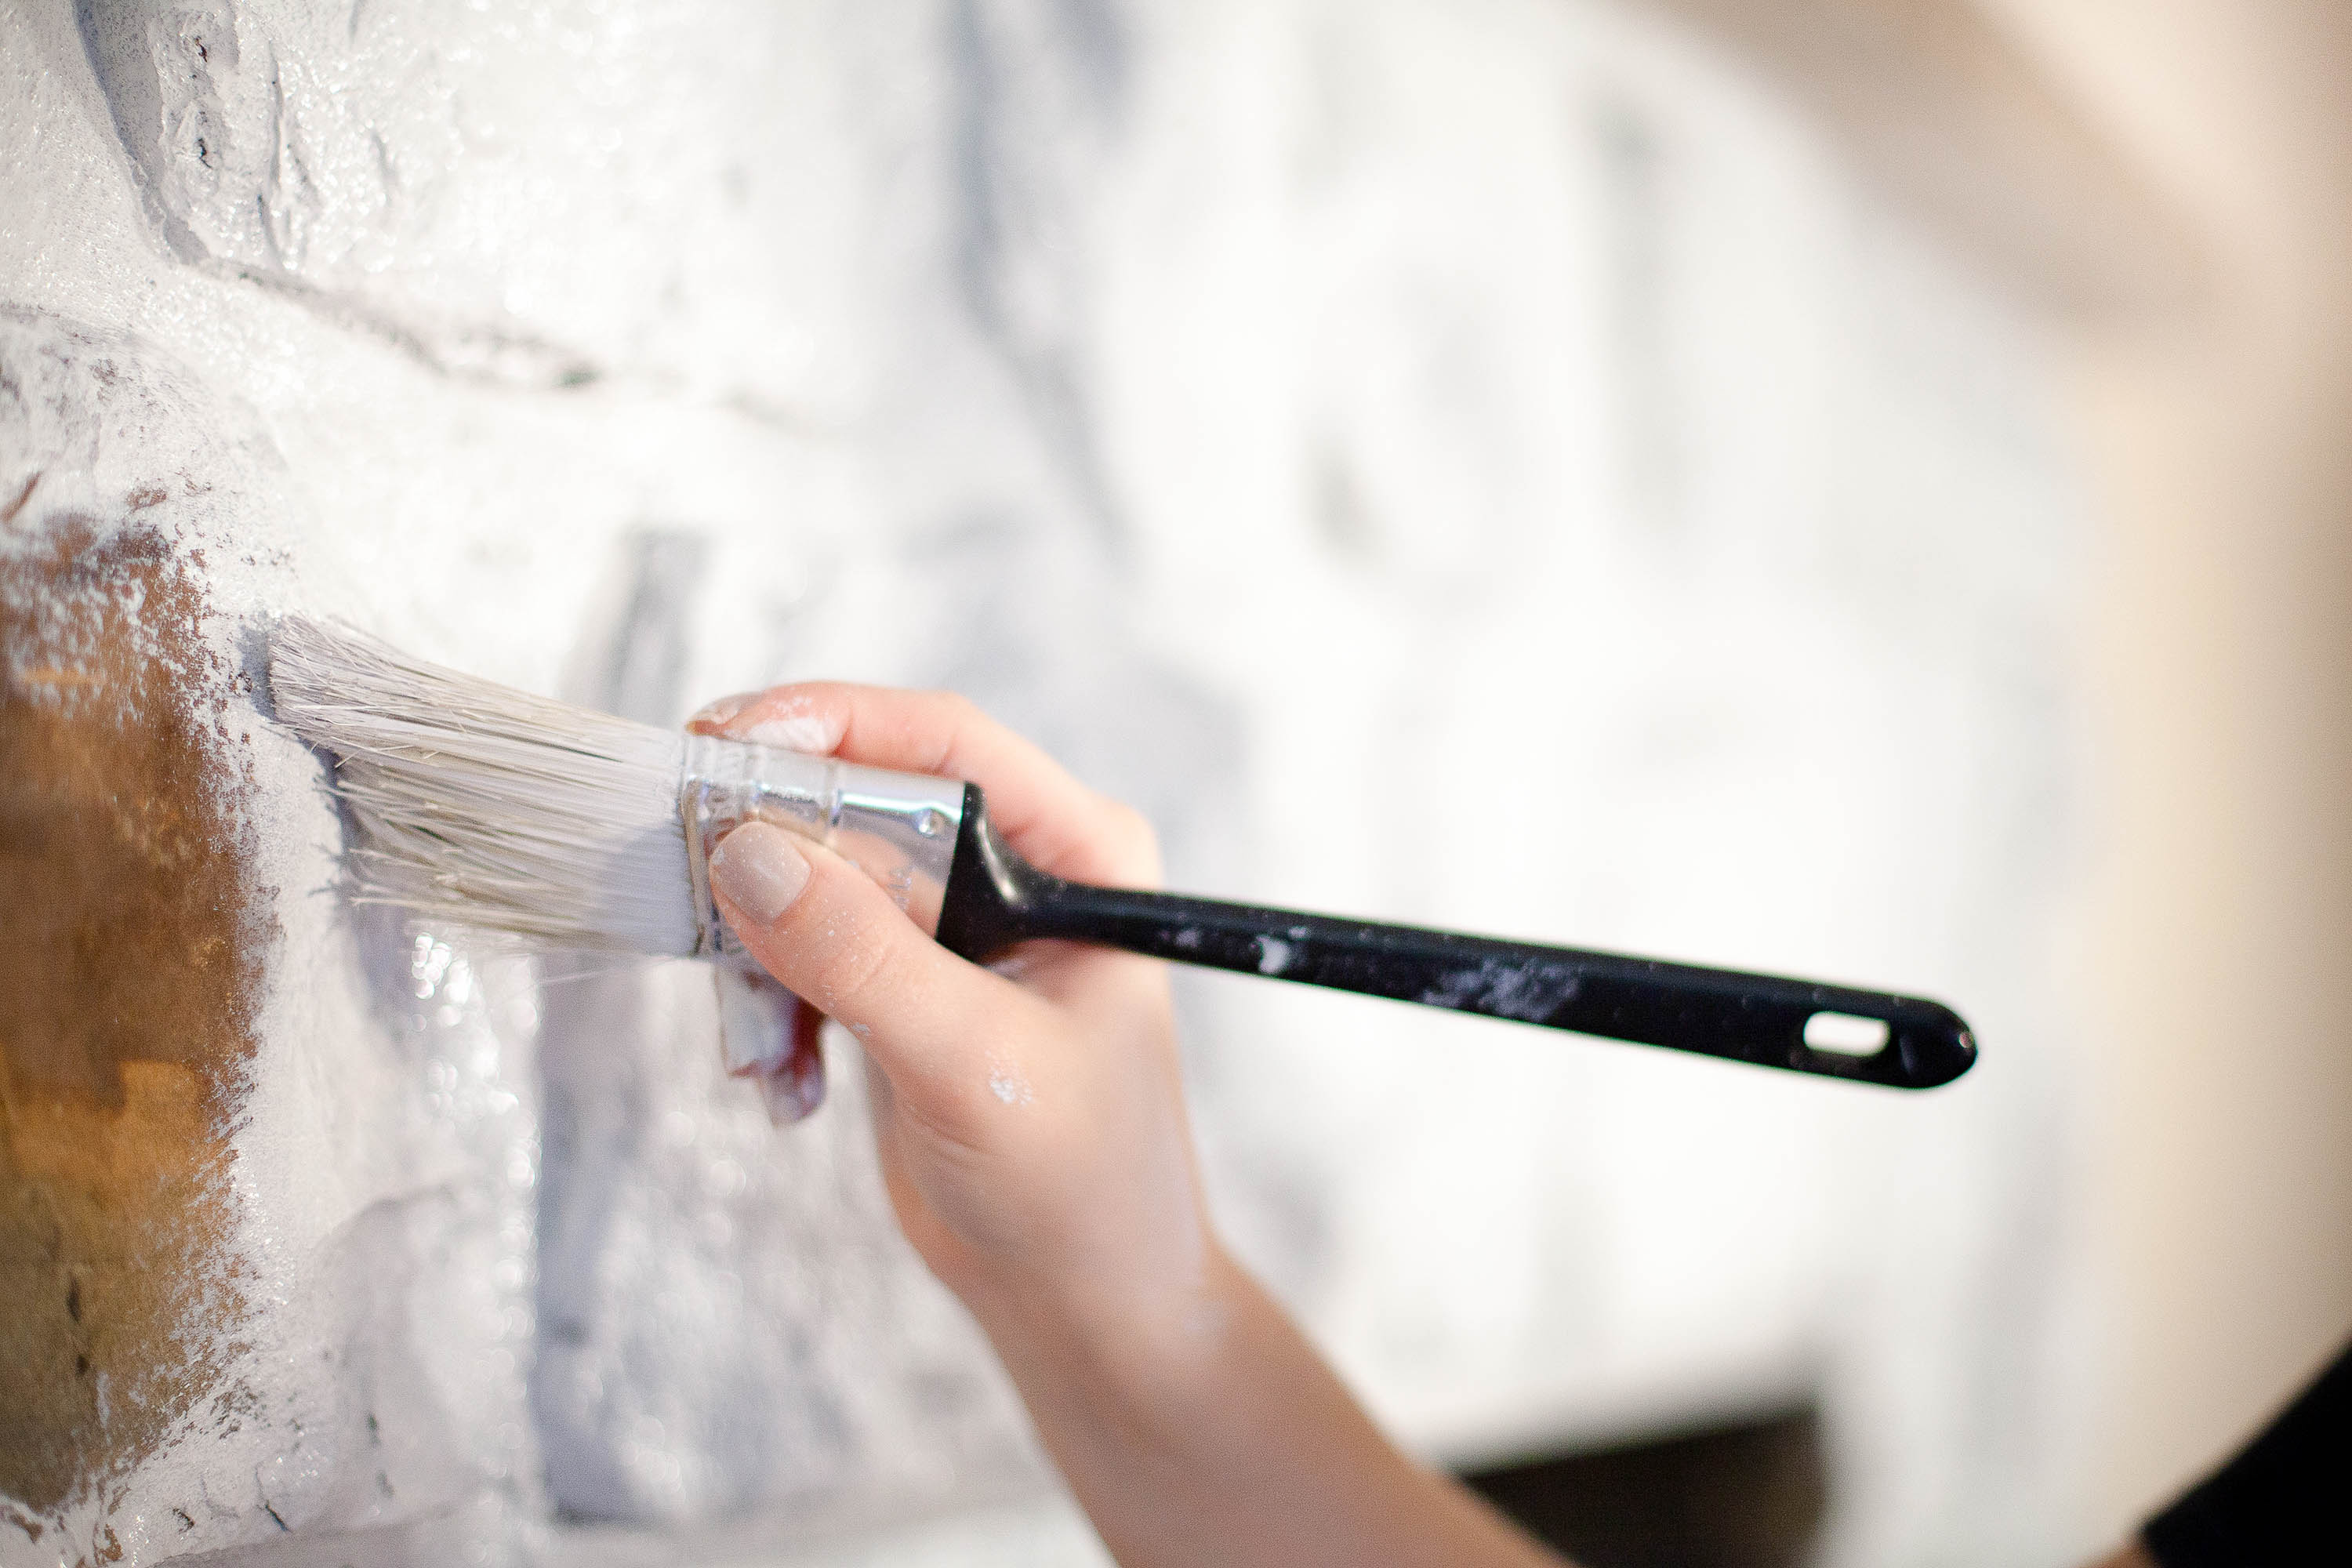
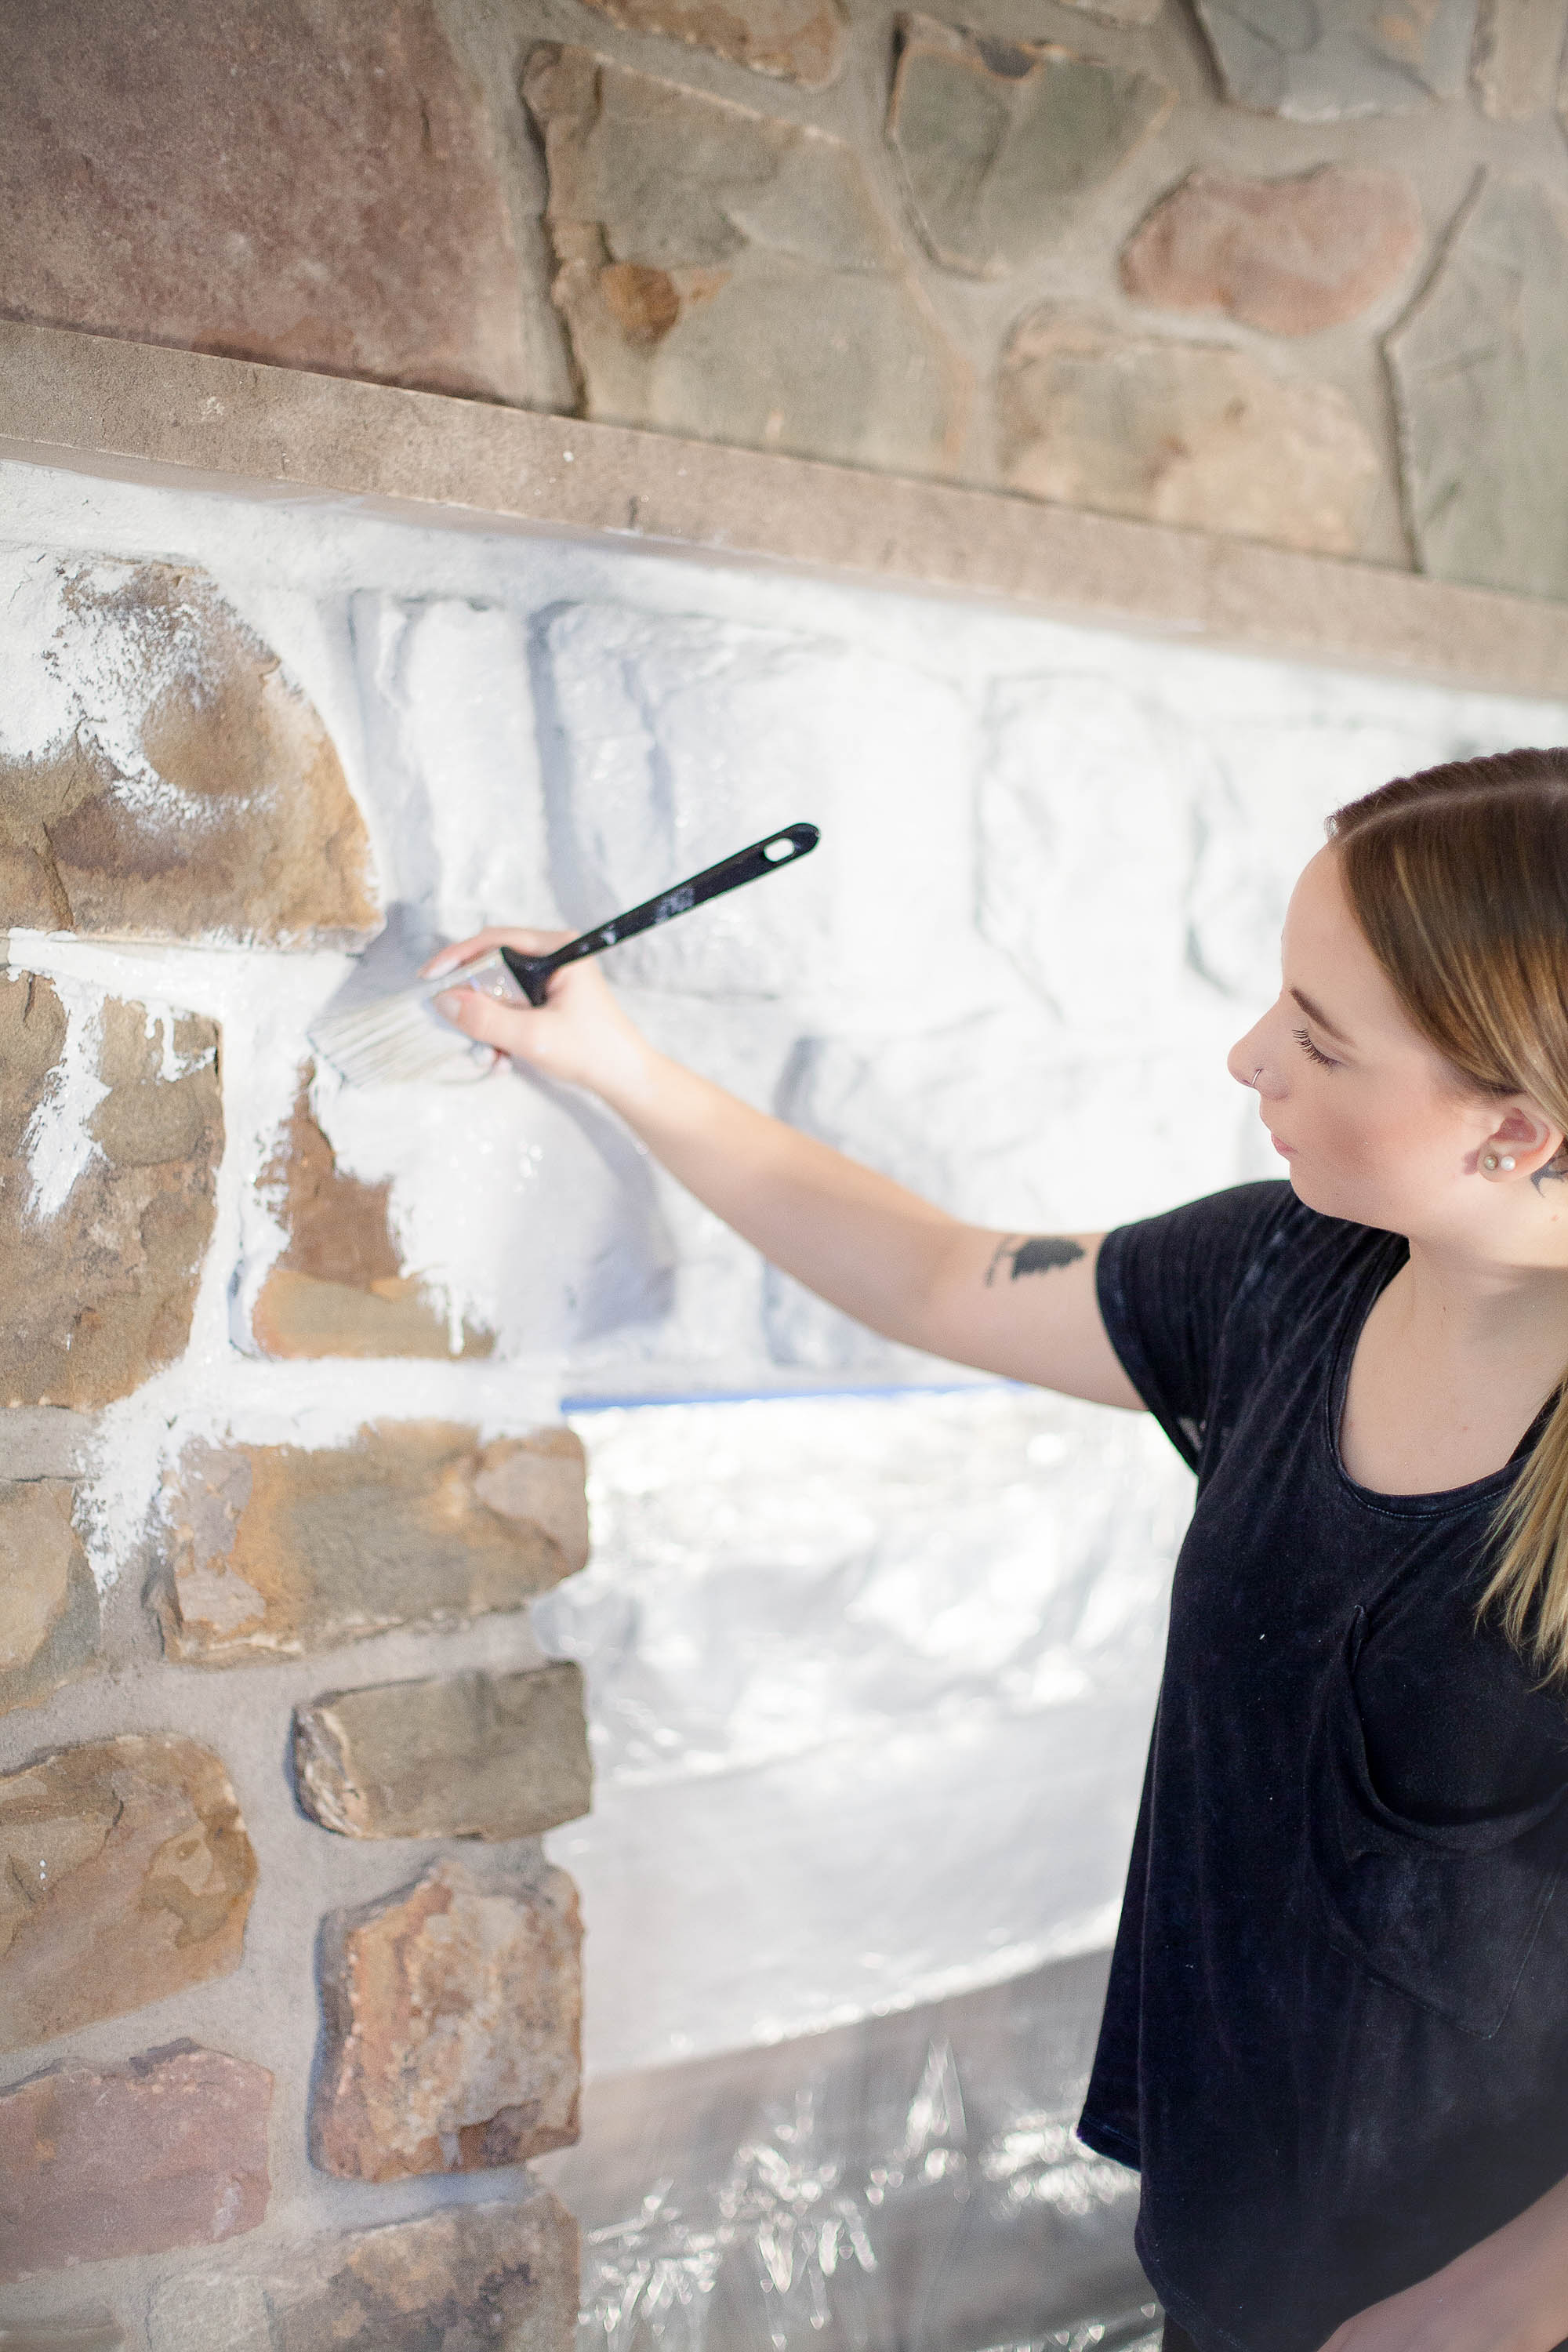
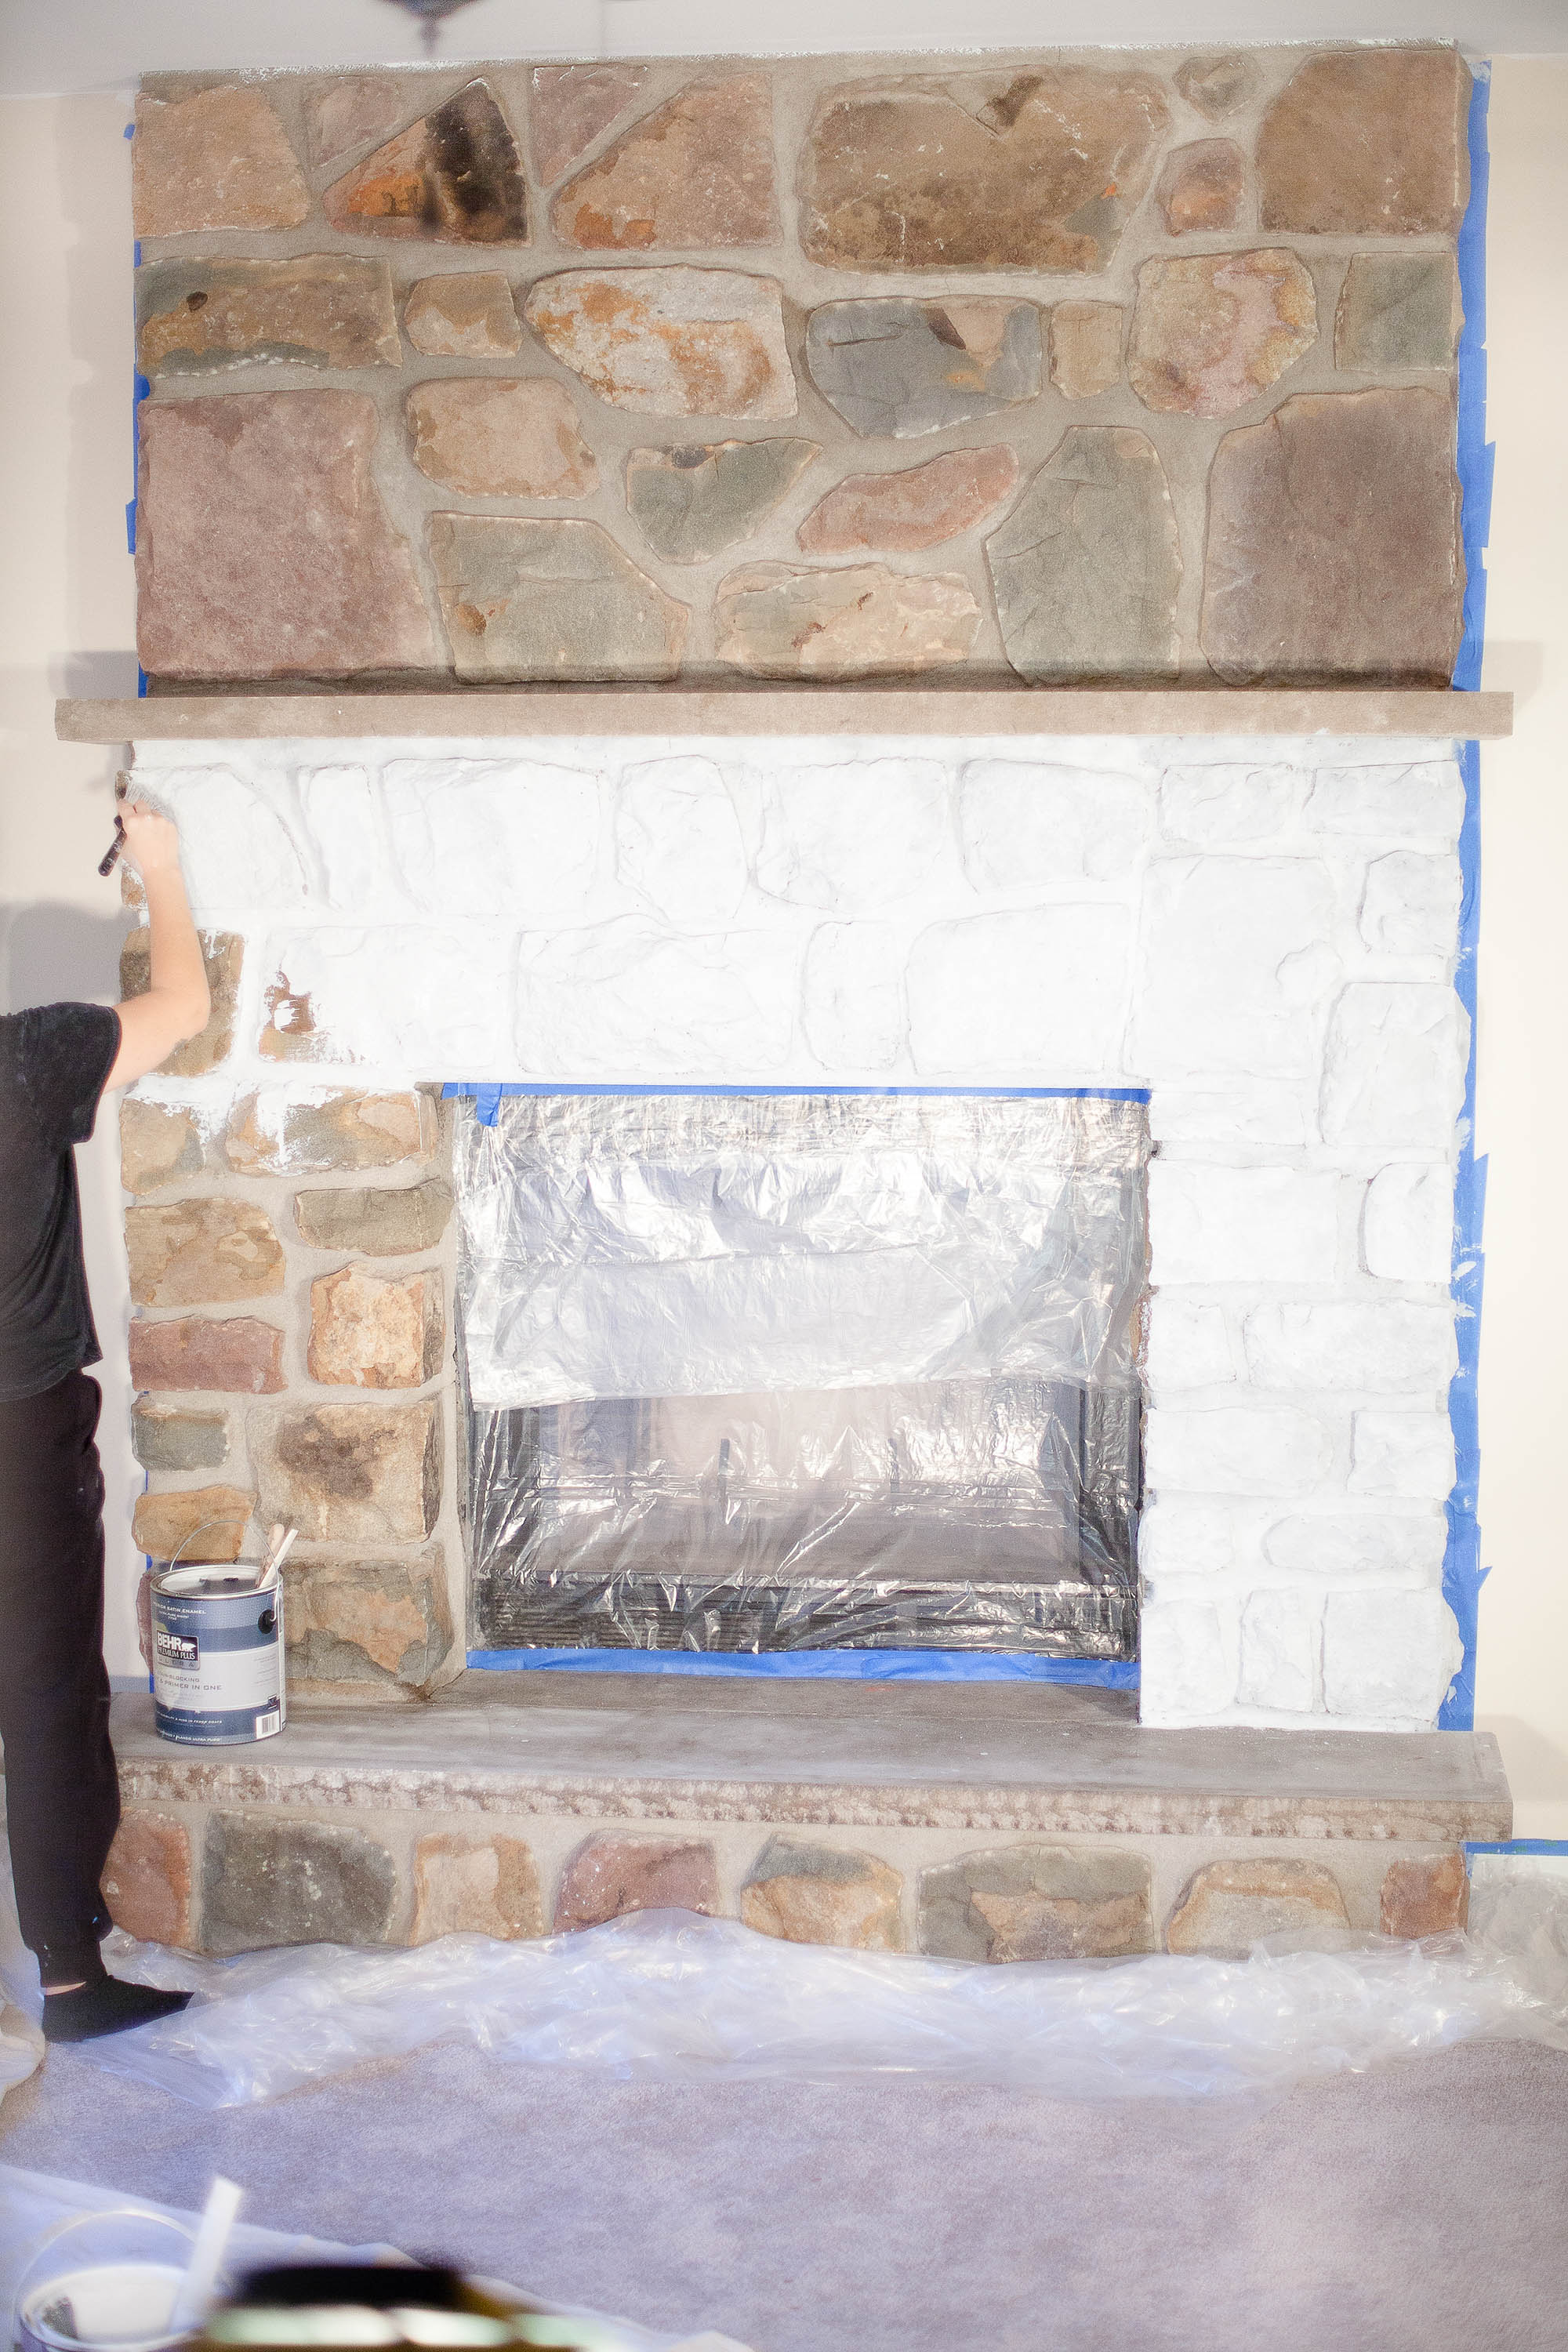
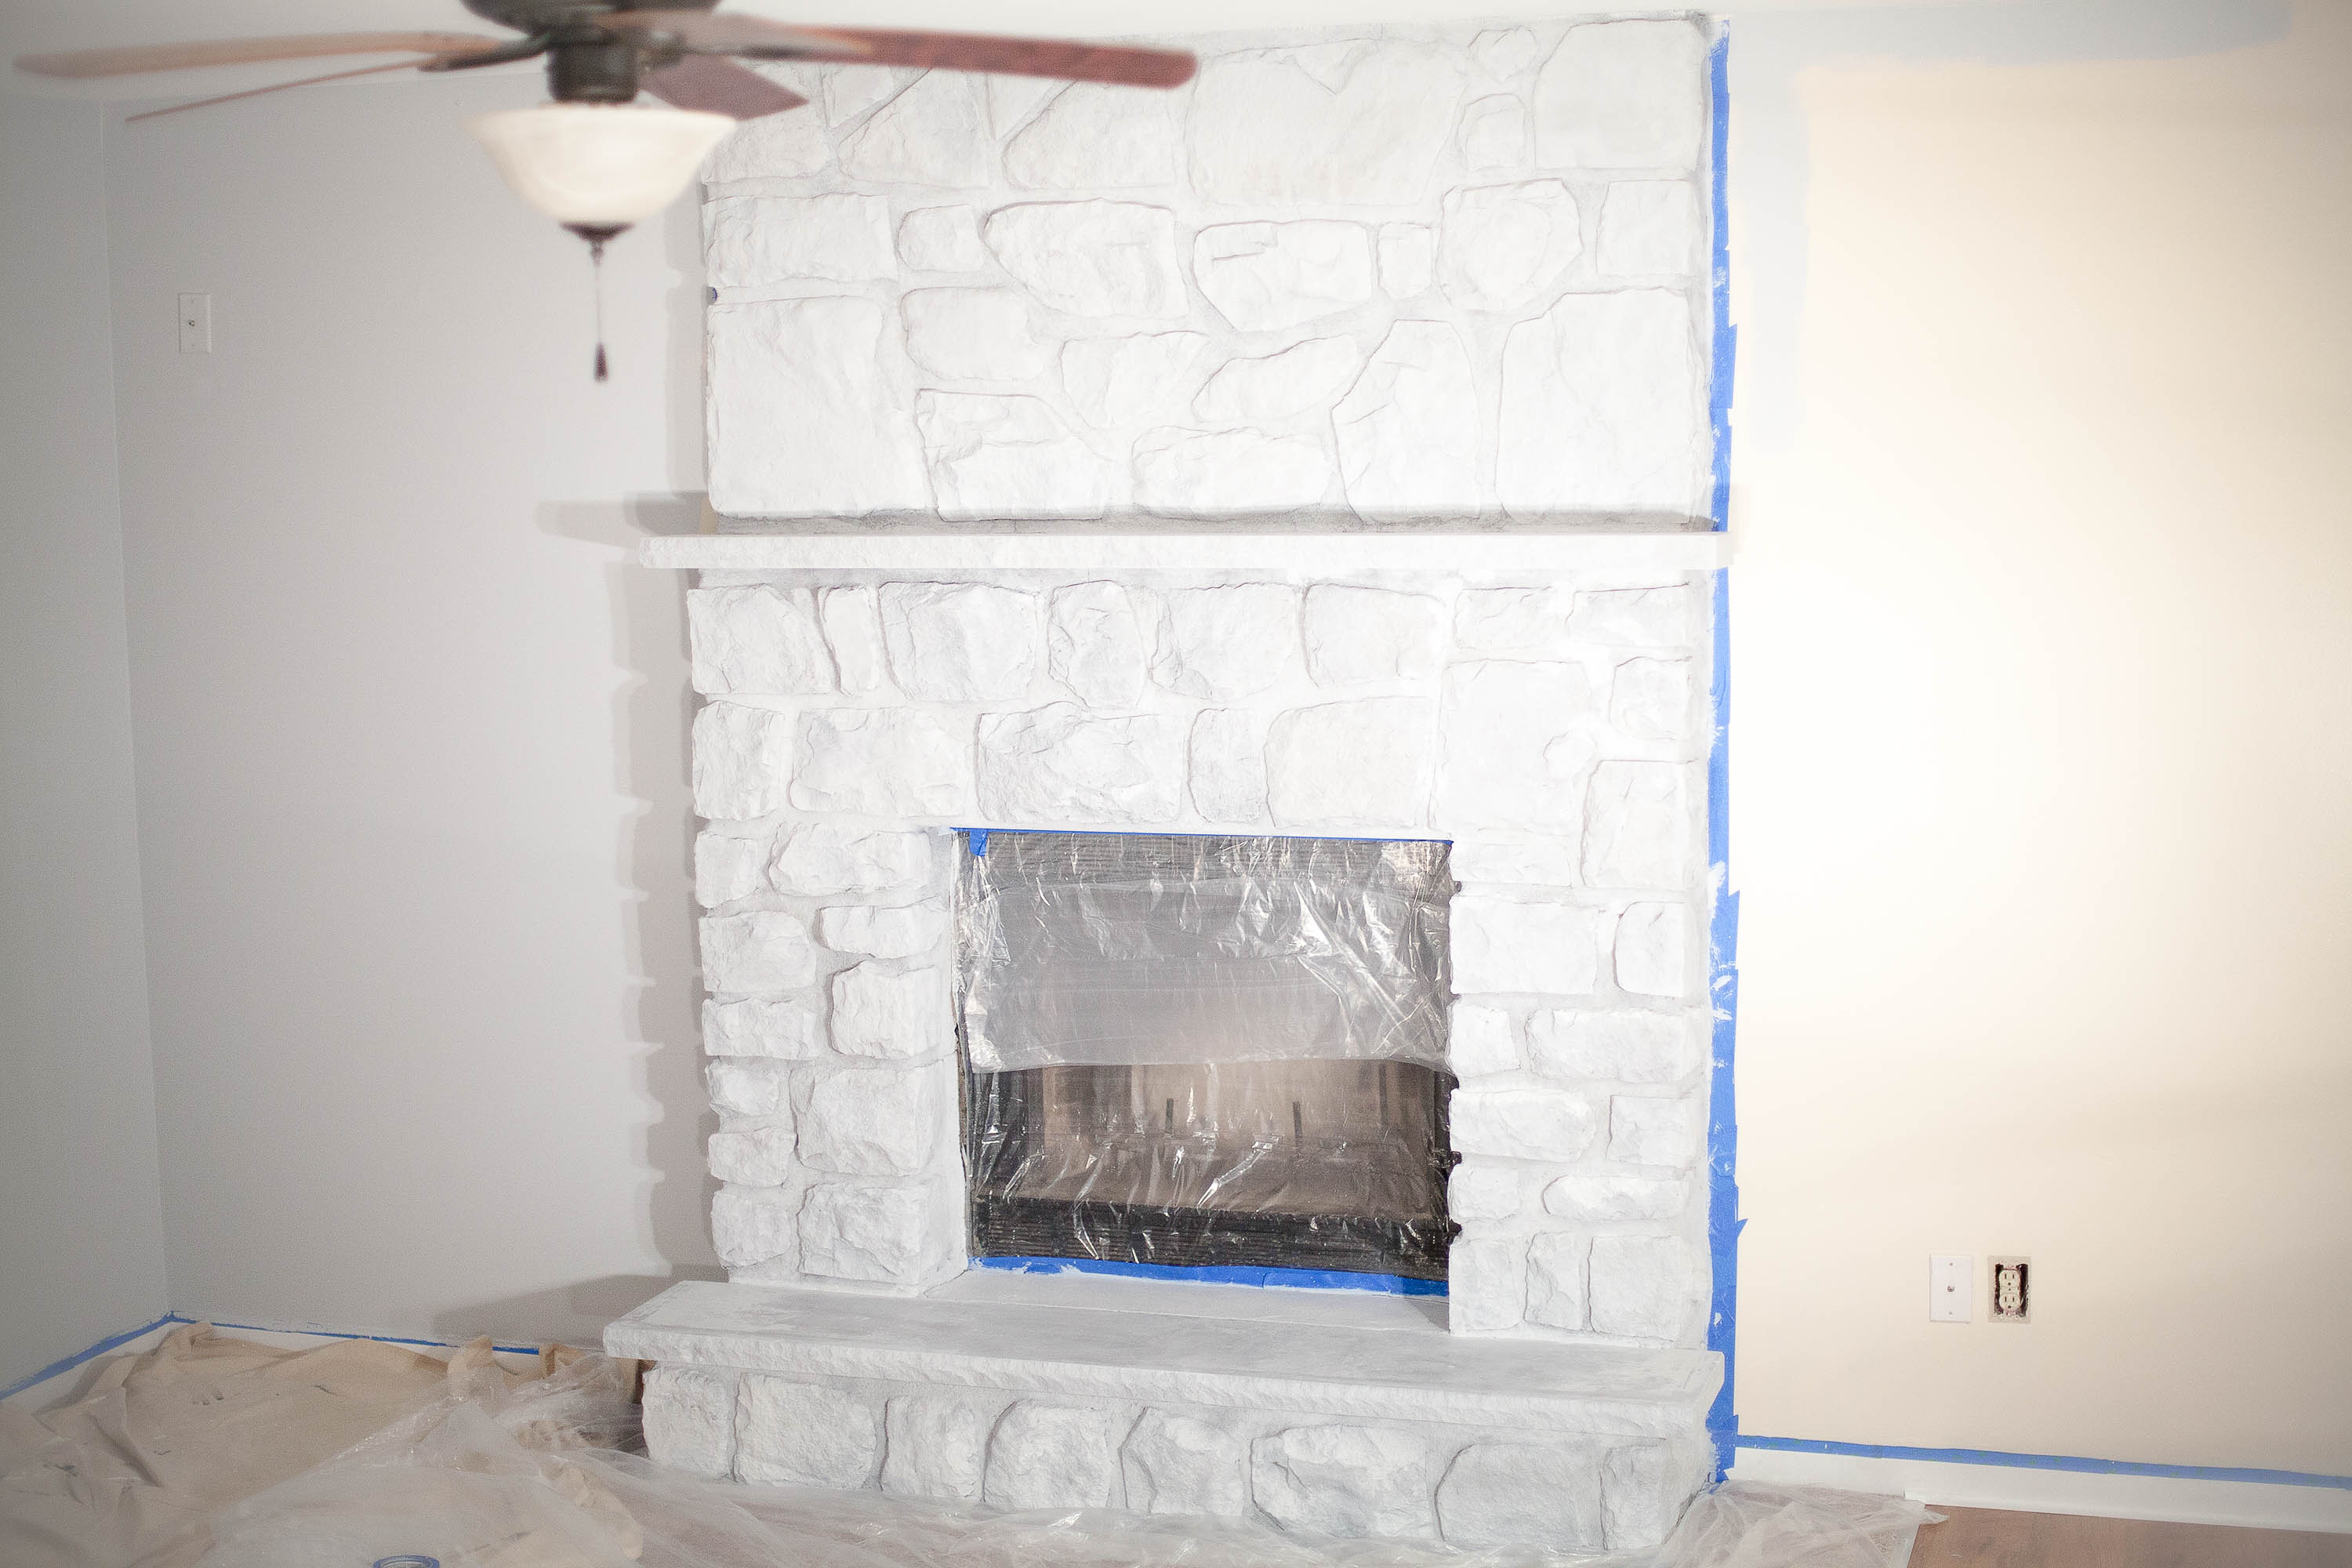
The photo above is the fireplace with the base layer of paint (gray). It covered extremely well and I was able to get all of the porous areas covered. The hardest part was stippling into the porous areas, as it’s very time-consuming.
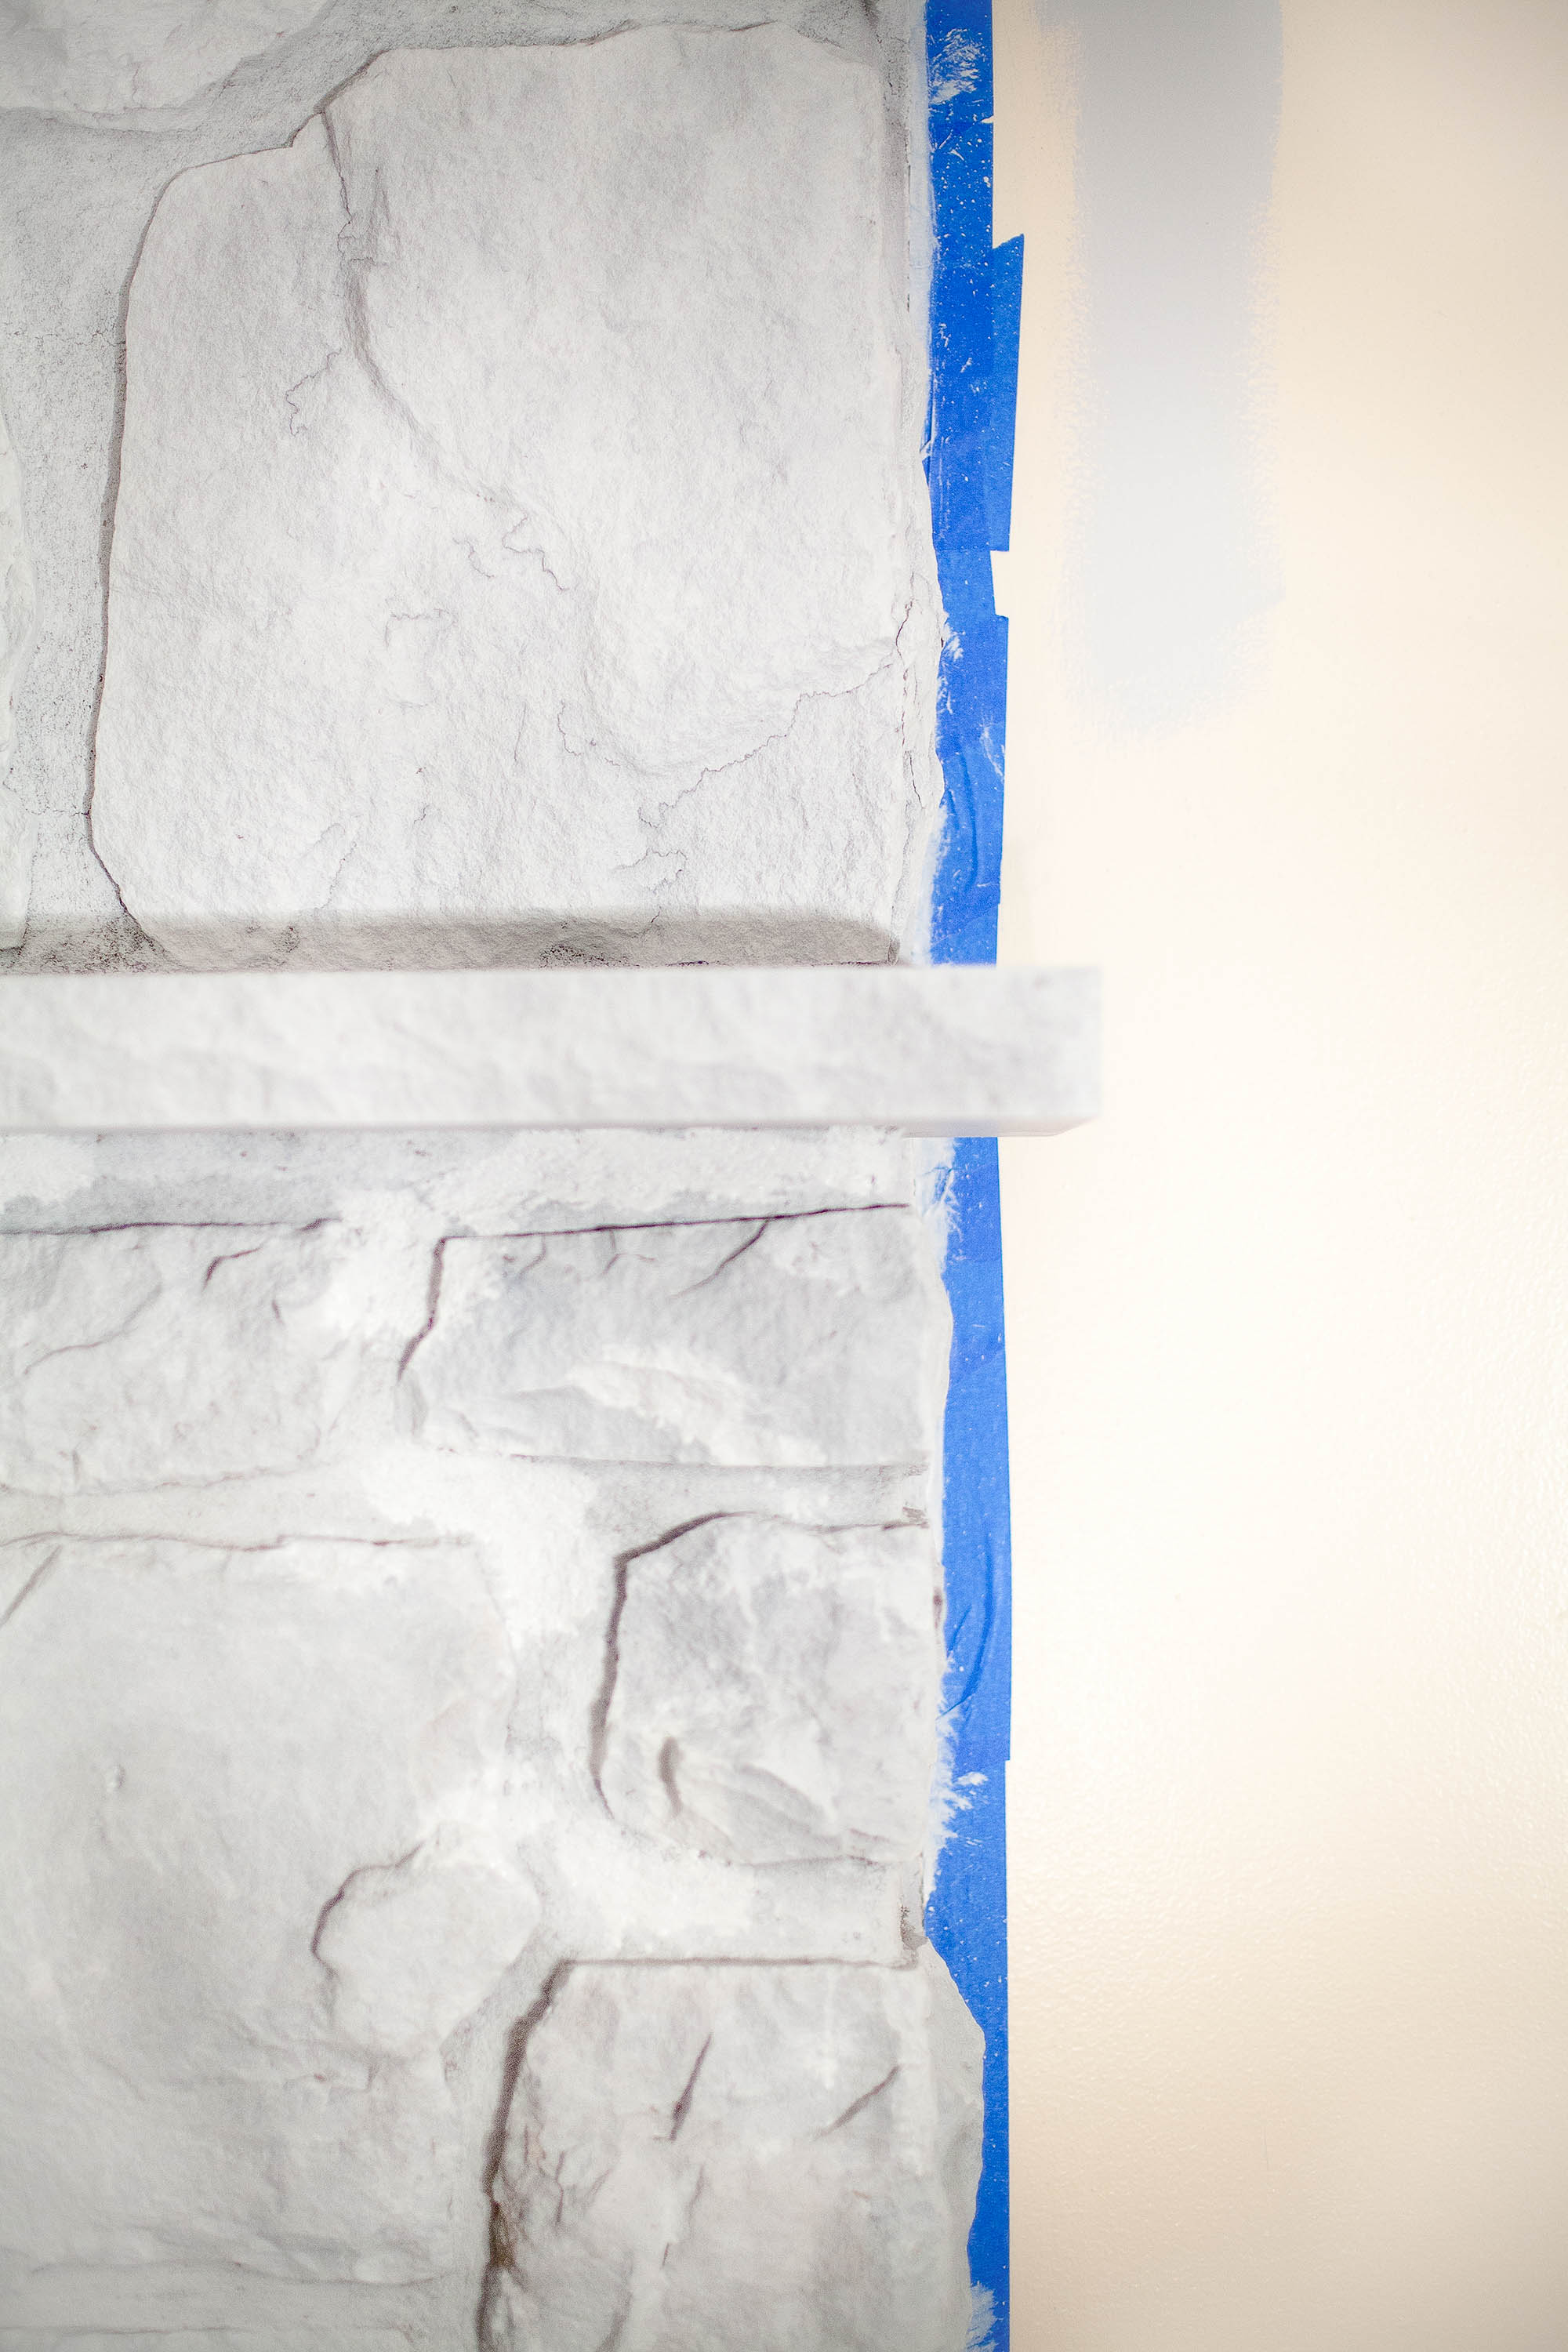
This first layer took me 6 hours to complete. It didn’t feel like 6 hours, though. Once I got a rhythm going, it all seemed to go by pretty fast. It was actually very therapeutic!
STEP 3: I decided to let the fireplace dry overnight before I started on the white mixture.
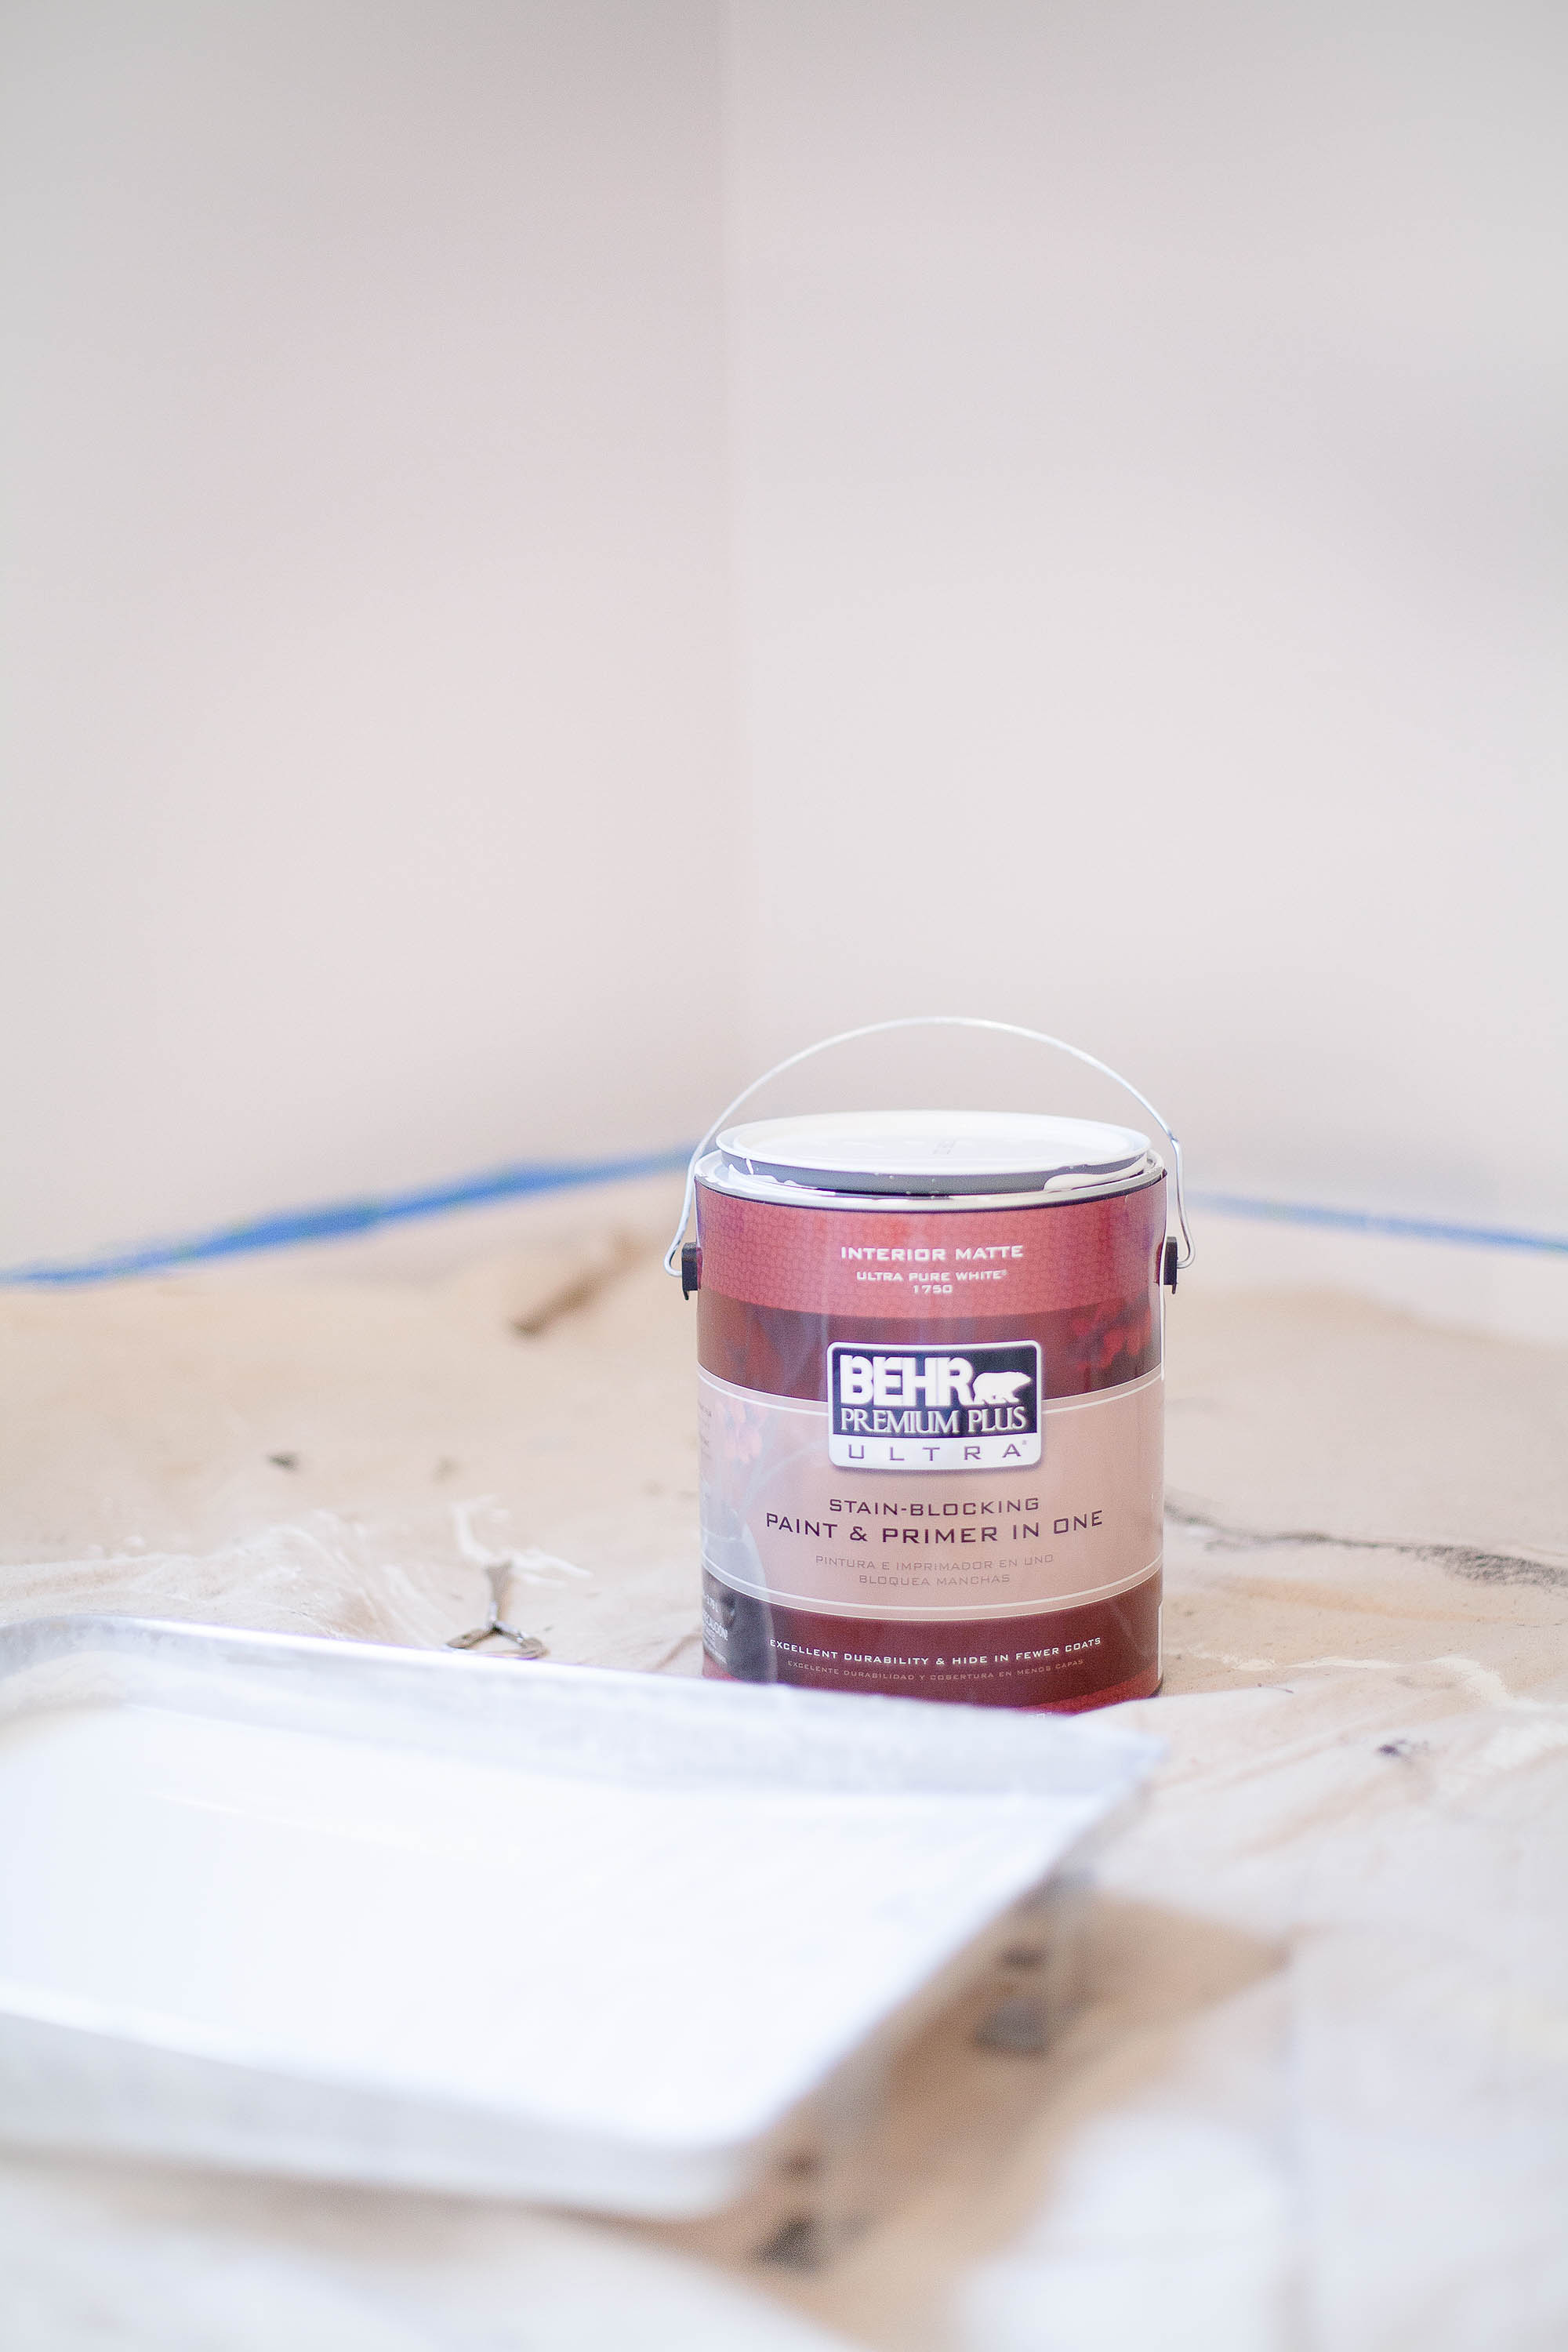
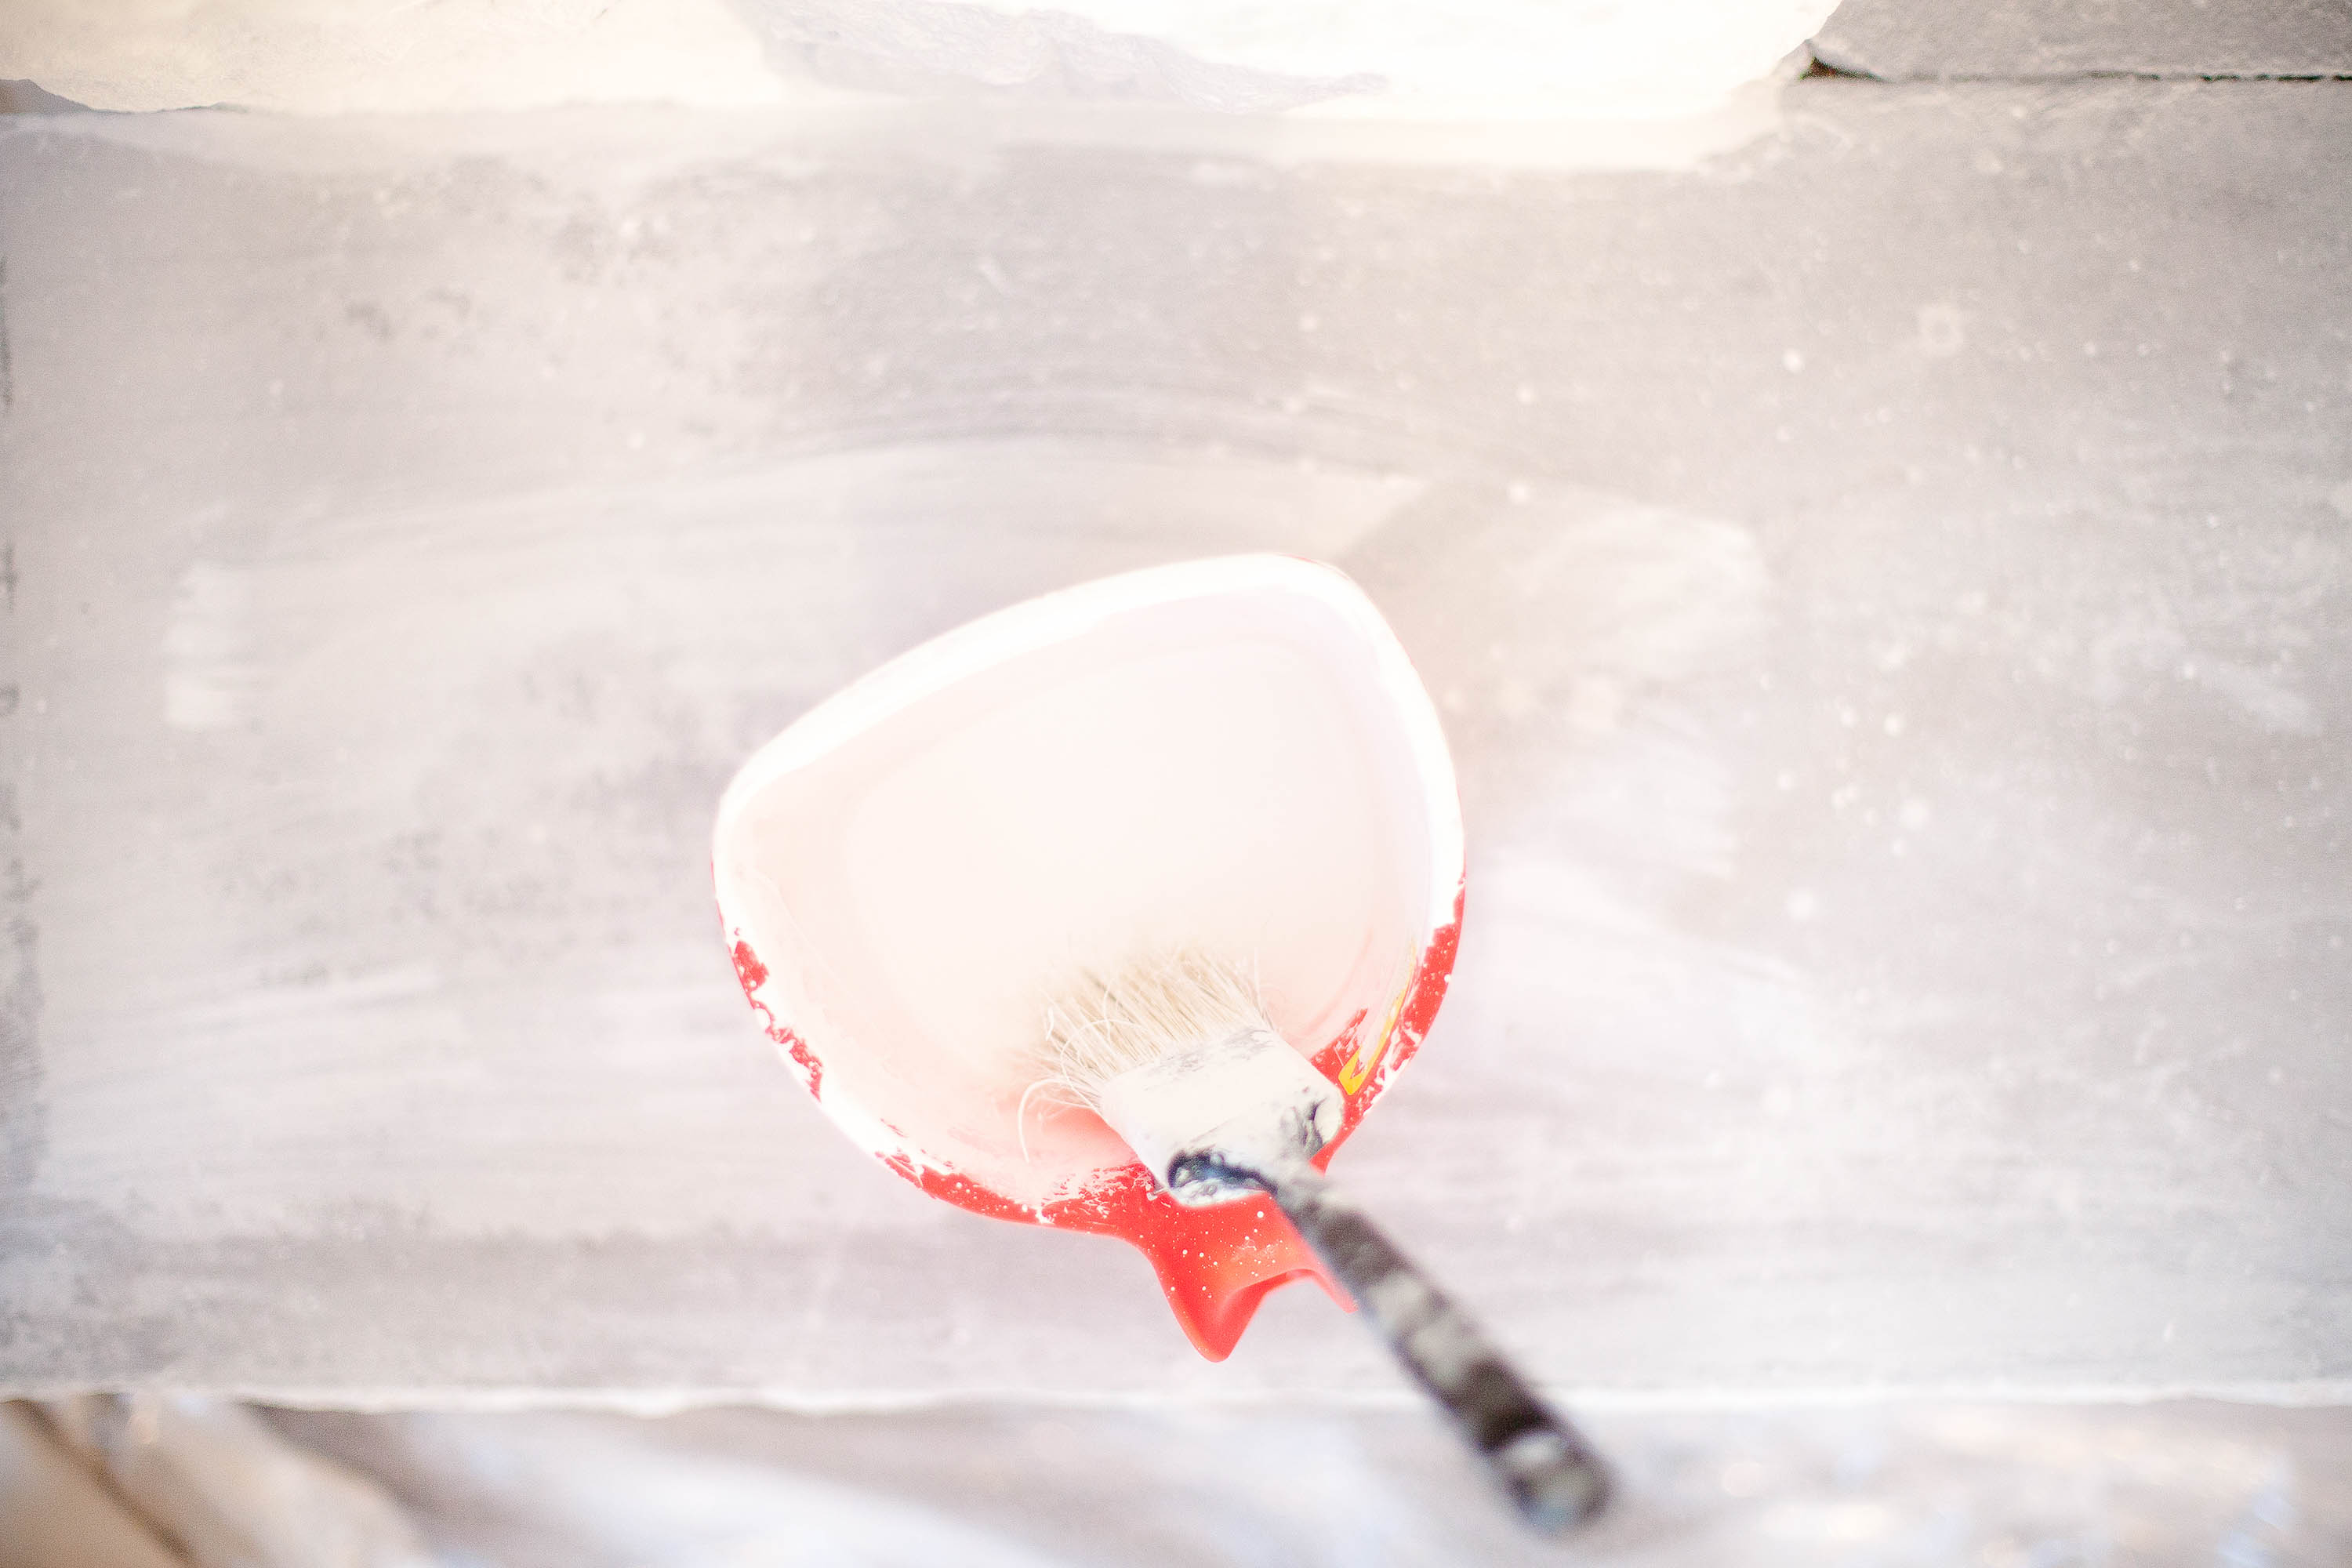
STEP 4: Similar to step one, when you’re ready to start your white mixture coat, be sure to experiment with it first.
The first mixture that I made for this coat ended up being too watery. I found that with matte paint, it seemed to sink to the bottom of the mixture. I ended up having my white mixture mostly paint with just a little bit of water mixed in.
I did approximately 3/4 paint and 1/4 water. I dipped my brush in and swirled it around a bit to make sure the water took, and then I’d paint. I ended up adding more water to the mixture every 15 minutes or so.
The photo below shows my two mixtures. The one on the right was way too transparent for my liking – there was too much gray peeking through. So, the one on the left was what I ended up using.
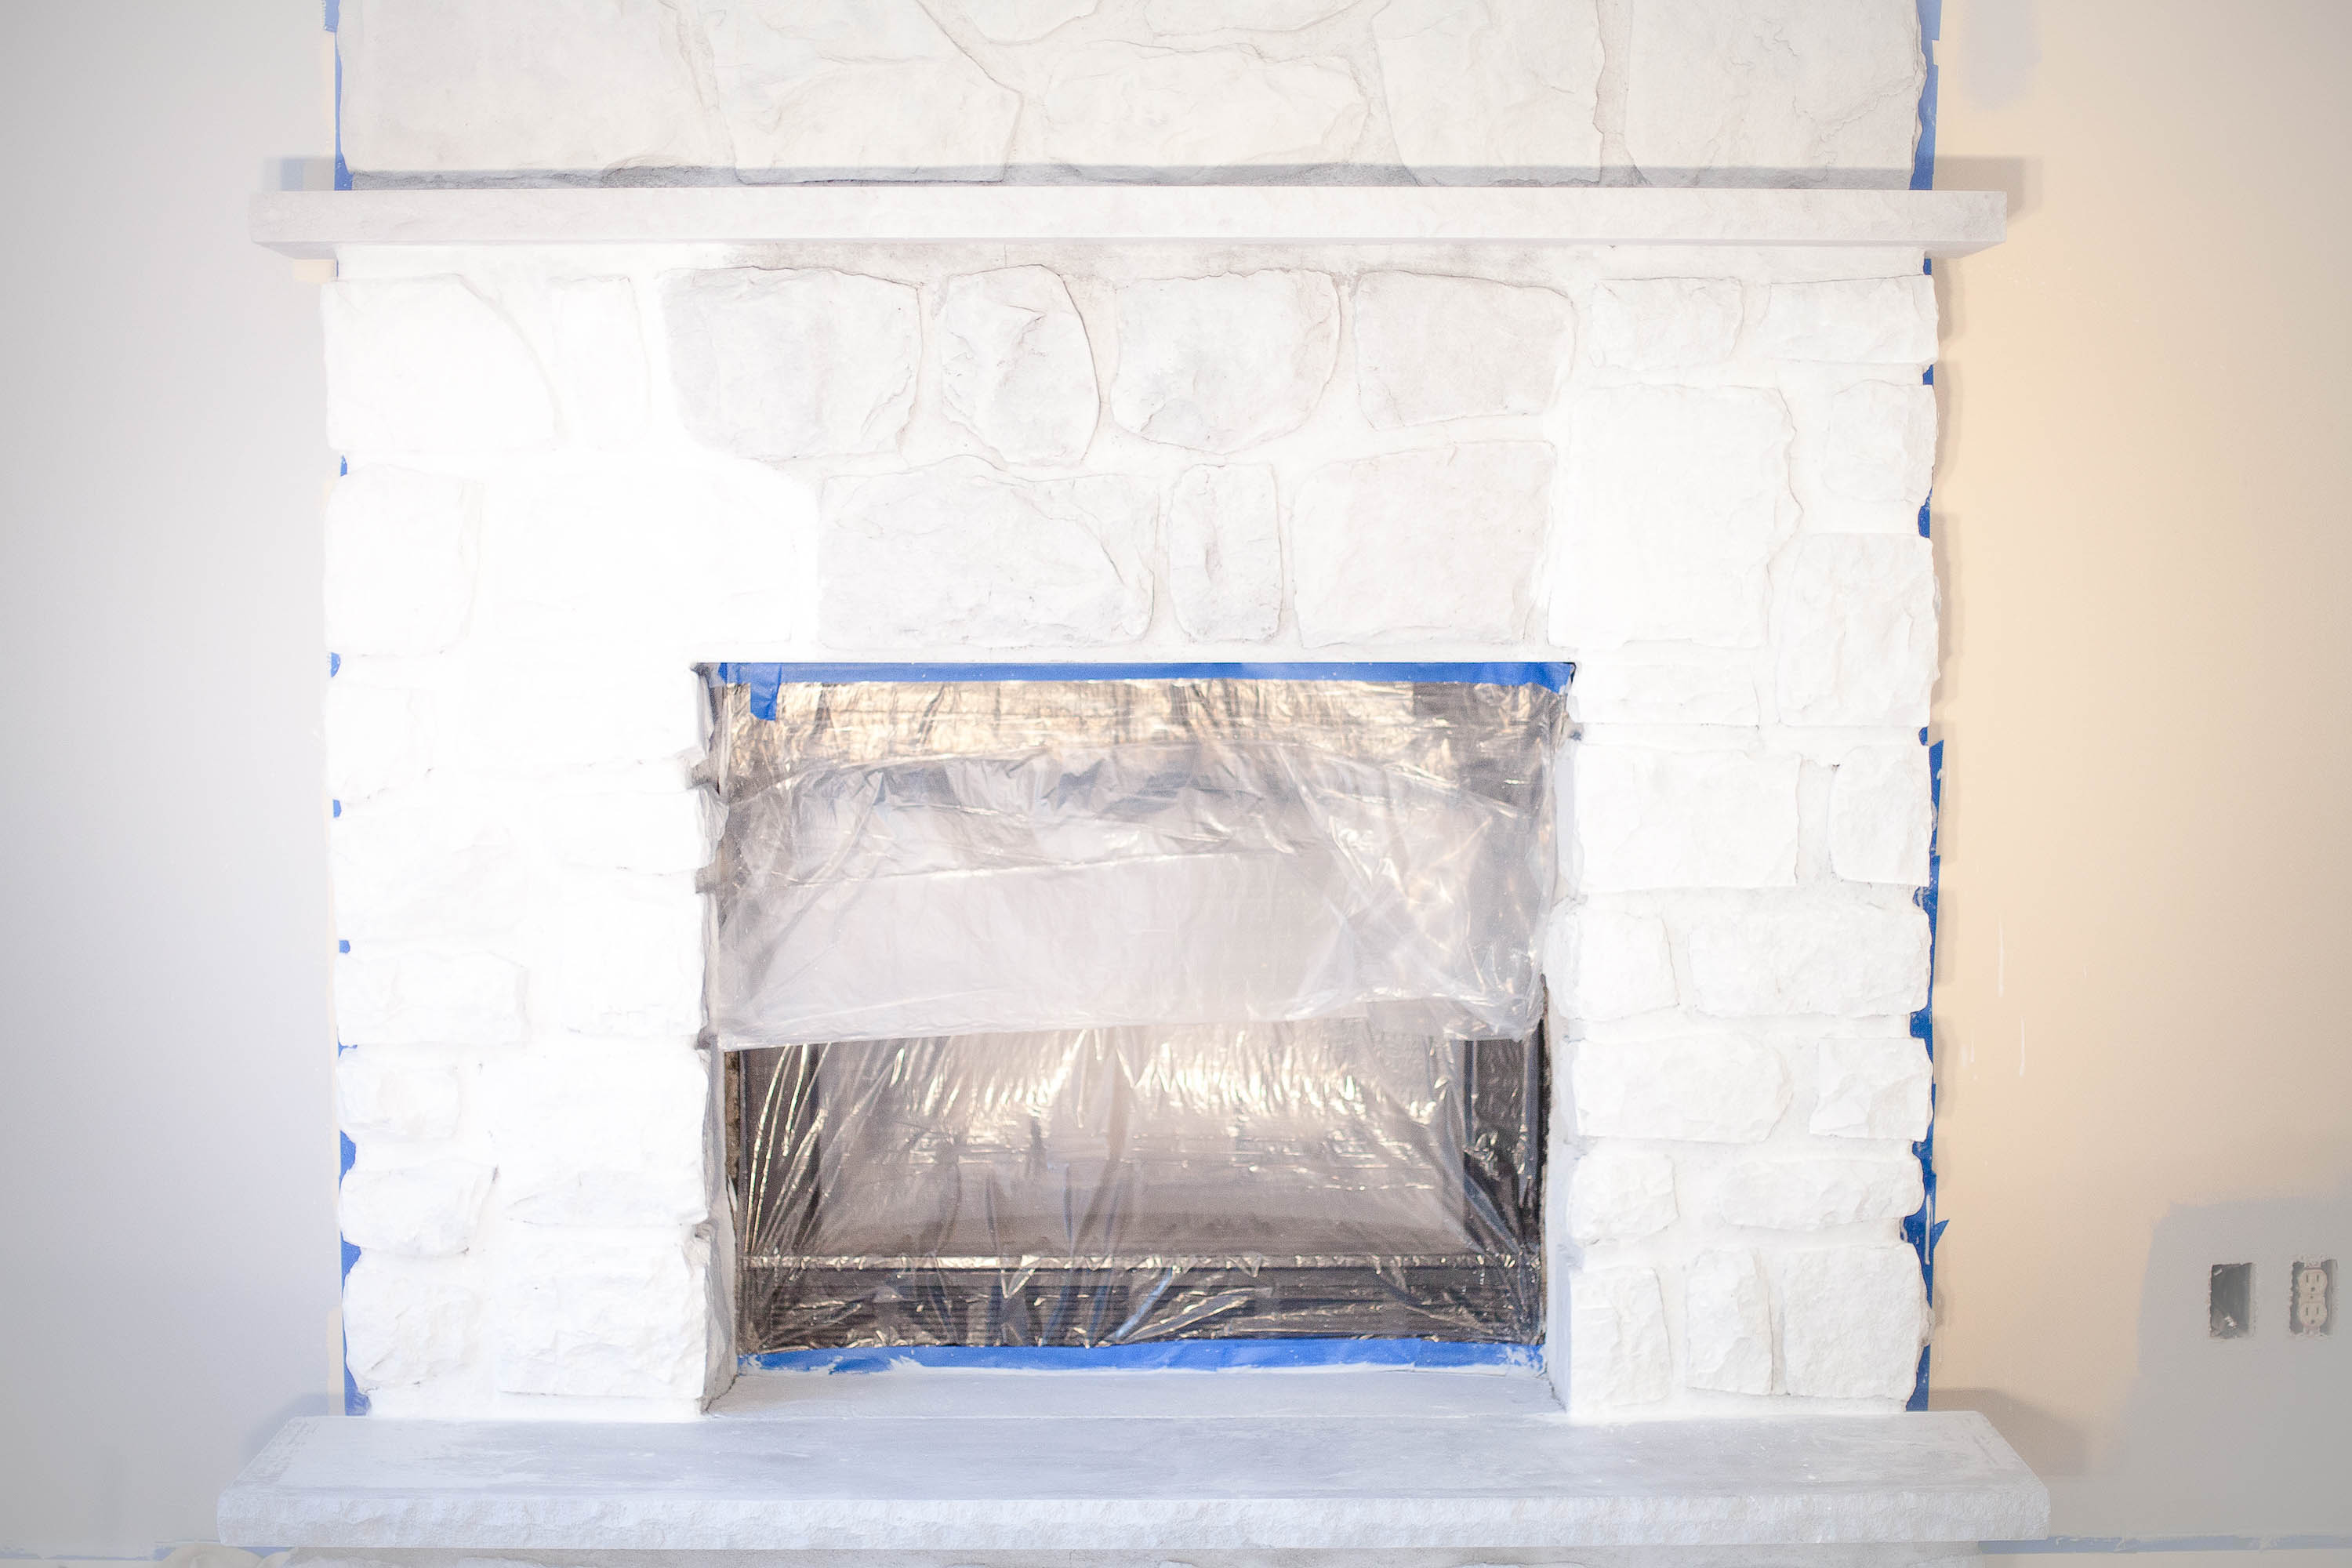
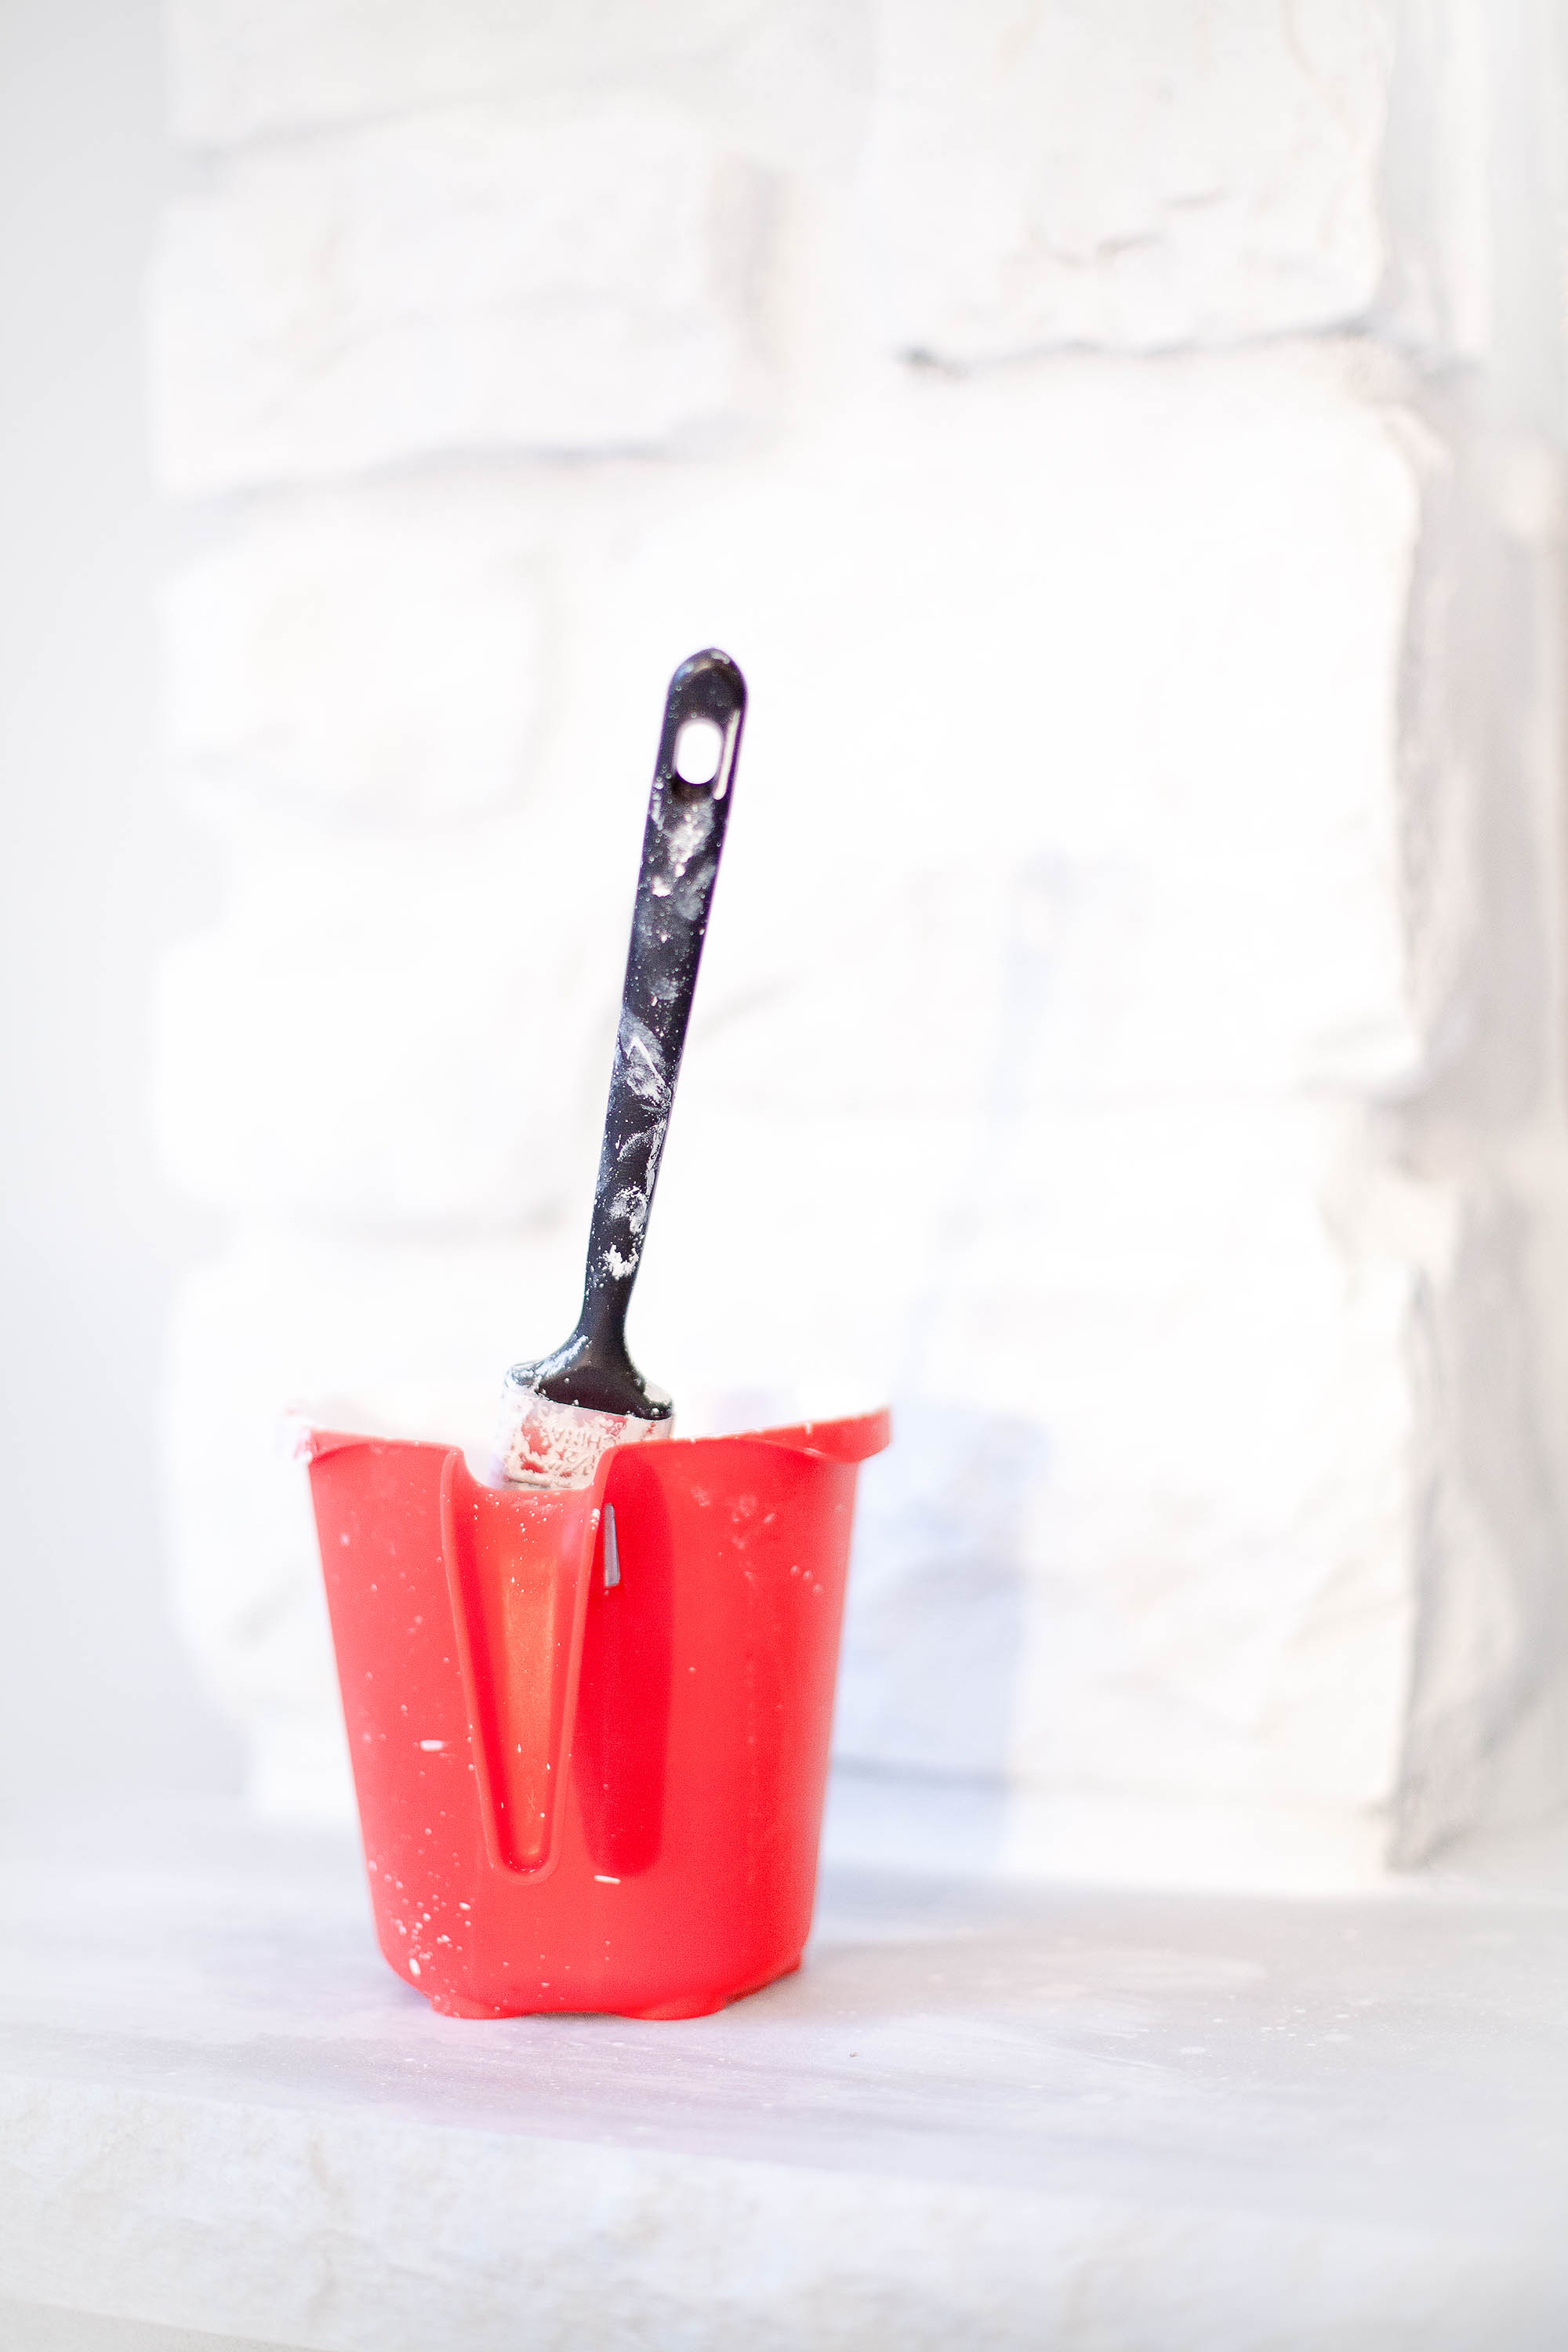
STEP 5: Repeat the steps from the first coat of mixture. It took me just under 6 hours to complete. It went faster than the first coat since I didn’t have to stress too much about the porous areas, but I was more picky with this coat. I had to go back and touch-up some parts above the mantel a couple times.
READY FOR THE FINAL RESULTS?!
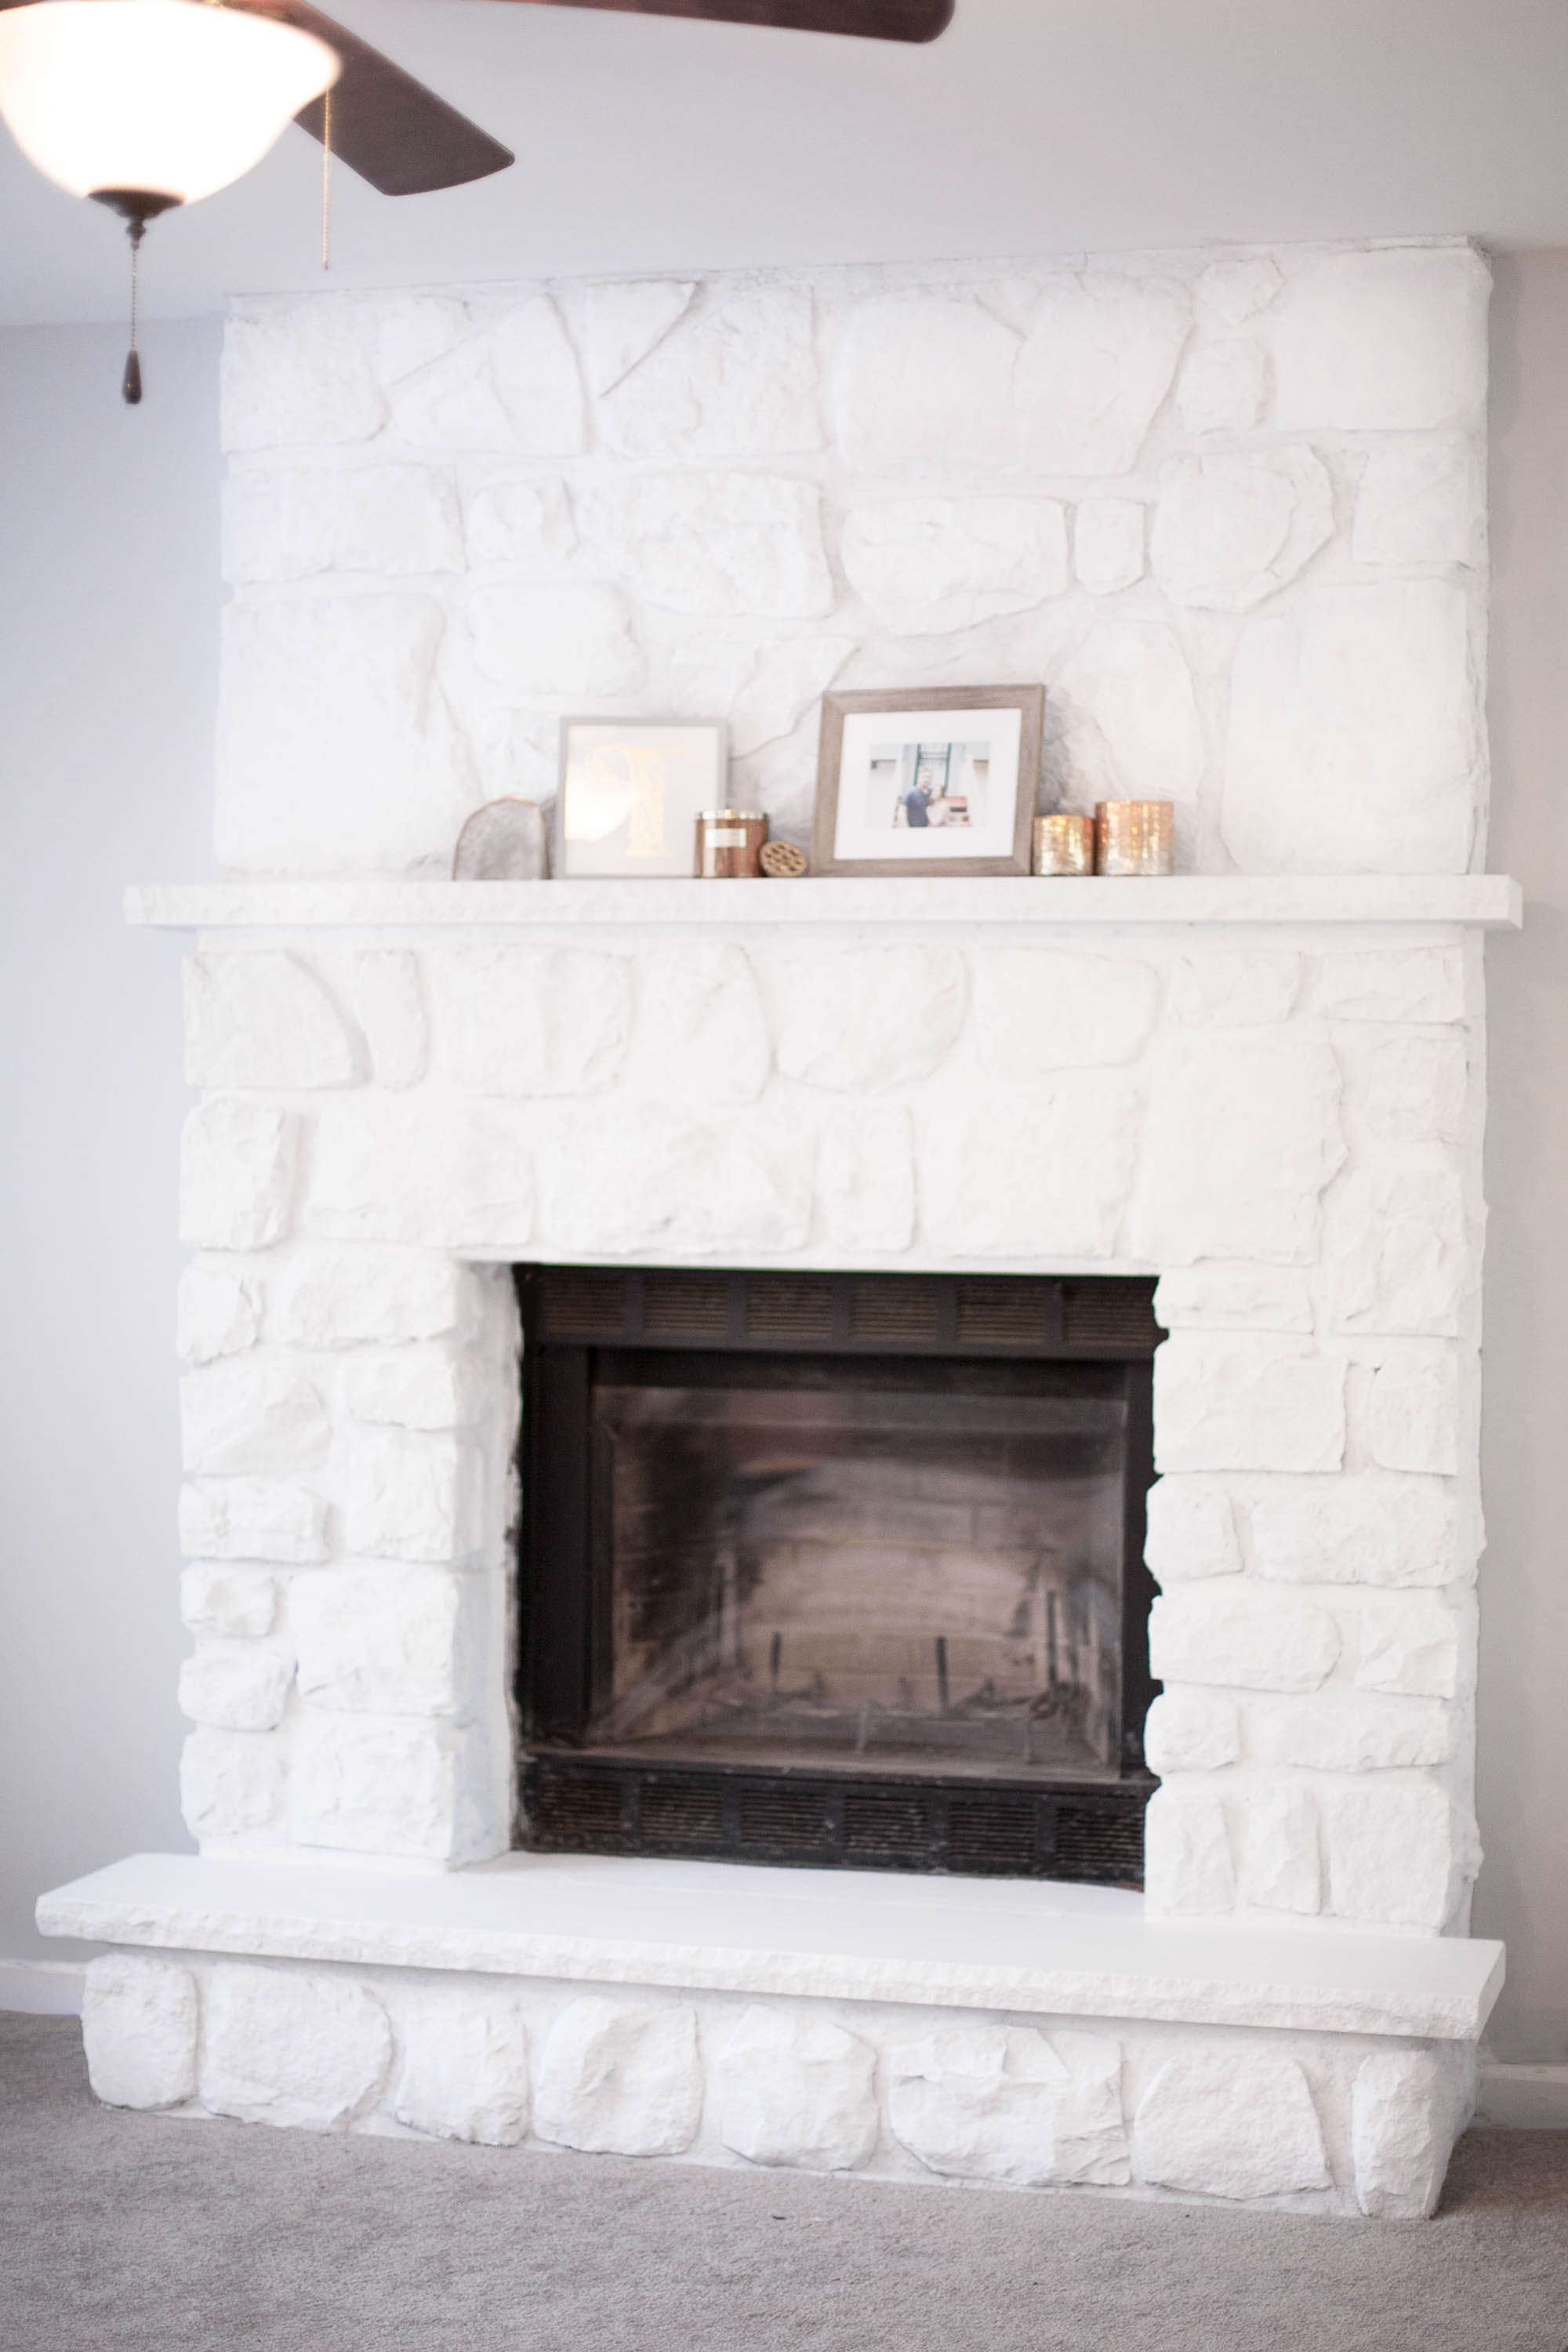
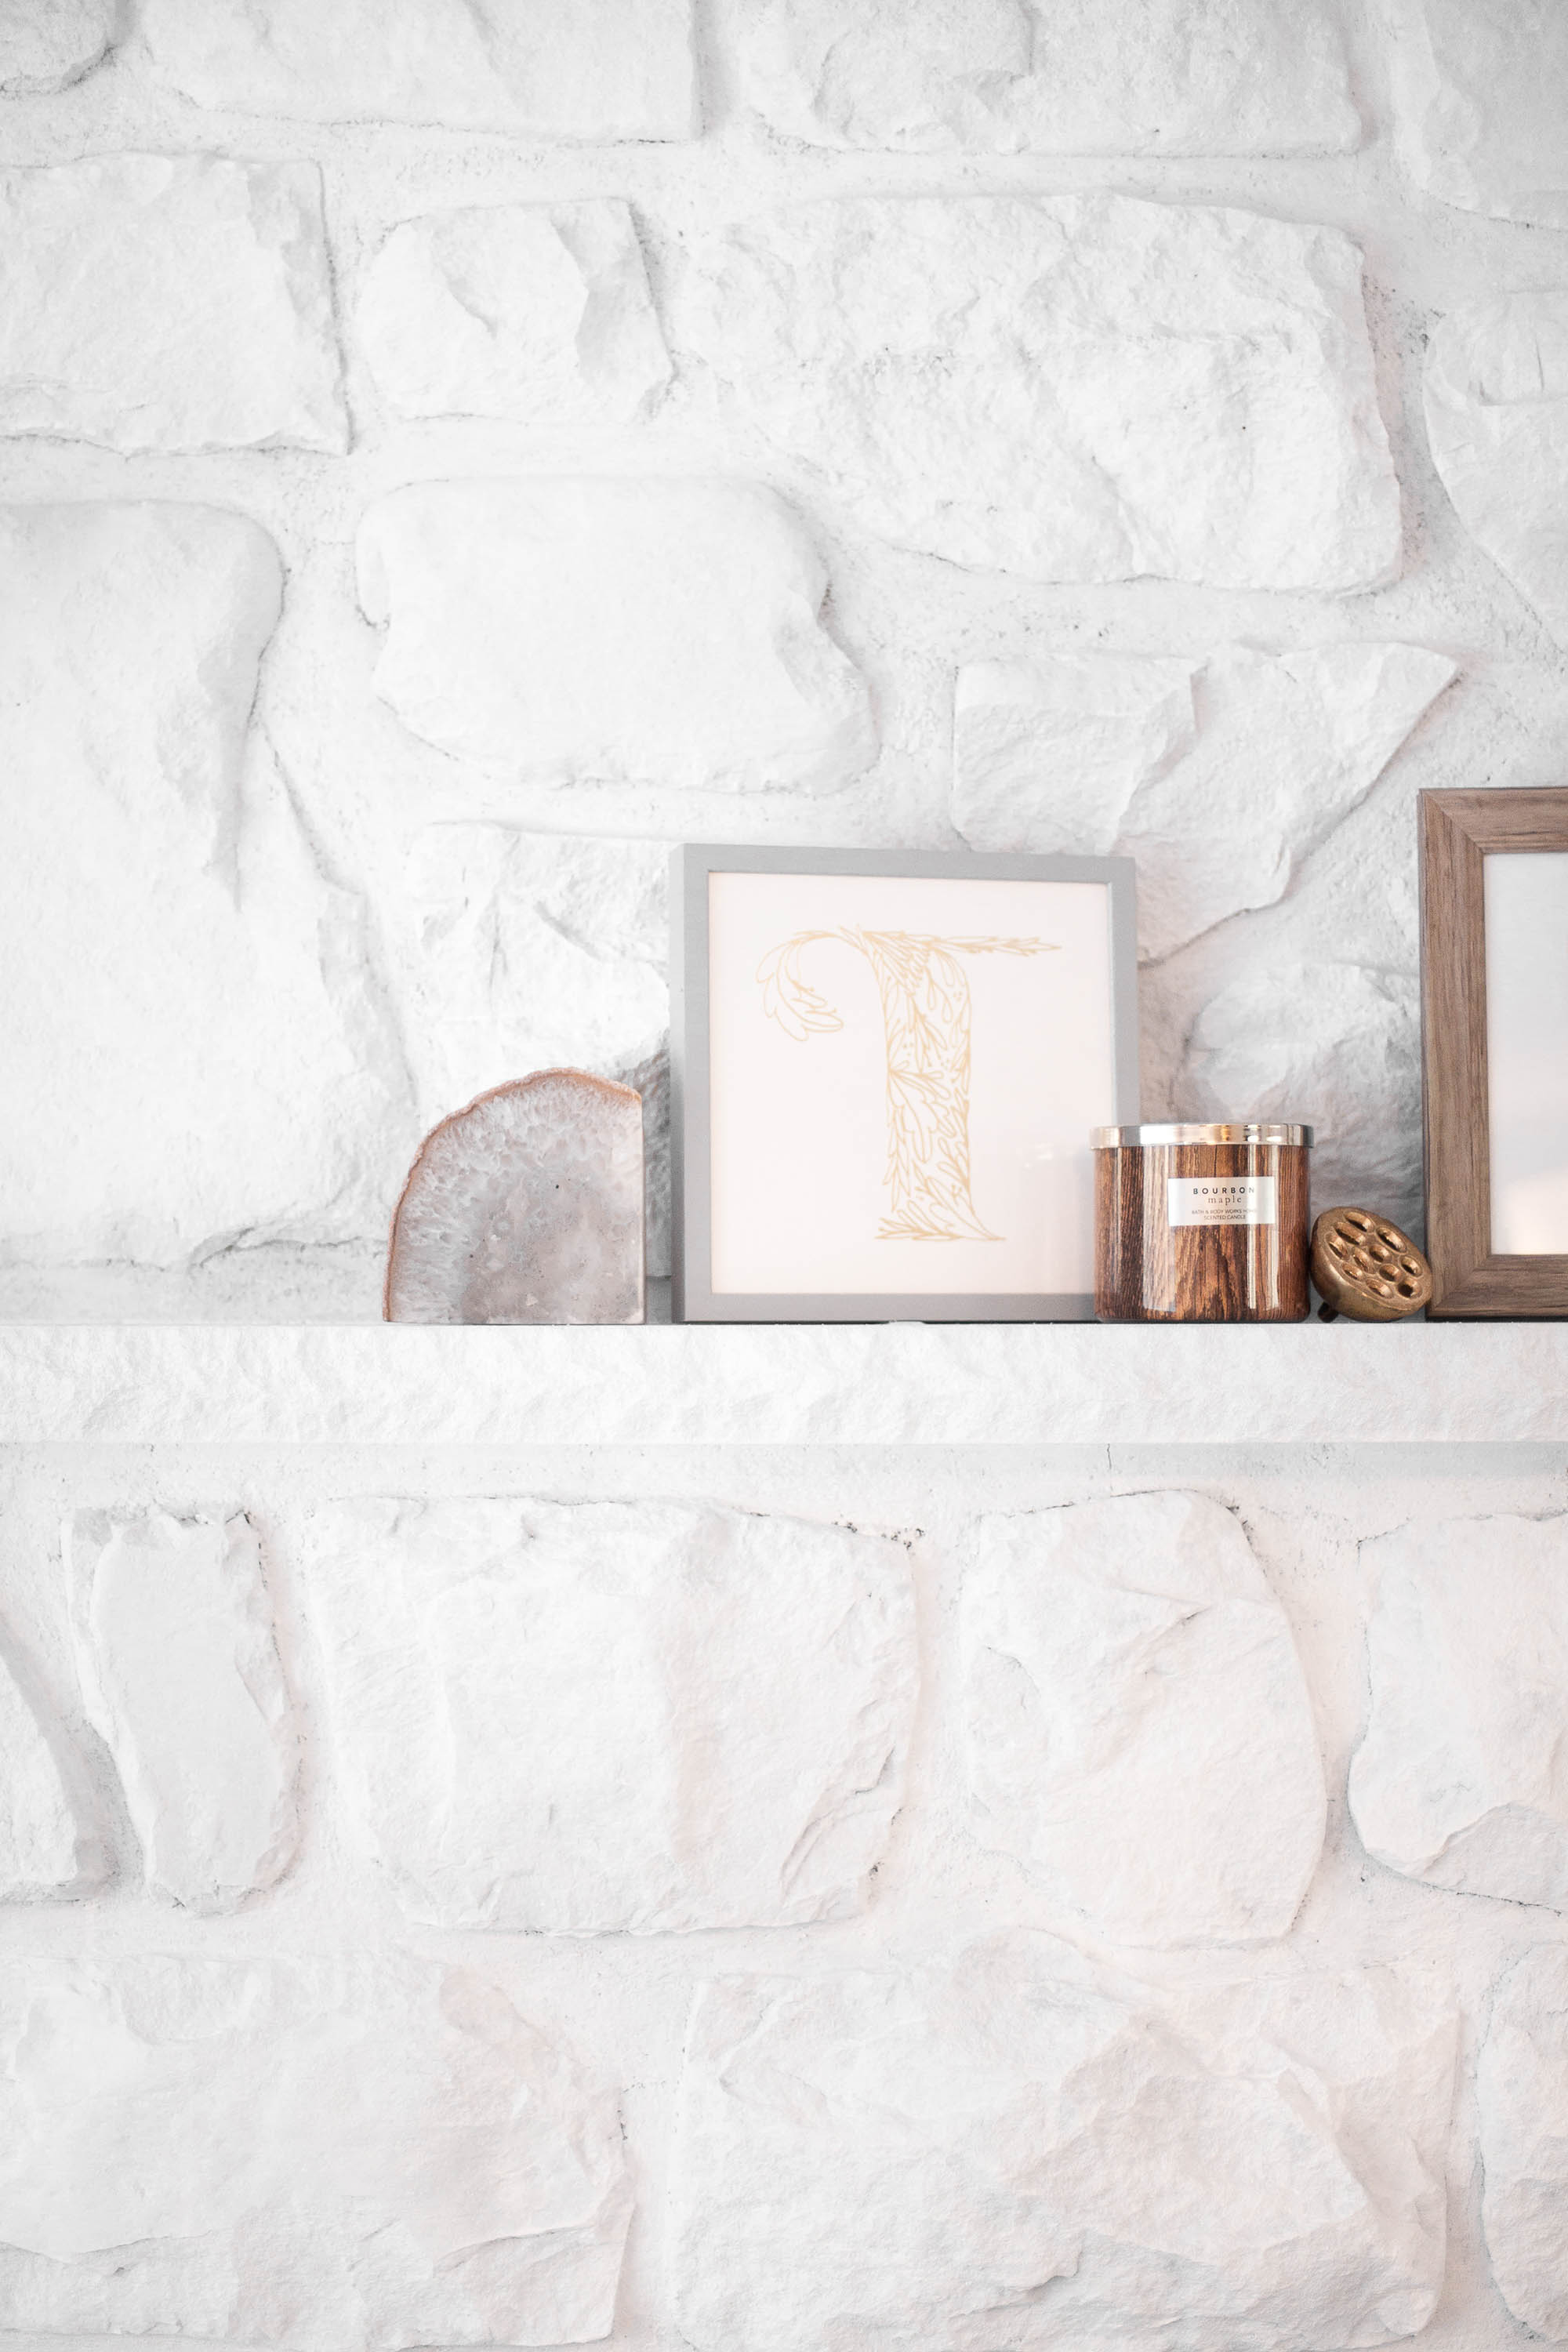
TA-DA!! Here’s my beauty! Friends, I am so, so, SO proud of this project. It was worth the near 12 hours of work. It’s easily the focal point of our entire home. I wanted it to cover a bit more than the regular whitewash look, where the stone peeks through, and I’m very happy with the final result.
*The paint on the walls is Behr’s “Loft Space” – the perfect gray with slight blue undertones. I’ll share more about the paint in this sitting room area and the rest of the house as I do room reveals in the future.
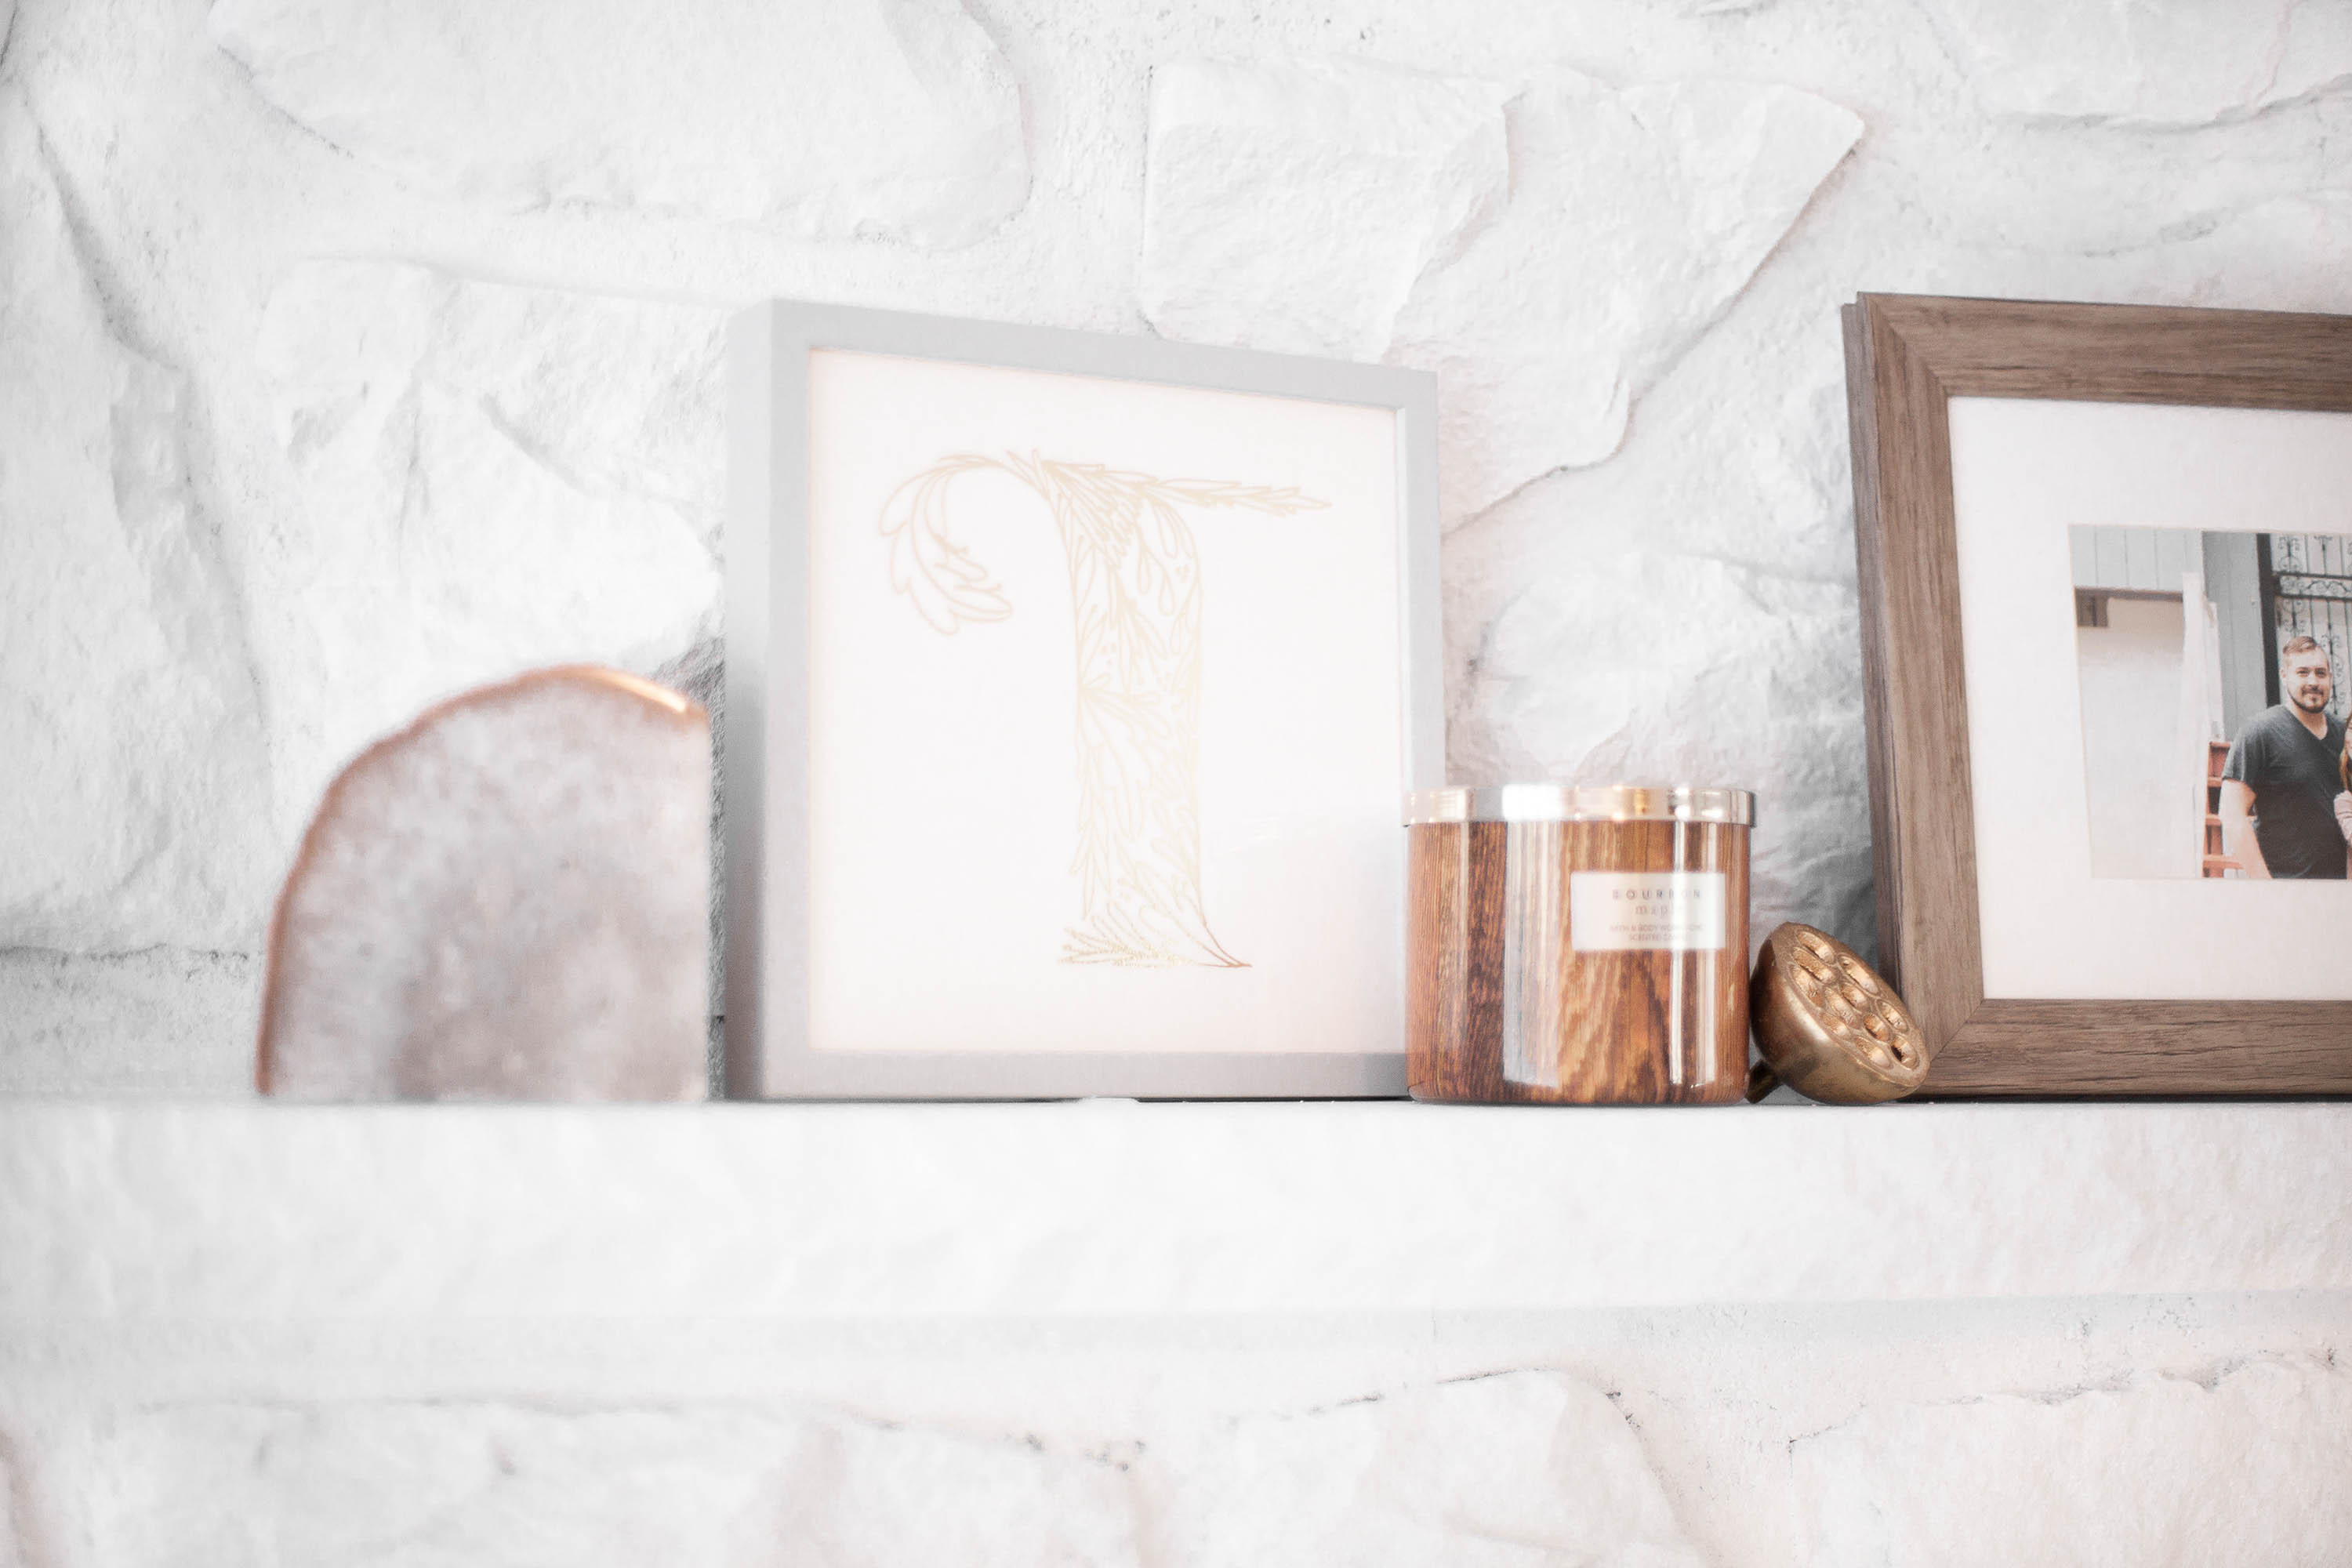
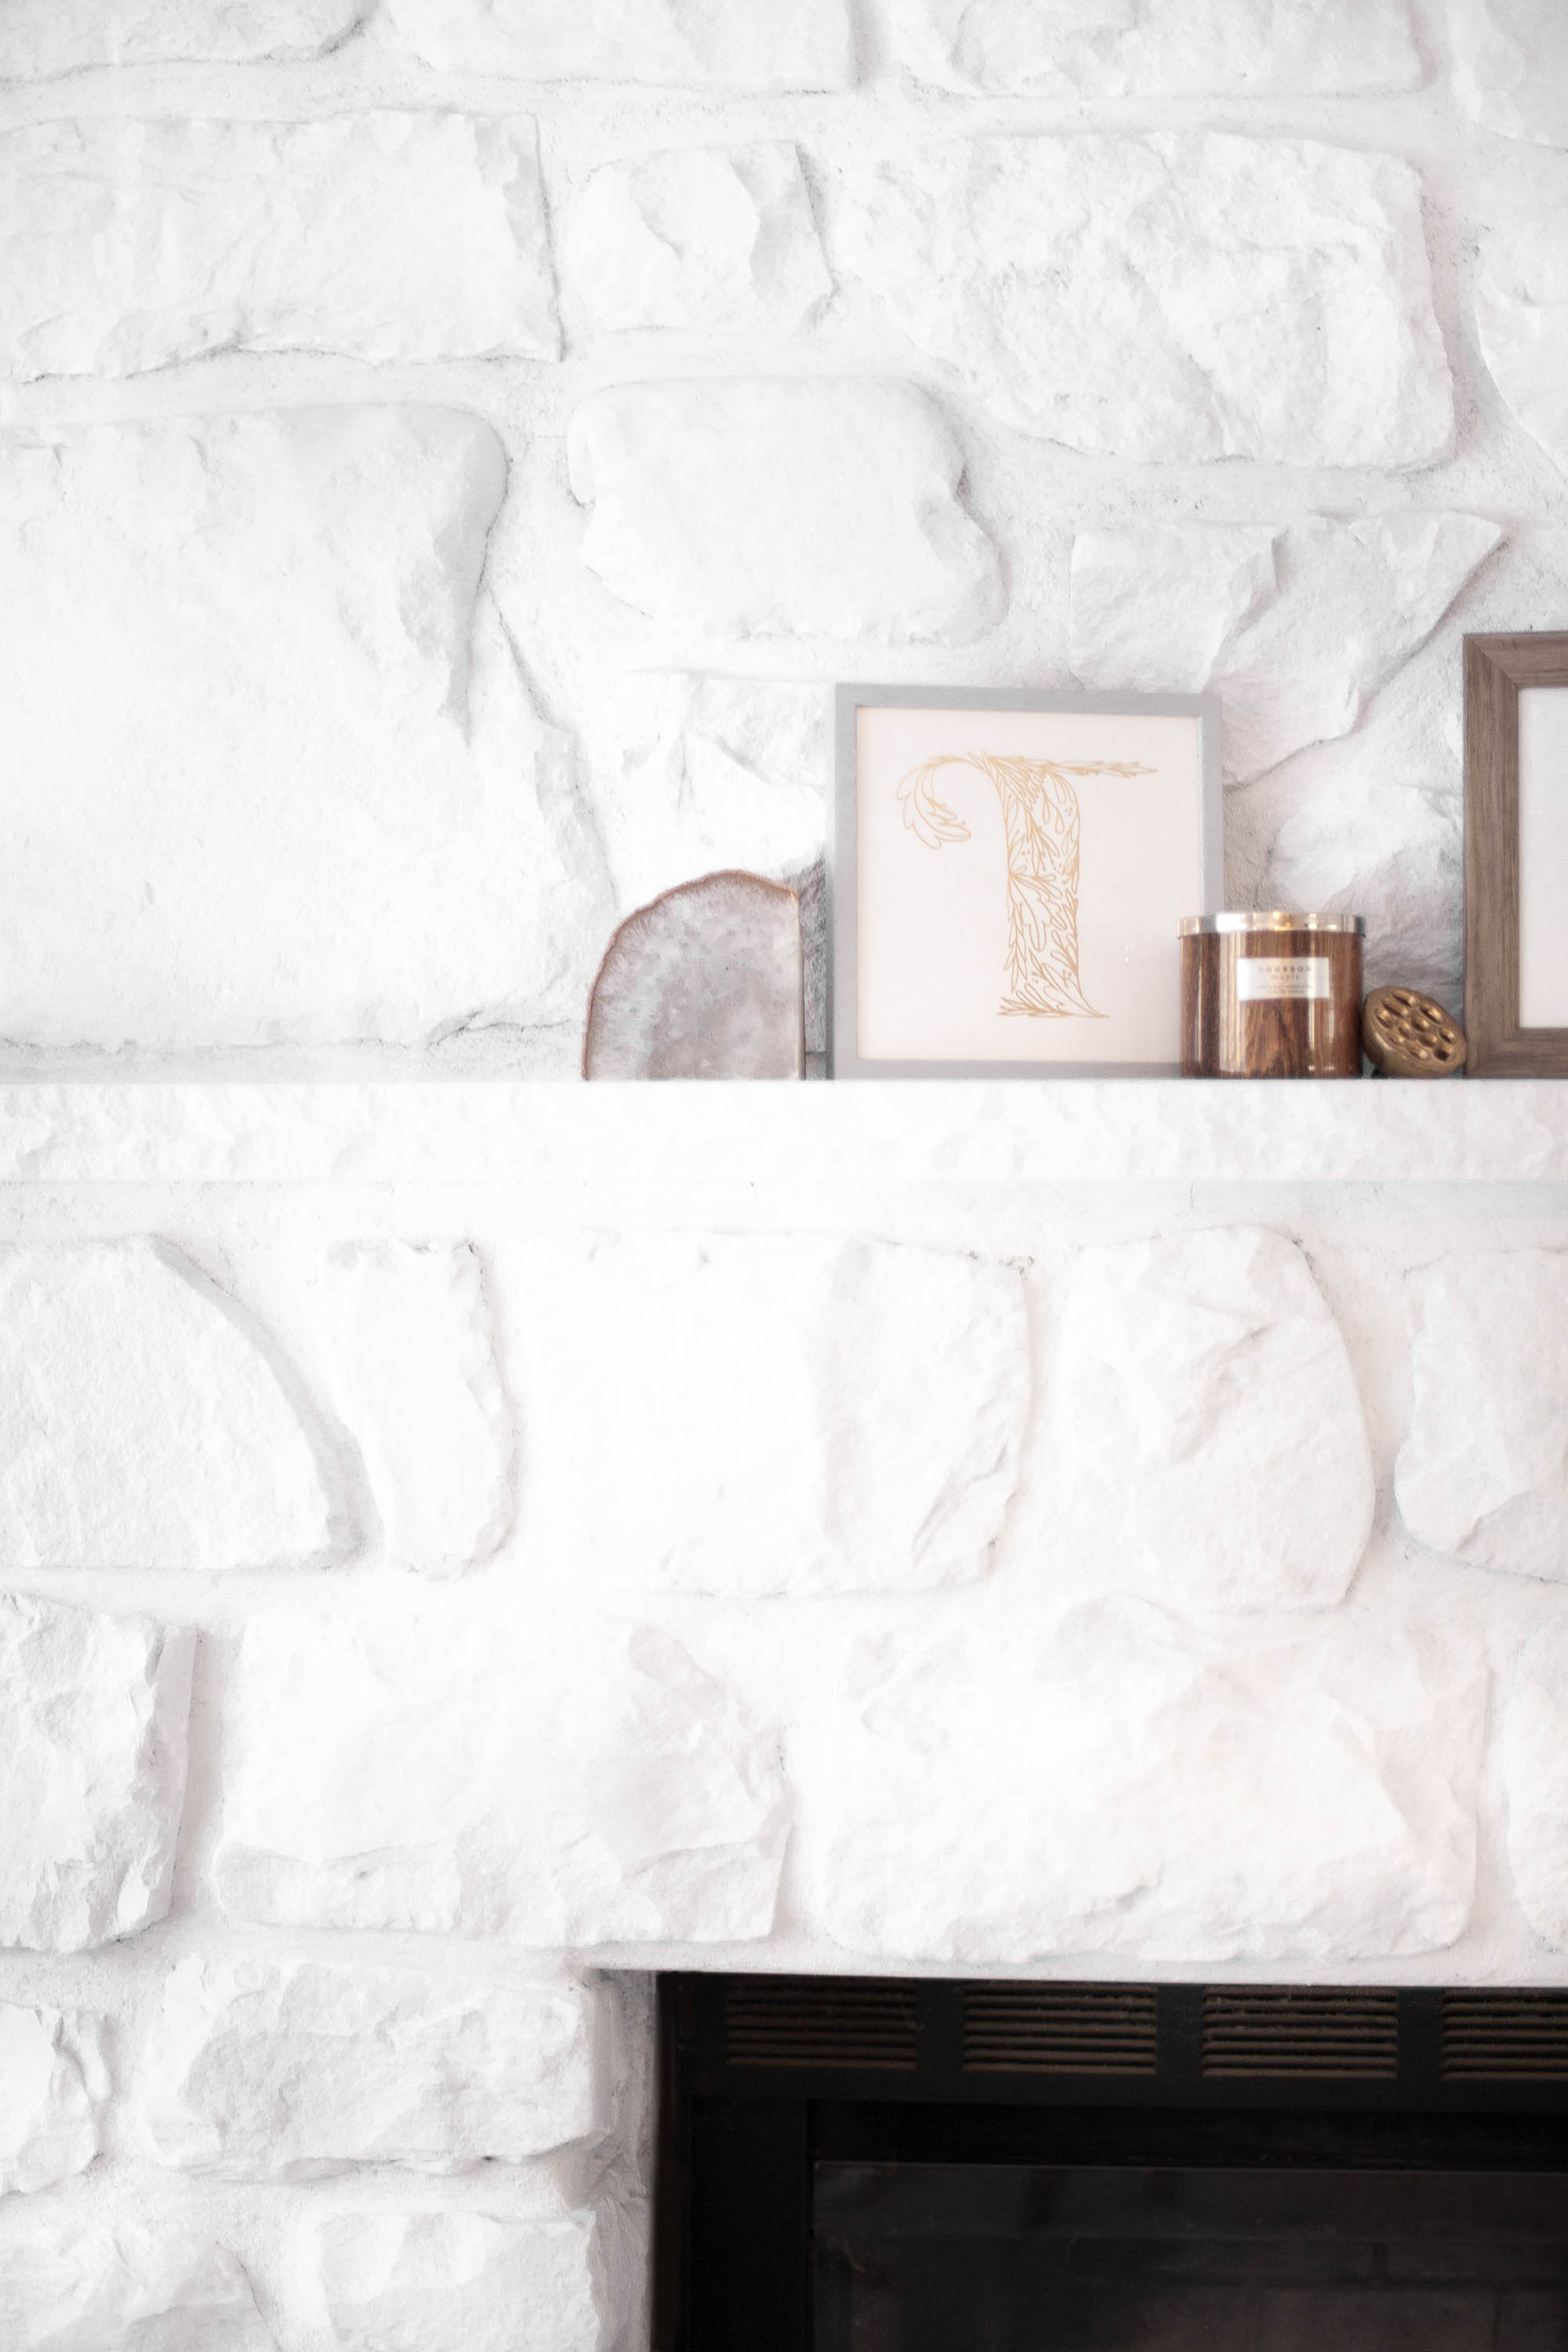
Since we are still in the process of unpacking, this was the decor I had for the mantel for the fall season. I LOVED decorating it Christmas and I’m sure you’ll be seeing those photos within the next couple weeks. It’s simply stunning.
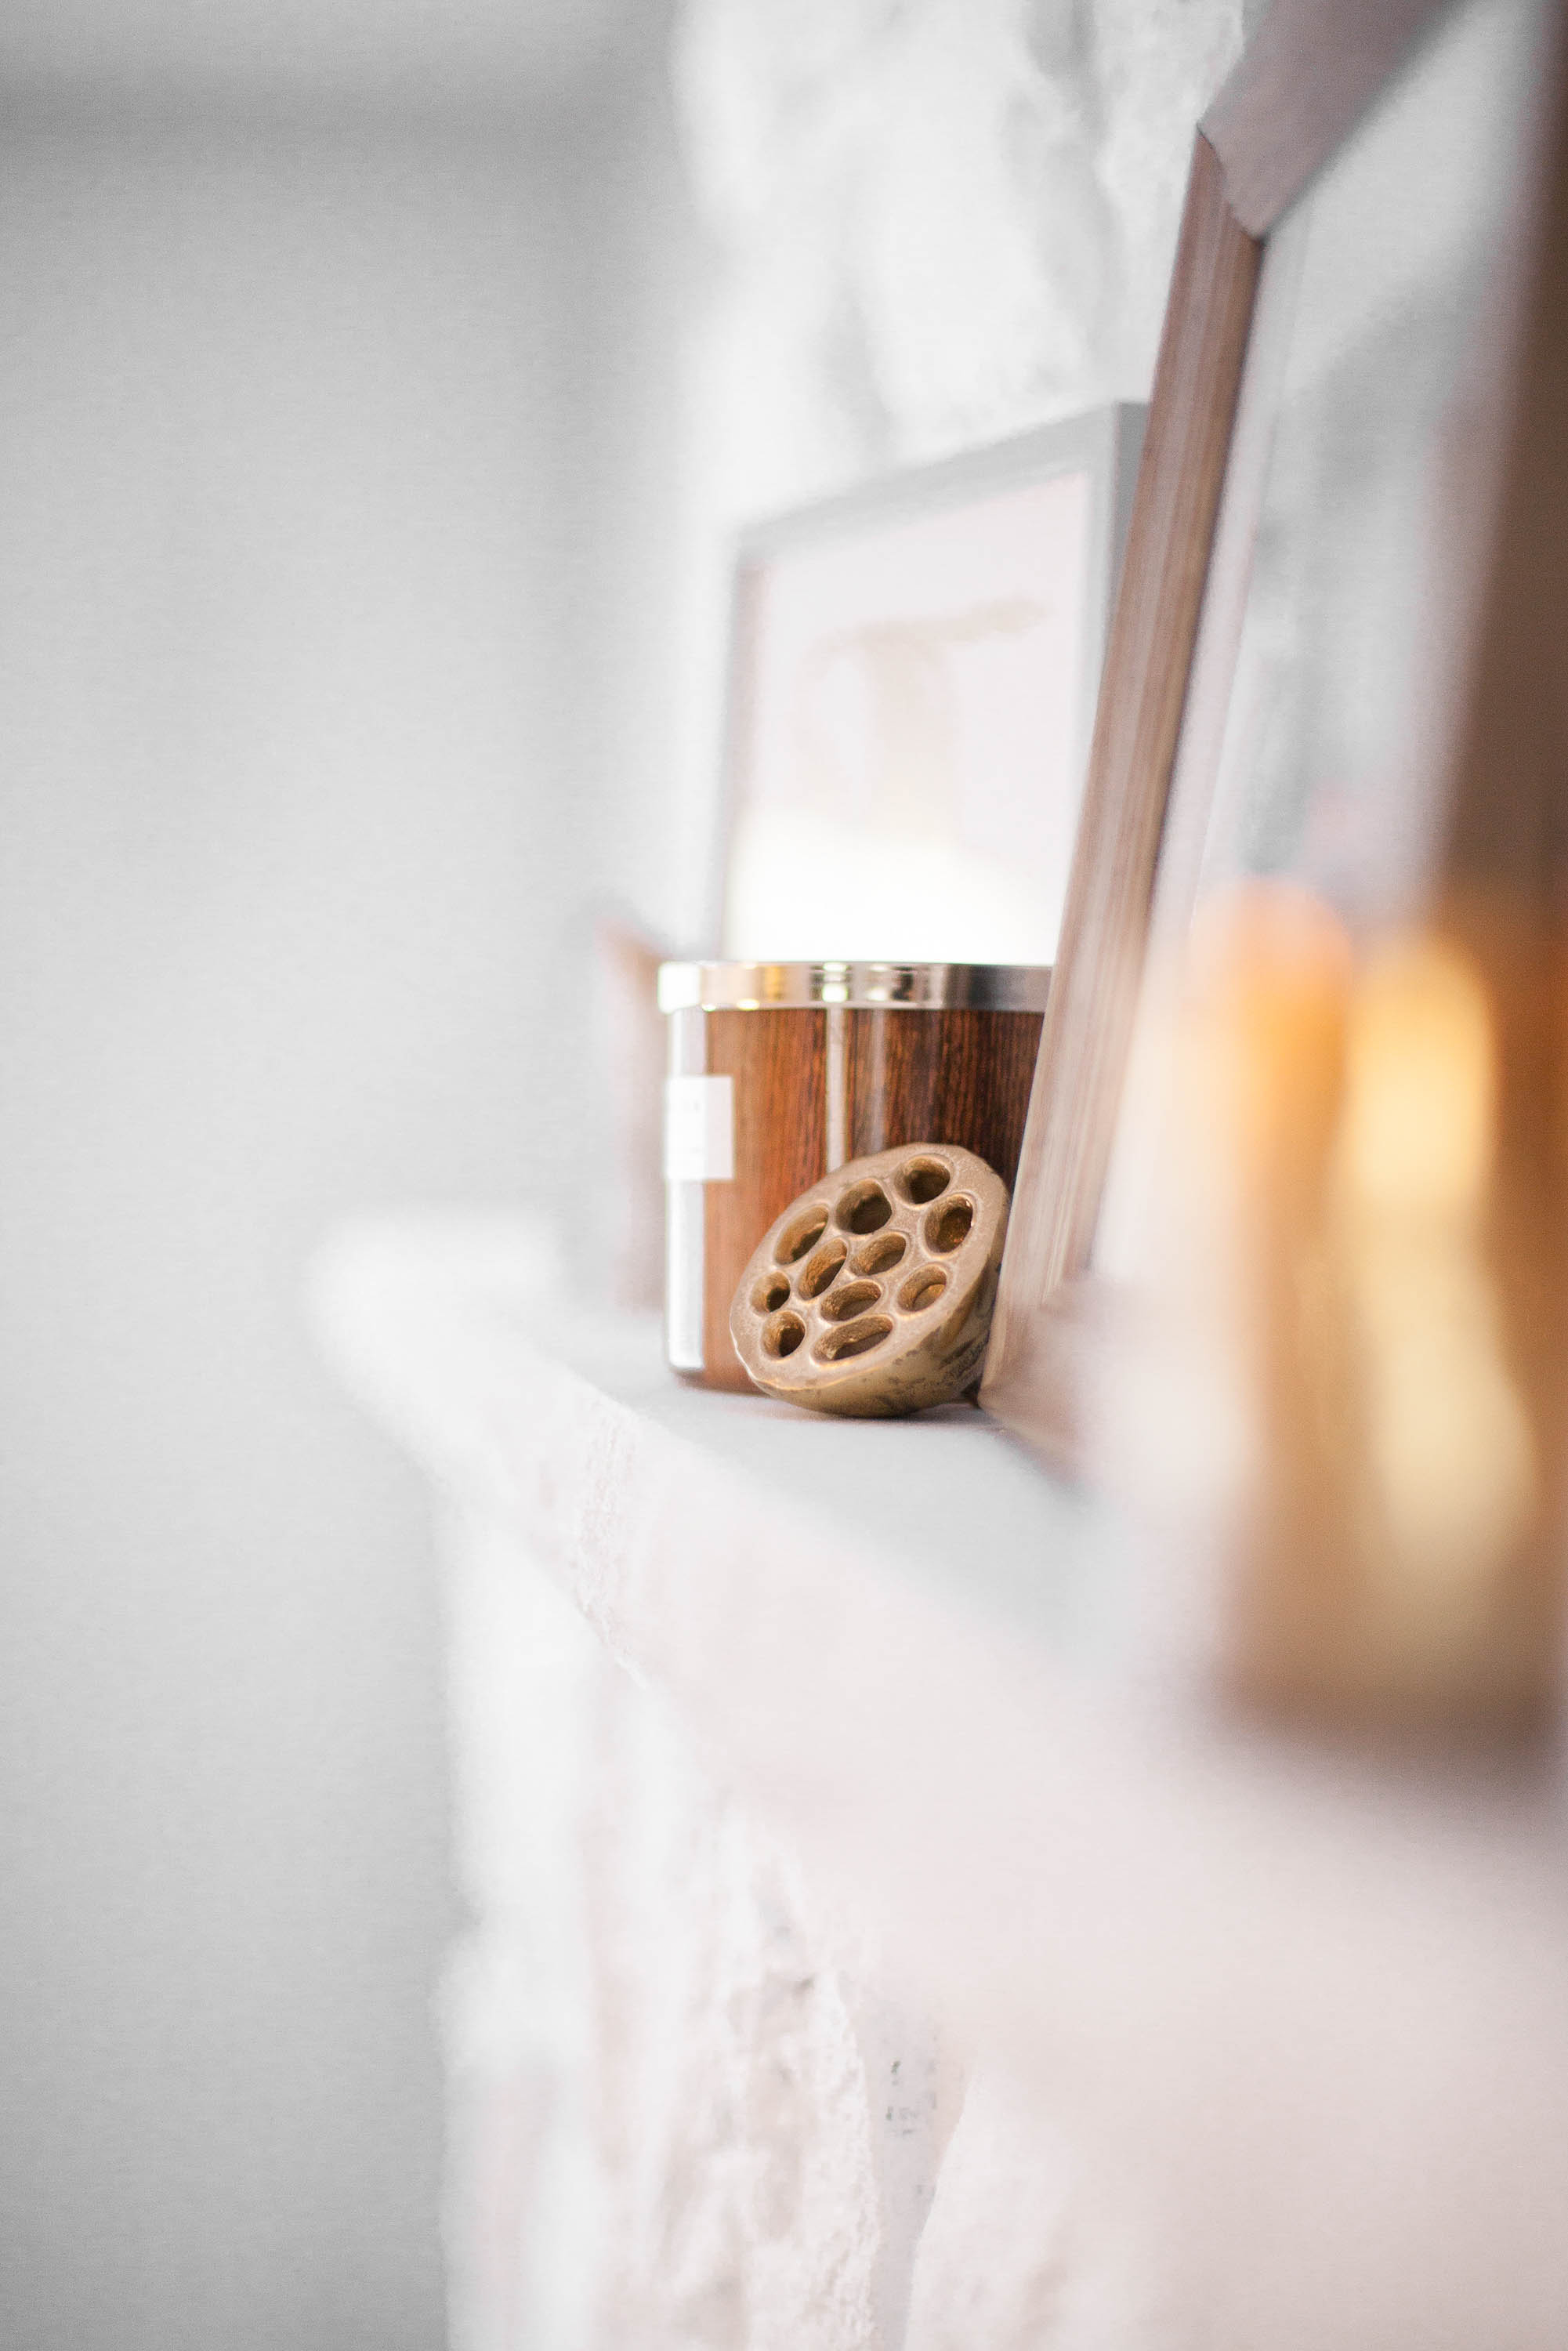
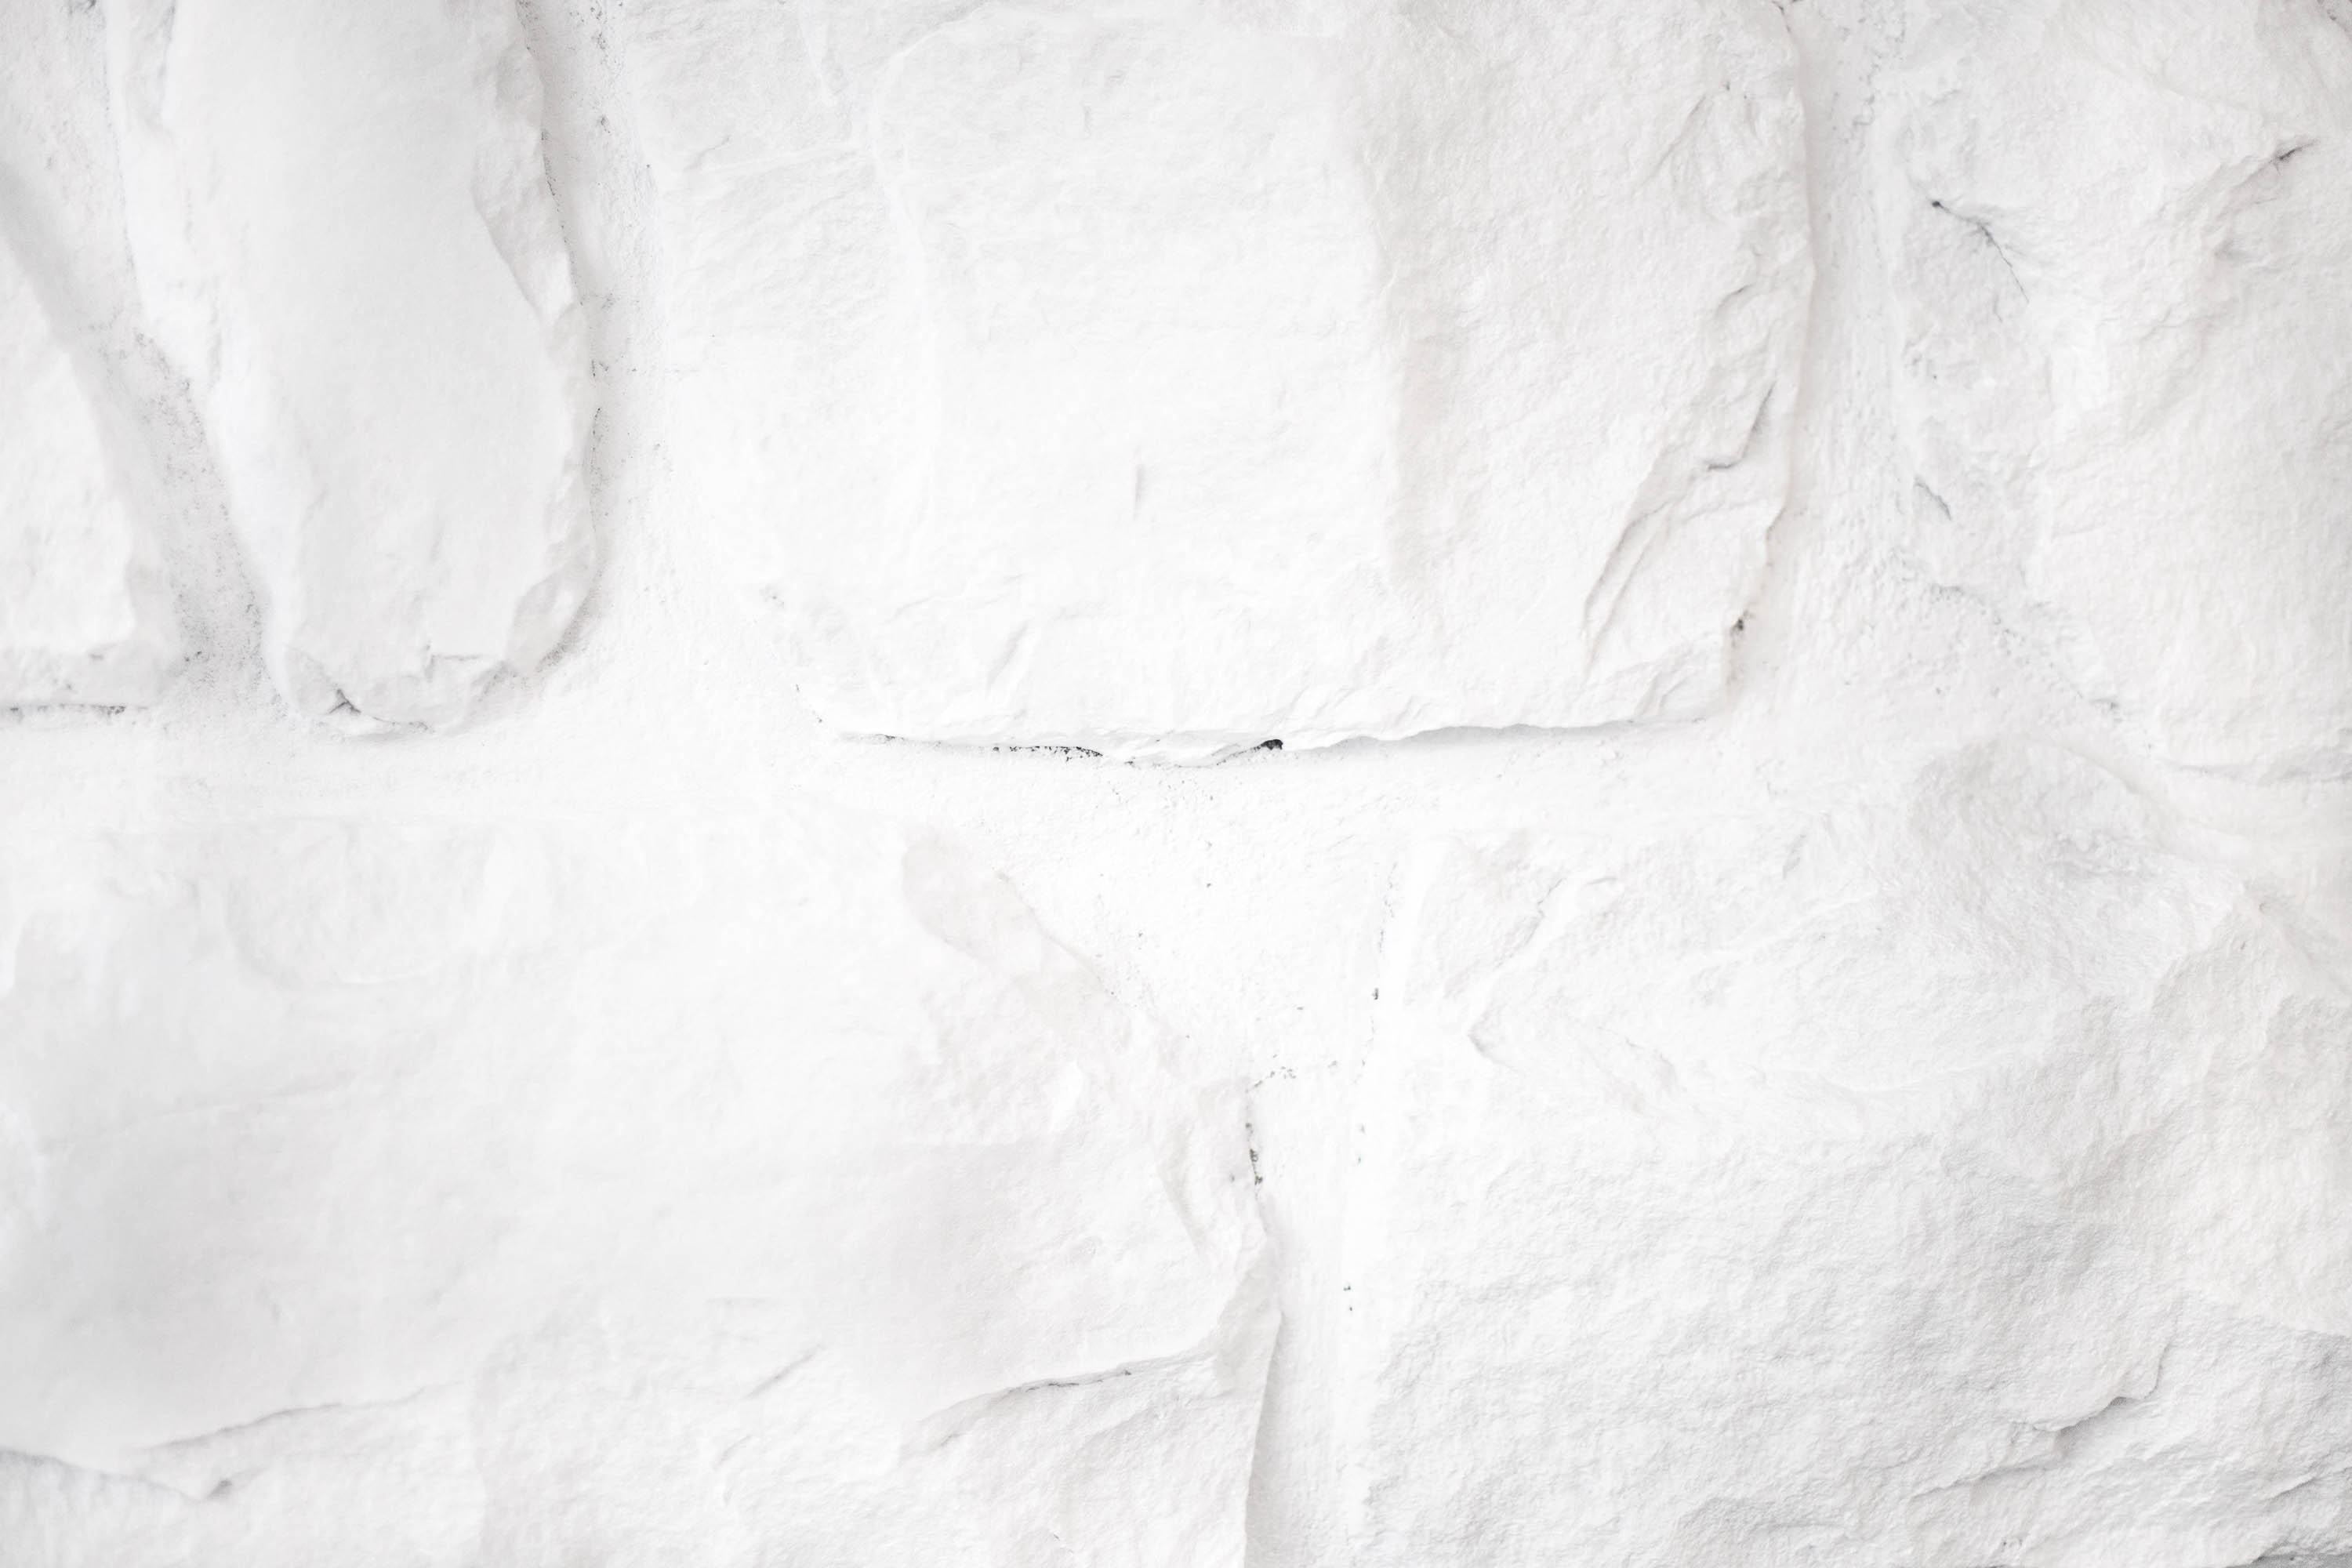
One of the best parts for me is that Michael loves it, as well. He wasn’t too sure about the whole whitewash thing, especially with how white I wanted it, but in the end, it won his heart over.
Right now, our fireplace is wood-burning, but we want to put a gas fireplace insert in next year. Though I love wood-burning fireplaces, a gas fireplace is simply more practical for our lifestyle.
Have you ever whitewashed a stone fireplace? How did you like your results? If not, and you have a stone fireplace, did I just convince you to whitewash yours? 😉 Be sure to rely on Behr for all of your paint needs – interior and exterior. The quality is phenomenal! Let’s chat!
Let’s connect! >> Facebook | Instagram | Twitter | Pinterest


