Hey friends! I am so excited to FINALLY share today’s post with you, especially since I know many of you have been looking forward to it.

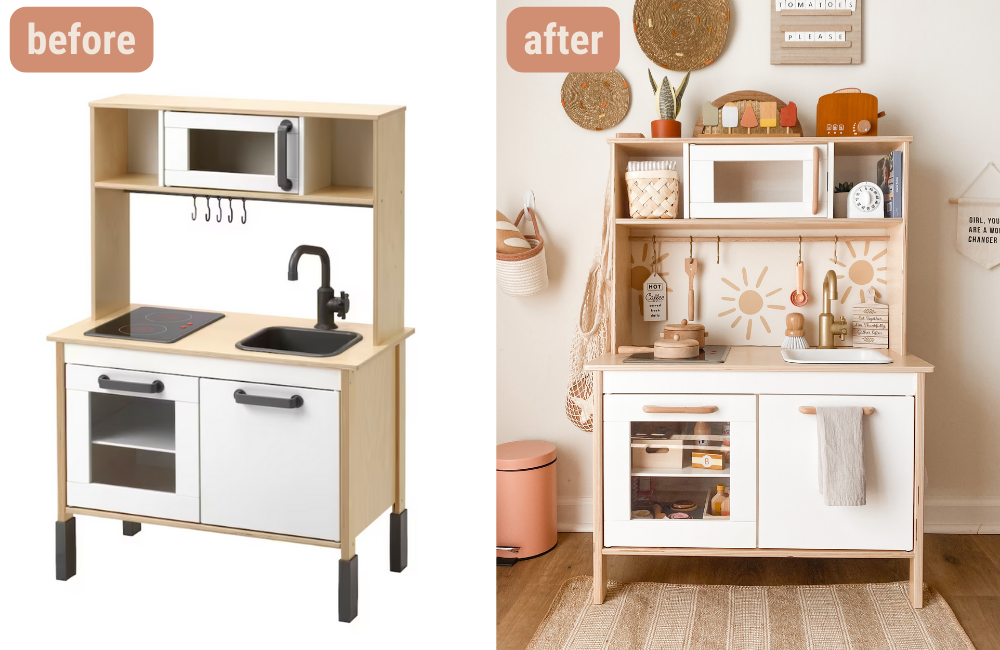
Today I am sharing all about Taya’s play kitchen! We chose to makeover the IKEA Duktig Play Kitchen, which was absolutely the perfect choice. It’s no secret that we love a pleasing neutral aesthetic, but many neutral play kitchens out there are hundreds of dollars. The IKEA Duktig Play Kitchen is $99.99 now but was $90 when we purchased it. It was the best option in terms of budget and endless ways to transform it into something special for Taya.
I didn’t get to take step-by-step photos of the DIY makeover process (#momlife – if ya know, ya know) but it was all very easy to do. I’ve included links to all of the DIY materials and decor throughout this post, but you can also find everything listed at the end.
BEFORE AND AFTER
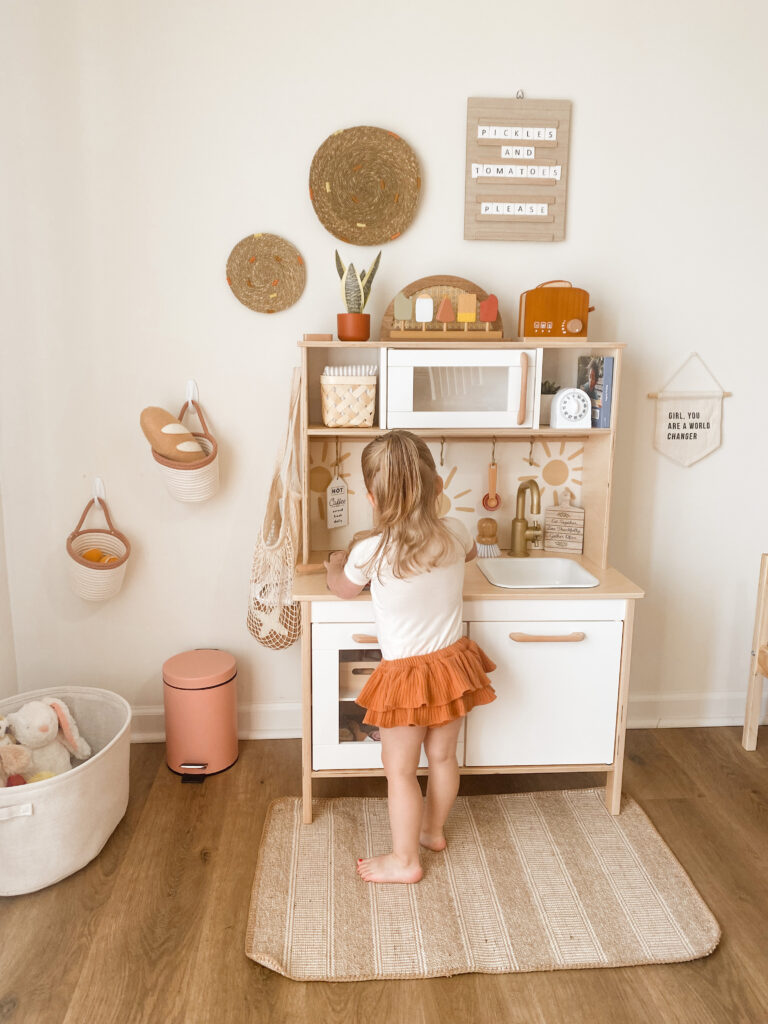
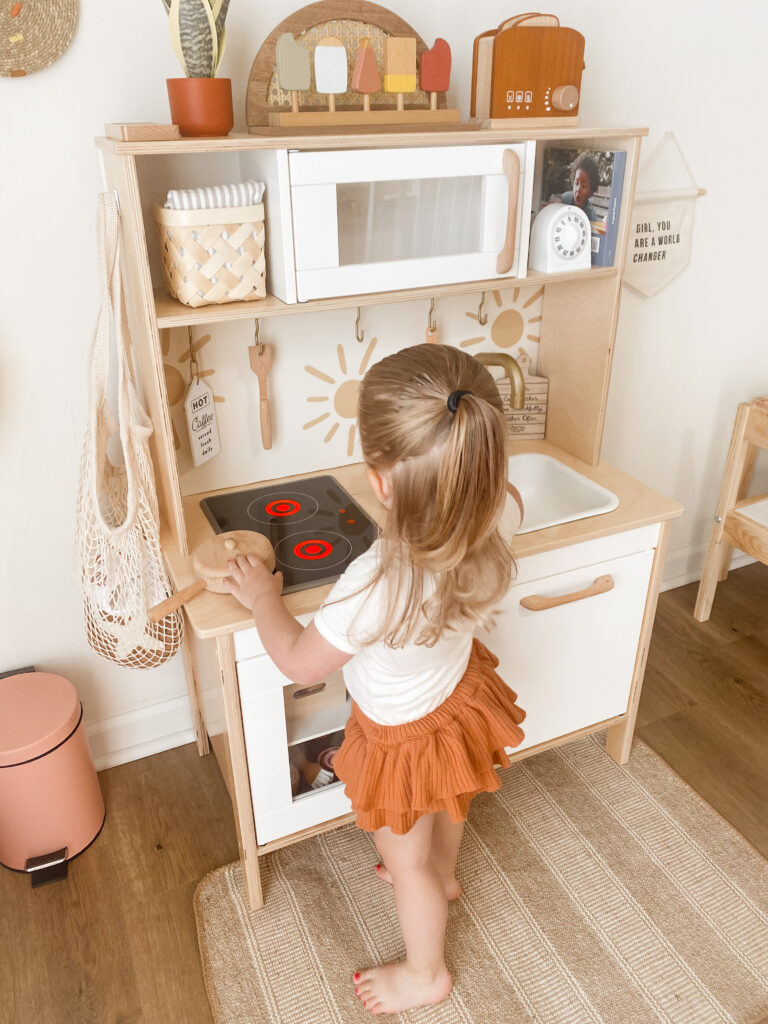
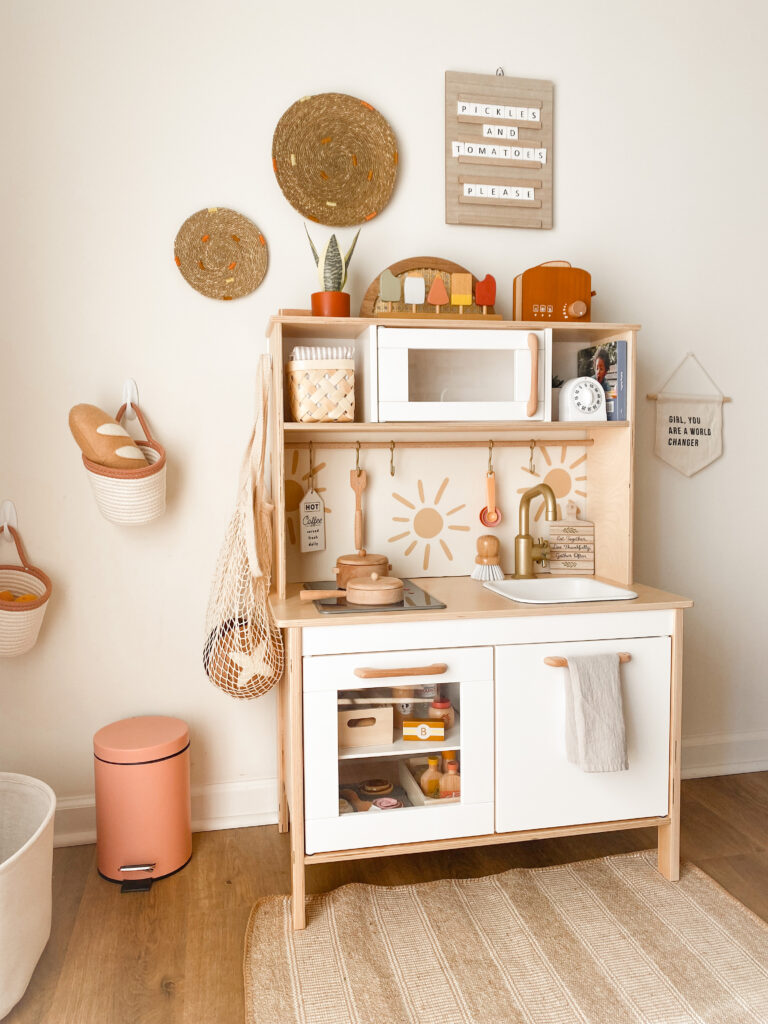
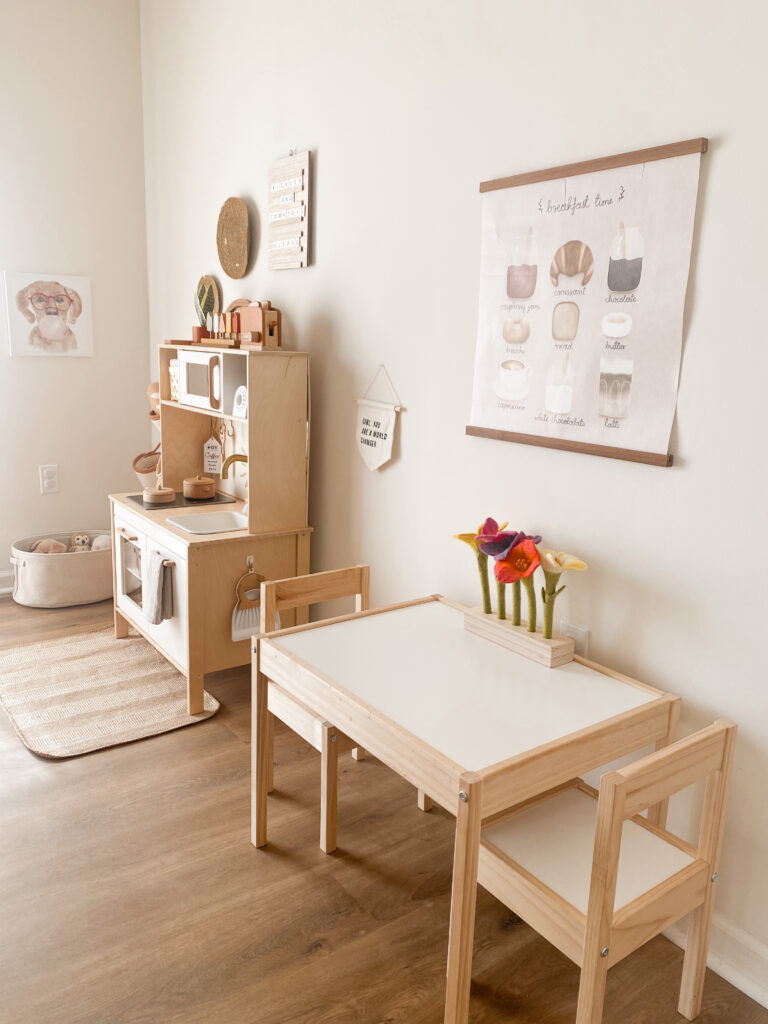
My vision for Taya’s play kitchen was boho and earthy but I also wanted it to still have the vibe of childhood. In other words, while I wanted it to be aesthetically pleasing, I still wanted it to be a fun spot for her. I think we achieved that!
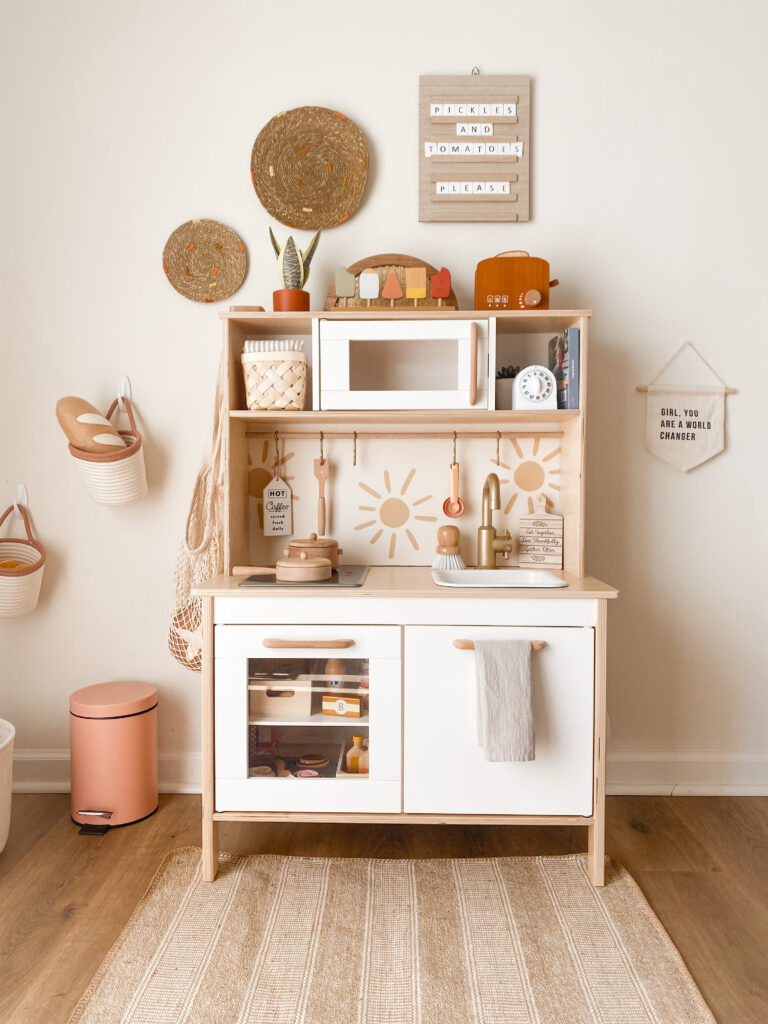
At first glance, it might look like we made over the entire kitchen, but we only spray-painted a few pieces and switched a few things out. We kept the birch countertop and kept all of the cabinets and microwave white. I have seen other people completely renovate the countertops, switch out the stove plate for a wooden one, and take out the acrylic windows for rattan. The rattan was tempting for me but I knew it wouldn’t be practical for a toddler. 😉 After all, I was trying to keep this project as budget-friendly as possible.
WHAT WE SPRAY PAINTED
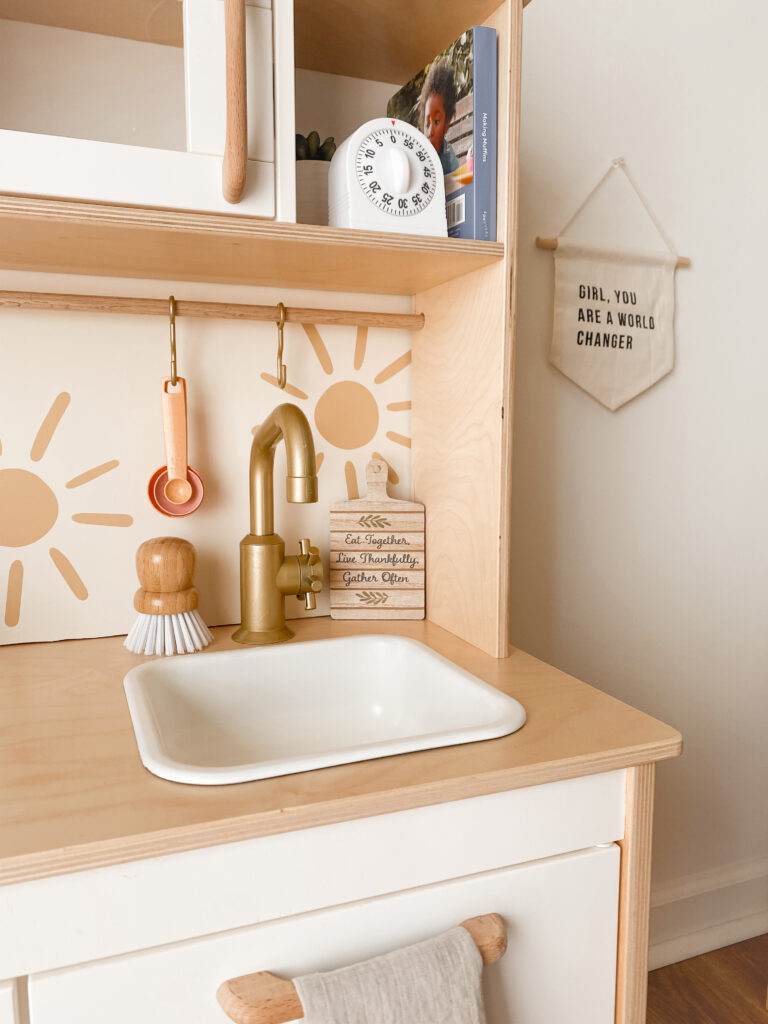
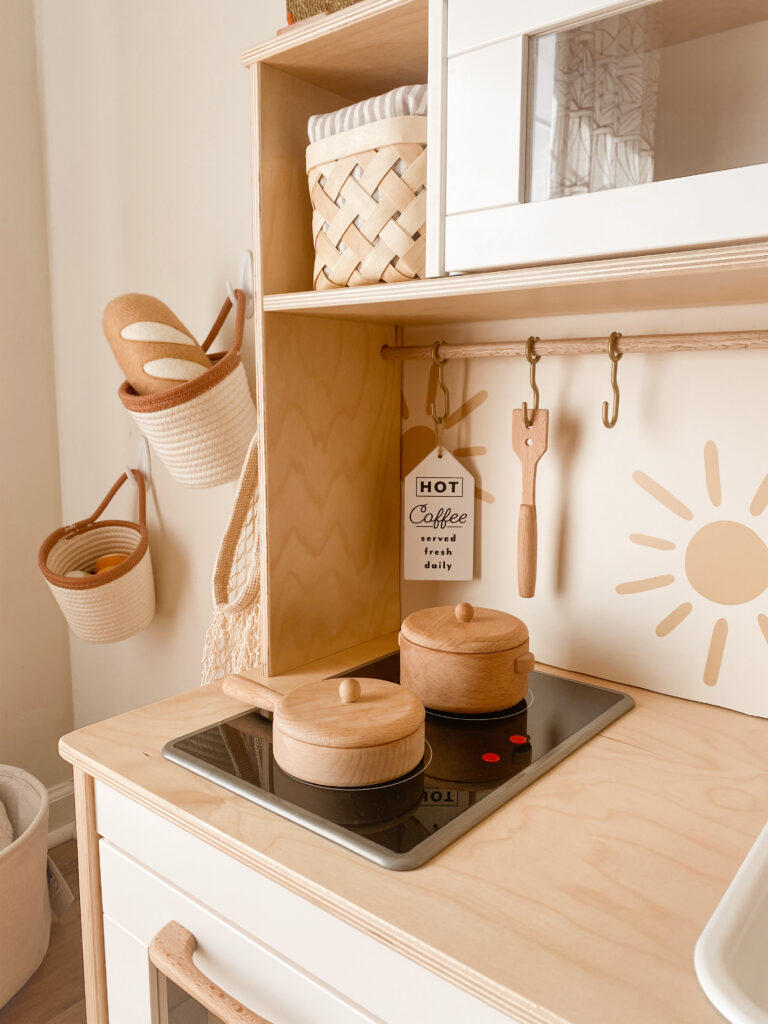
I went with Rust-Oleum Metallic Paint & Primer In One Pure Gold for the faucet and the hooks for the hanging dowel. I had this spray paint left over from previous projects so it worked out that it was the perfect shade. The faucet took a good 3 passes of spray paint to get it to where I wanted it. I waited a day in between each coat. After the gold was finished, I went with Rust-Oleum Matte Clear Enamel to seal it.
The hooks were a little tricky to spray paint but they got 2 passes of spray paint since I wasn’t too fussy about them. I wasn’t too concerned with the hooks so I decided to not seal them.
The sink was the last piece I decided to spray paint and knew white would look best. I went with Rust-Oleum Satin Paint & Primer In One in White. Since we spray painted in June, the humidity caused some issues for us at first. After 2 coats of white, the paint ended up spidering when we went to do a third coat. My husband had to sand it down and basically start from scratch but it turned out great in the end. We did 3 coats of white and waited a day in between each coat. We were going to seal it but I was too excited and wanted to set it up for Taya ASAP. 😂 It’s been about 3 1/2 months since she’s been playing with it and I think the paint without the sealer has held up decently so far. Though, I’m sure we’ll freshen it up and seal it in the spring.
 WHAT WE SWITCHED OUT
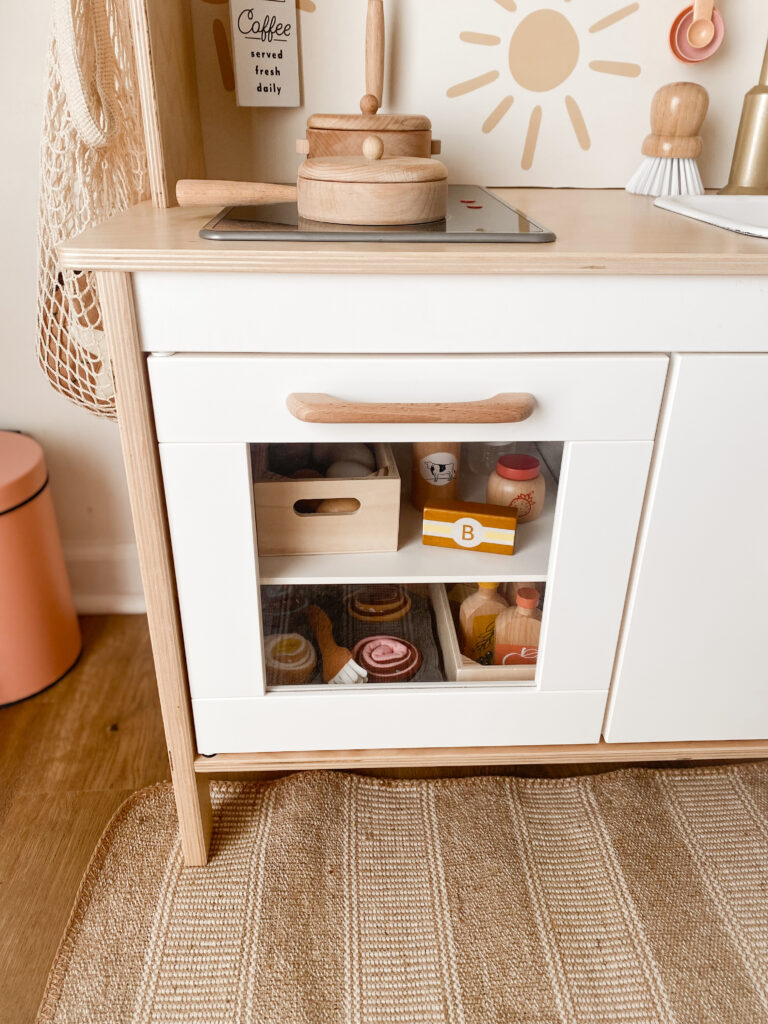
I had to switch out the cabinet handles and the microwave handle! There was no way I was just going to spray paint them, haha. I came across this set of beechwood handles and they were the exact measurement (5 inches) that the spots needed. They look great! The steel rod that the Duktig originally came with proved hard to spray paint so instead, we switched it out with a wooden dowel rod. The dowel rod is 1/2 inch and we cut it down to the proper size at home.
Something we forgot to add on was the pretend stove handles and I just realized it as I’m sitting here typing, haha. It happens. 😅 I found these wooden knobs that are perfect and they’re actually the same knobs I switched out Jace’s dresser drawer knobs with. You can see them in action in his Nursery Reveal. We’ll add them in the spring when we touch up paint and such.
WHAT WE ADDED
The original IKEA Duktig Play Kitchen is open on the back but I wanted to spice it up a bit and add a fun wallpaper backsplash. We went to Lowe’s and got a piece of particle board and cut it down to size when we got home. You could also use plywood but particle board is cheaper and gets the job done well. Lowe’s will also cut it to size for you. You could also use plywood but particle board is cheaper and gets the job done well. Lowe’s will also cut it to size for you.
The size we cut the particle board down to was 26.8 inches in width and 19.5 inches in height. Note: This is the full size of the back of the kitchen from the top of the cabinet to the countertop. This is important to know when applying steel-and-pick wallpaper so you can choose the part of the design you want to peek through.
Taya is my sunshine girl so I knew I wanted to have a fun sunshine wallpaper backsplash for her space. I looked around for a bit but settled on the peel-and-stick wallpaper “Sunny Suns” design from Love Vs. Design. Love Vs. Design allows you to customize what colors you want for the background and the design. I went with the color “Light” for the background and the color “Sun” for the suns. I ordered the size 2 feet (width) by 3 feet (height).
I had to trim the wallpaper a little bit but it was great because I got to choose the part I really wanted to show. It was easy to apply since it comes with a complimentary tool for applying the wallpaper to make sure there are no air bubbles.
PLAY KITCHEN PRETEND FOOD
Taya’s kitchen is stocked with lots of pretend food and kitchen gear. We have the IKEA vegetable set, fruit basket set, and cinnamon bun/roll set. They’re super cute and here’s a huge perk for parents – they’re machine washable!
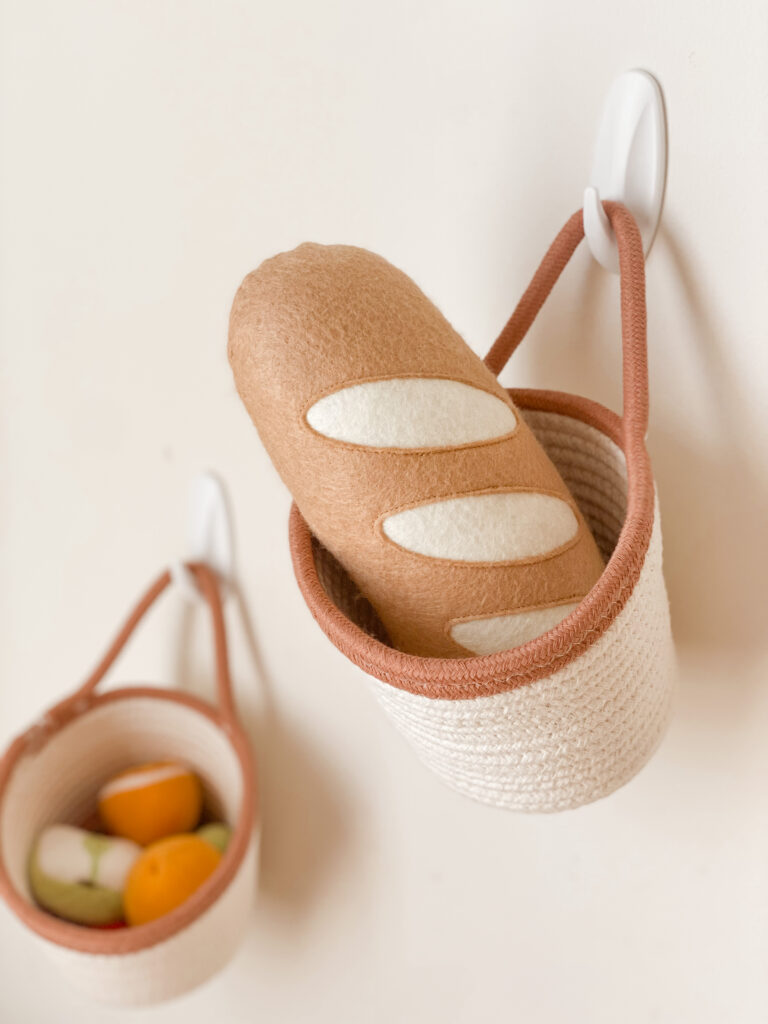
I came across this adorable Etsy shop which is where I found the most adorable 3-piece felt artisan bread set. The set is complete with 1 french baguette, 1 rye/pumpernickel bread, and 1 herb-sprinkled french bread. The quality is outstanding and the shop owner is the sweetest! She has a variety of felt pretend food options like cookies, donuts, and pop-tarts. Can’t recommend her shop enough. 😊
For all wooden pretend play food and accessories, I went with Coco Village. I’m a Coco Village Ambassador through July 2023 and I was able to choose some items that fit seamlessly into Taya’s kitchen. Both the dairy set and condiment set came with a little wooden basket. I have all links listed below for you, as well as my personal promo code to save!
- Wooden Dairy Set
- eggs, cheese, milk, and butter
- Wooden Condiment Set
- apple juice, ketchup, mustard, strawberry jam, olive oil
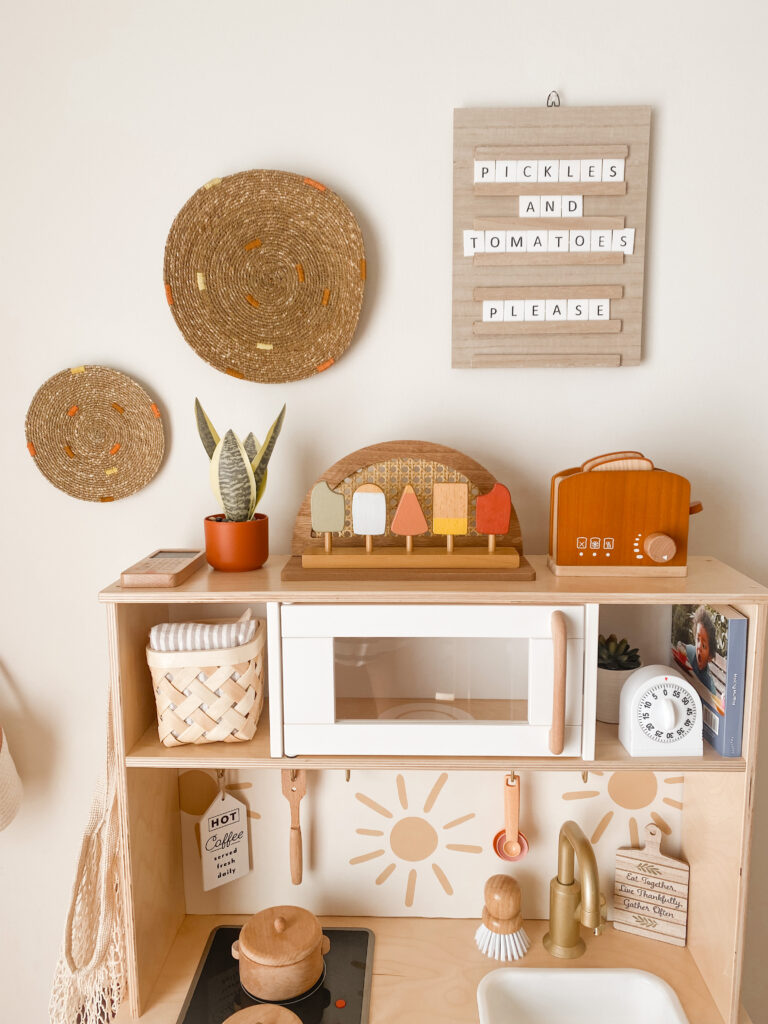
- Wooden Popsicle Play Set
- Wooden Toaster Set
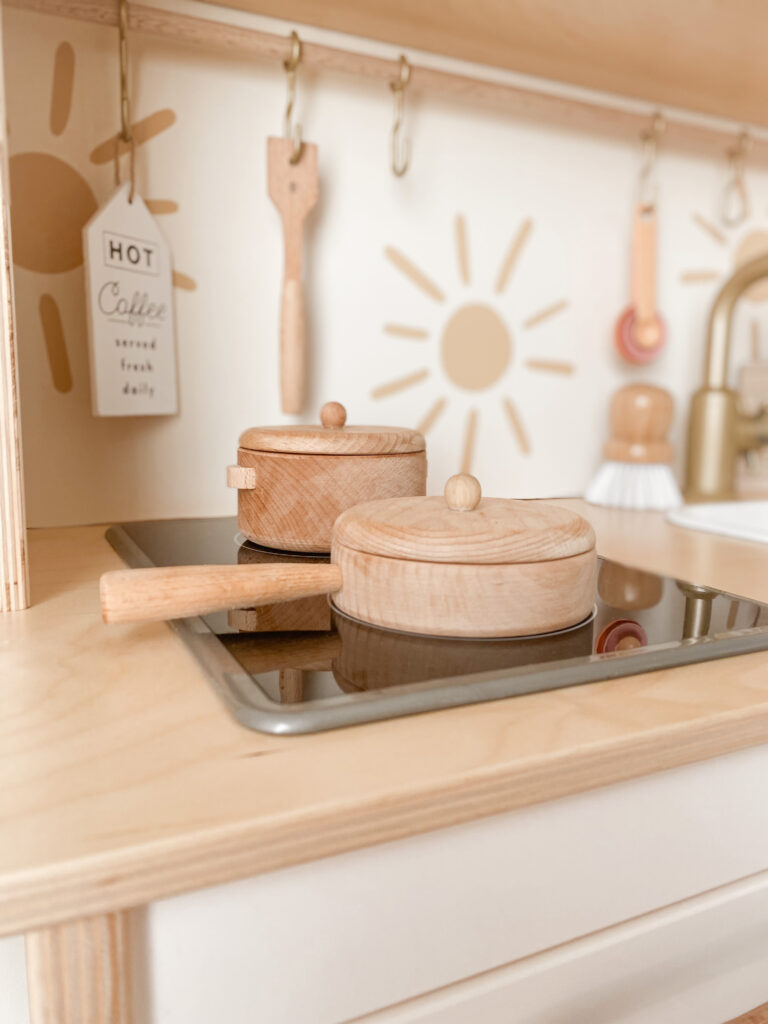
- Wooden Pots & Pans Set
- Wooden Dinnerware Play Set (12 pcs)
Use code: Summer10 at CocoVillage.com for 10% off your order. Good through July 2023!
PLAY KITCHEN ACCESSORIES + DECOR
I had so much fun finding accessories and decor for Taya’s play kitchen. I found many of the items in the Target dollar section over a span of a few months. I always love to look there because you never know what you’ll come across. Breaking down where I found everything below. Some items are not linkable but I will link you to similar options I’ve found at the end of the post.
Target Dollar Section Finds:
- Faux Plant + Succulent
- Dish Brush
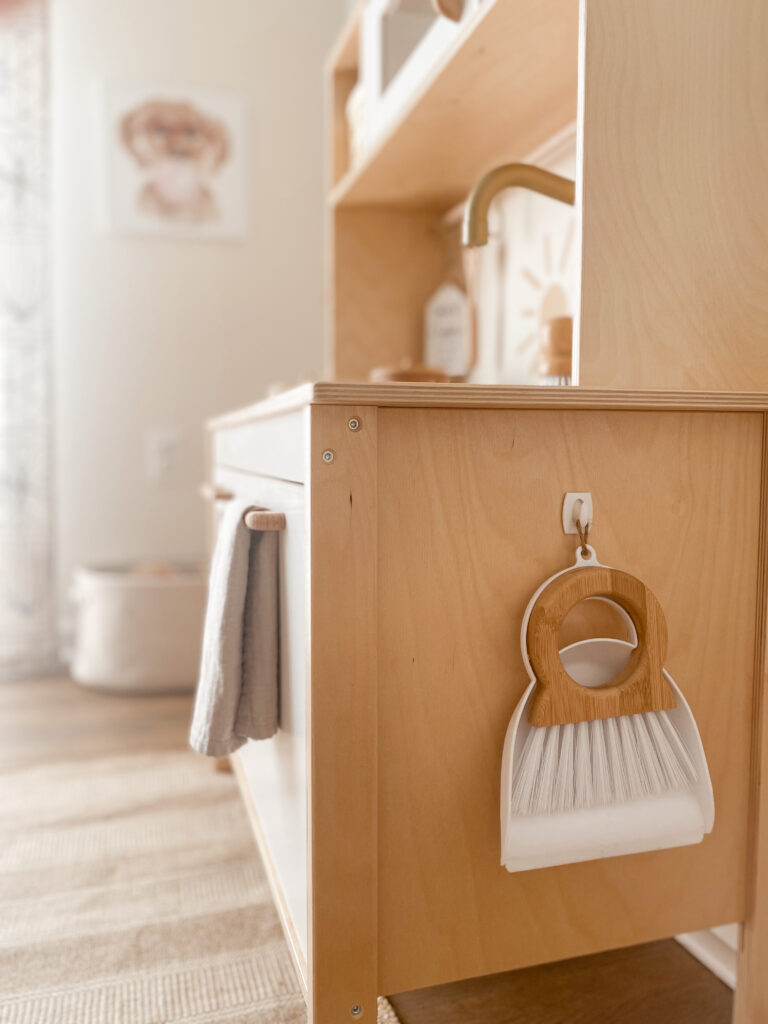
- Mini Brush Pan + Brush
- Hot Coffee Sign
- Eat Together Sign
- Rope Hanging Baskets
Five Below:
- Hanging Wooden Scrabble Letterboard (9 x 12 in)
- Round Rope Wall Art Baskets (2-Pack)
- Half Circle Rattan Shelf Piece
IKEA:
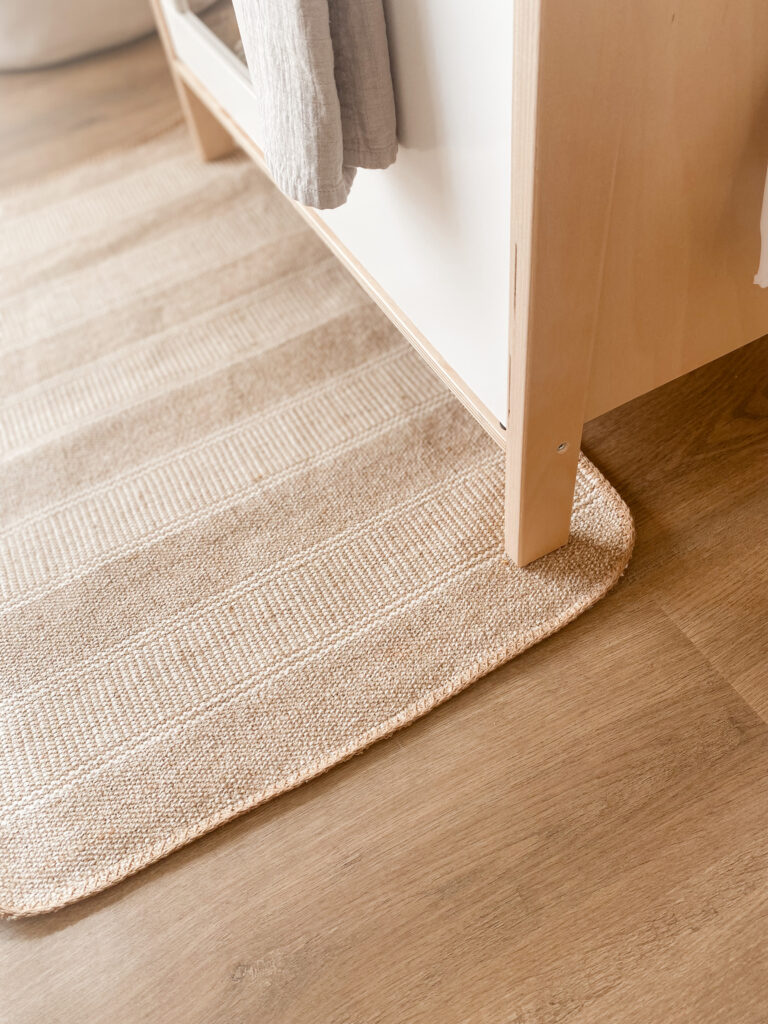
- Floor Mat
- Shelf Basket
- Table & Chairs
Miscellaneous:
- Wooden Cell Phone
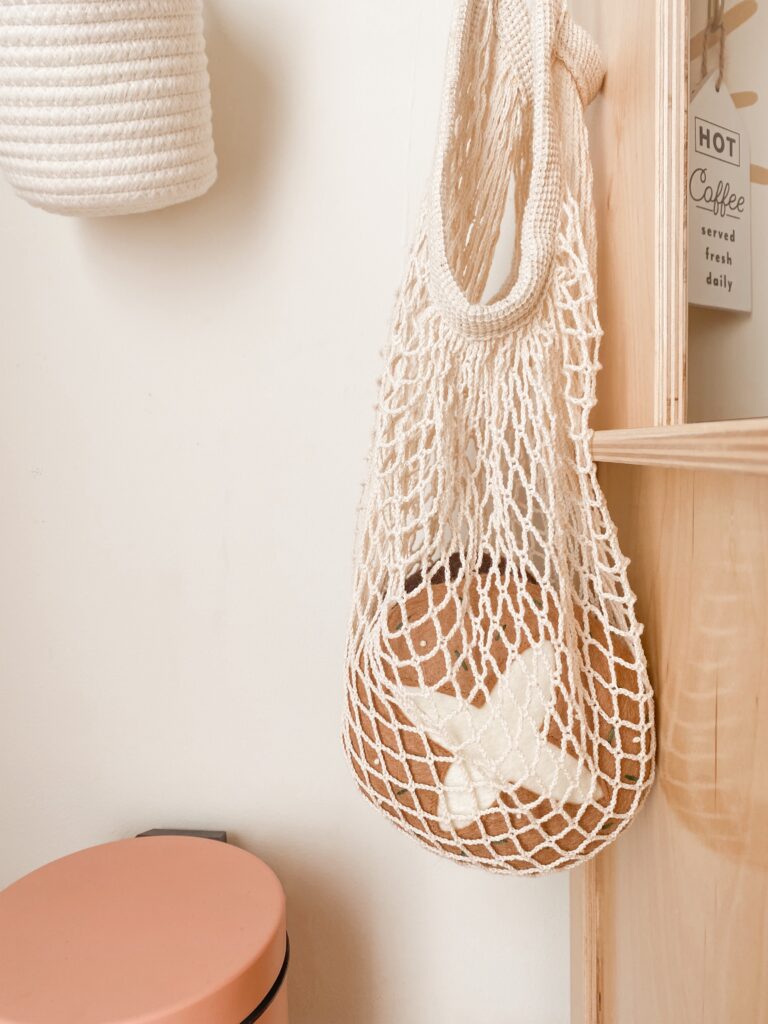
- Natural Net Bag
- World Changer Banner
- (Similar) Pink Mini Garbage Can
- Bubble Gum Pup Canvas
- Time For Breakfast Poster
- Lovevery Felt Flowers + Making Muffins Book (From The Helper Play Kit)
SHOP THE POST


There you have it! I’m so happy with how her entire space came out and Taya loves it. She plays in her space every day and loves to “make” us food. It’s too cute!
Let me know if you have any questions at all! 💛
XO,