My daughter Taya turned 1 a few weeks ago and of course, we had to have a smash cake photoshoot to celebrate! Today, I’m sharing my tips on how we had a successful shoot.
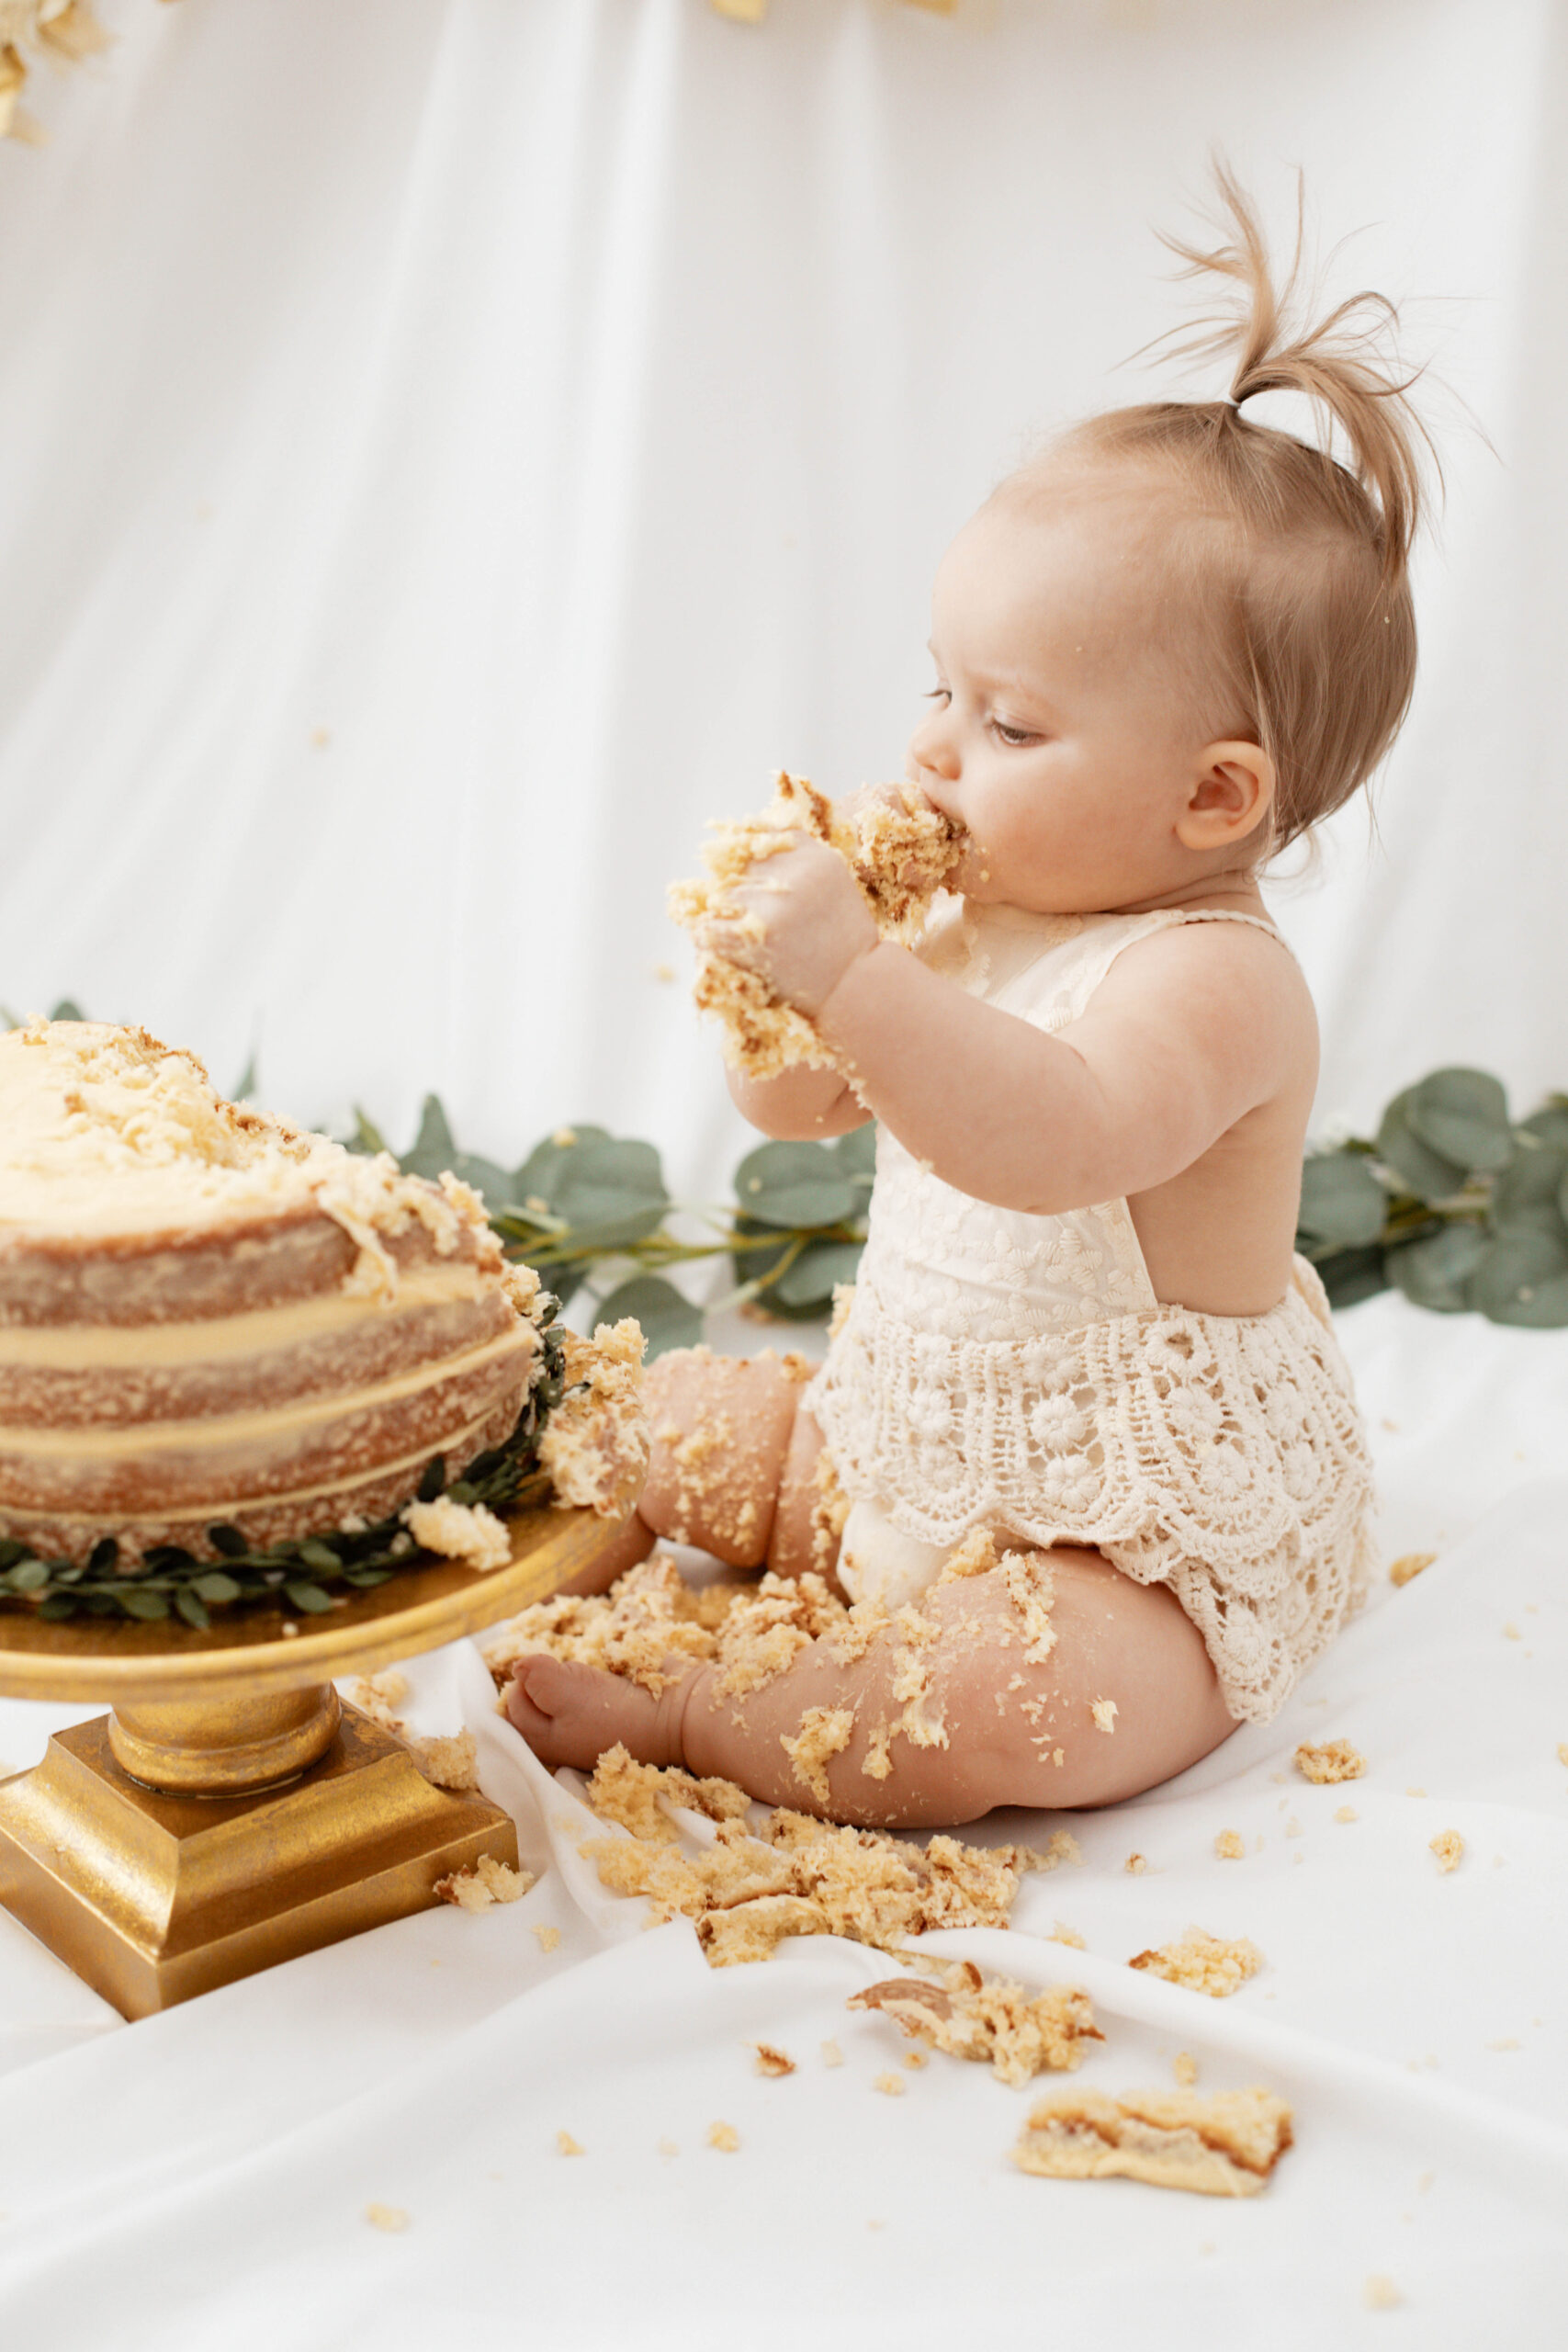
I knew that I wanted to DIY Taya’s smash cake photoshoot for a number of reasons. Thankfully, Mike and I both have years of experience shooting our own photos and because of that, we have all the equipment needed to have a proper photoshoot. I did purchase a few items to make the shoot happen but I definitely didn’t spend anywhere near what a professional shoot would have cost us.
Another huge reason why I wanted to just DIY Taya’s photoshoot at home is that she’s comfortable at home. I have seen countless moms share that their babies wouldn’t smile and some would even cry at their smash cake photoshoots when they’ve gotten them done professionally. Let’s be real – a baby can have a multitude of reactions for many reasons but I think 1-year-old probably wouldn’t be the most comfortable getting their photo taken in a place they’re not familiar with. Anyway, let’s get back to it!
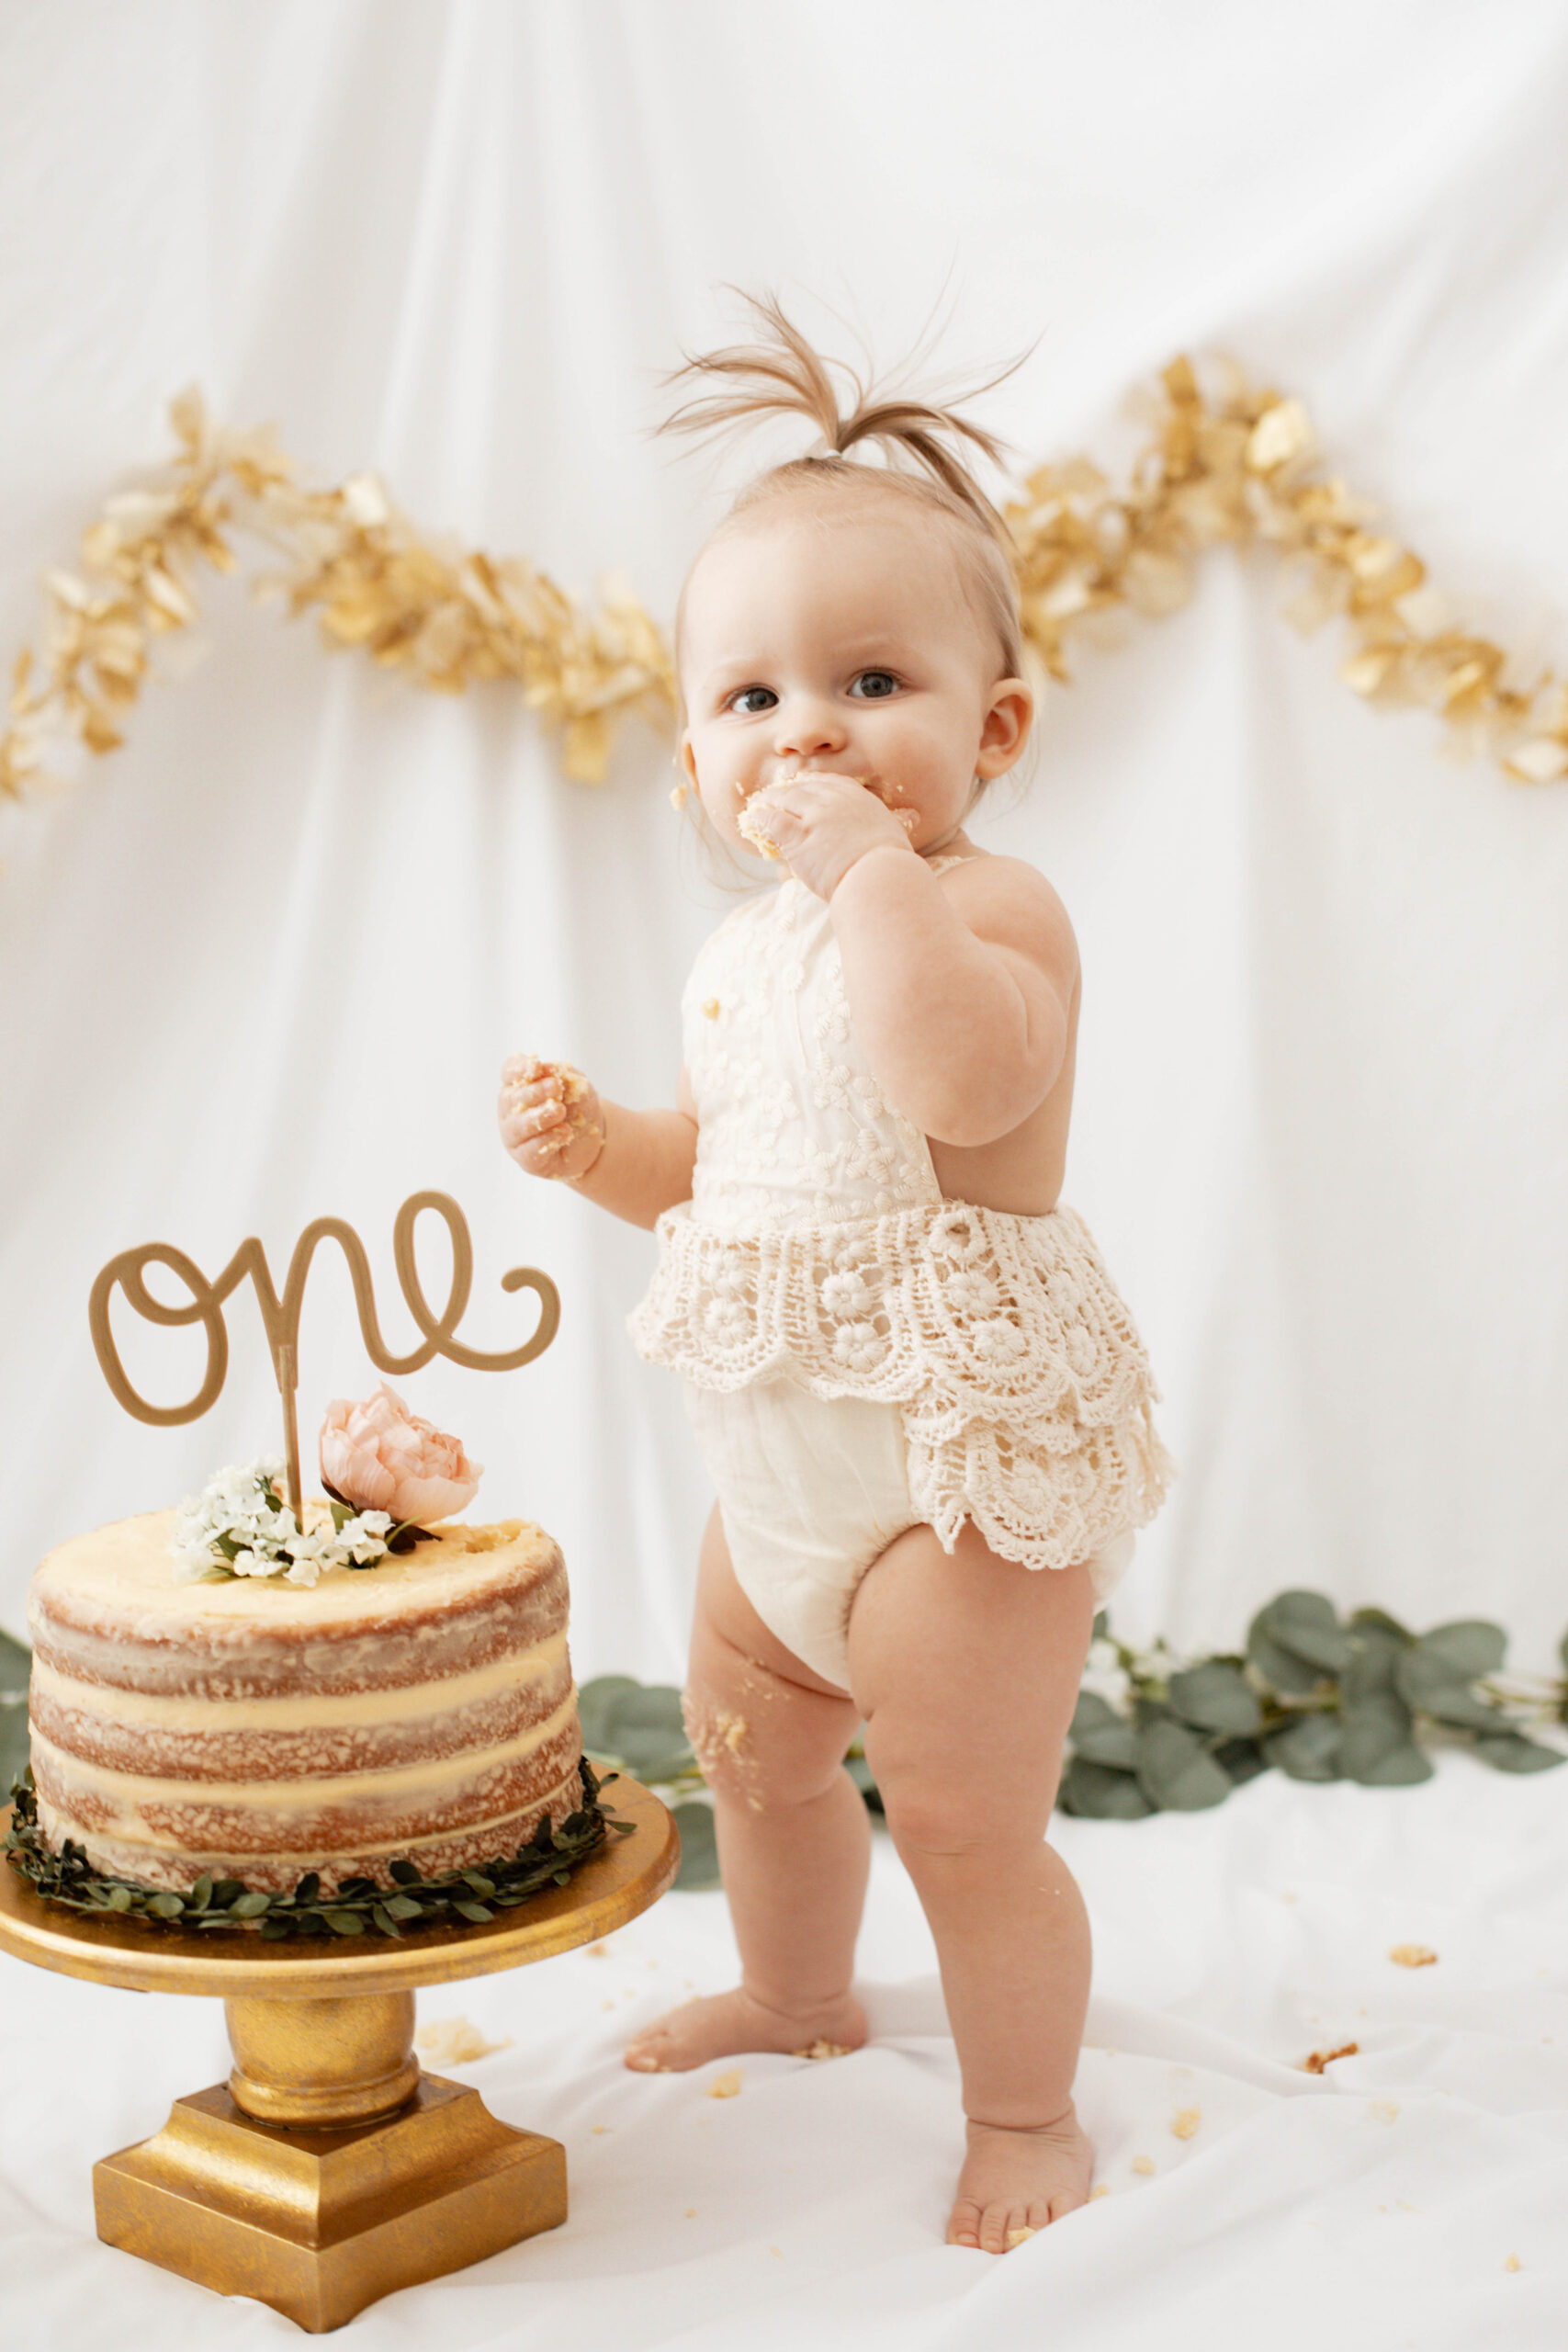
TIPS FOR A SUCCESSFUL DIY SMASH CAKE PHOTOSHOOT
Decide On Your Theme Ahead Of Time – Whether you’re wanting a very niche theme (Disney princess, Winnie the Pooh, Donut Grow Up, etc.) or something more simple, you’ll want to decide it at least a month or so out from the photoshoot. I’m not crazy into niche themes but I knew I wanted to do a simple boho feel for Taya’s smash cake photoshoot.
The more time you have to plan and prep the better, especially if you’re getting customized decor, outfits, or props from a shop on Etsy or the like. You’re going to need time to order and receive everything ahead of time rather than the week or the day before.
Set Up The Day Before – DIY photoshoots with a kid are exhausting no matter their age, so I recommend setting up the photoshoot area the day before. Set it up during naptime or wait until they go to bed for the night. Setting up the set the day before gives you time to adjust the decor as needed to best fit your vision. I recommend setting up near the best natural light is in your home – this makes for easy editing afterward, as well as an inviting atmosphere for the shoot.
PIN ME FOR LATER!!
7 TIPS TO MAKE THE SHOOT RUN SMOOTHLY
1. Do The Shoot After Baby’s First Nap – This is definitely one of my TOP tips for you. Considering Taya’s schedule and her personality, I knew that it’d be best to wait until after her first nap of the day to take photos. We like to have slow mornings and then her first nap typically ends around 12:30 – 1:00ish. The lighting in the room we had the photoshoot in also had the best natural light in the early afternoon. It was a win-win!
2. Have Someone To Help – You don’t want a crowd of people there to help you but you should have at least one person you can depend on – someone who understands your vision, can help shoot photos/switch-out props, get the baby to smile, etc.
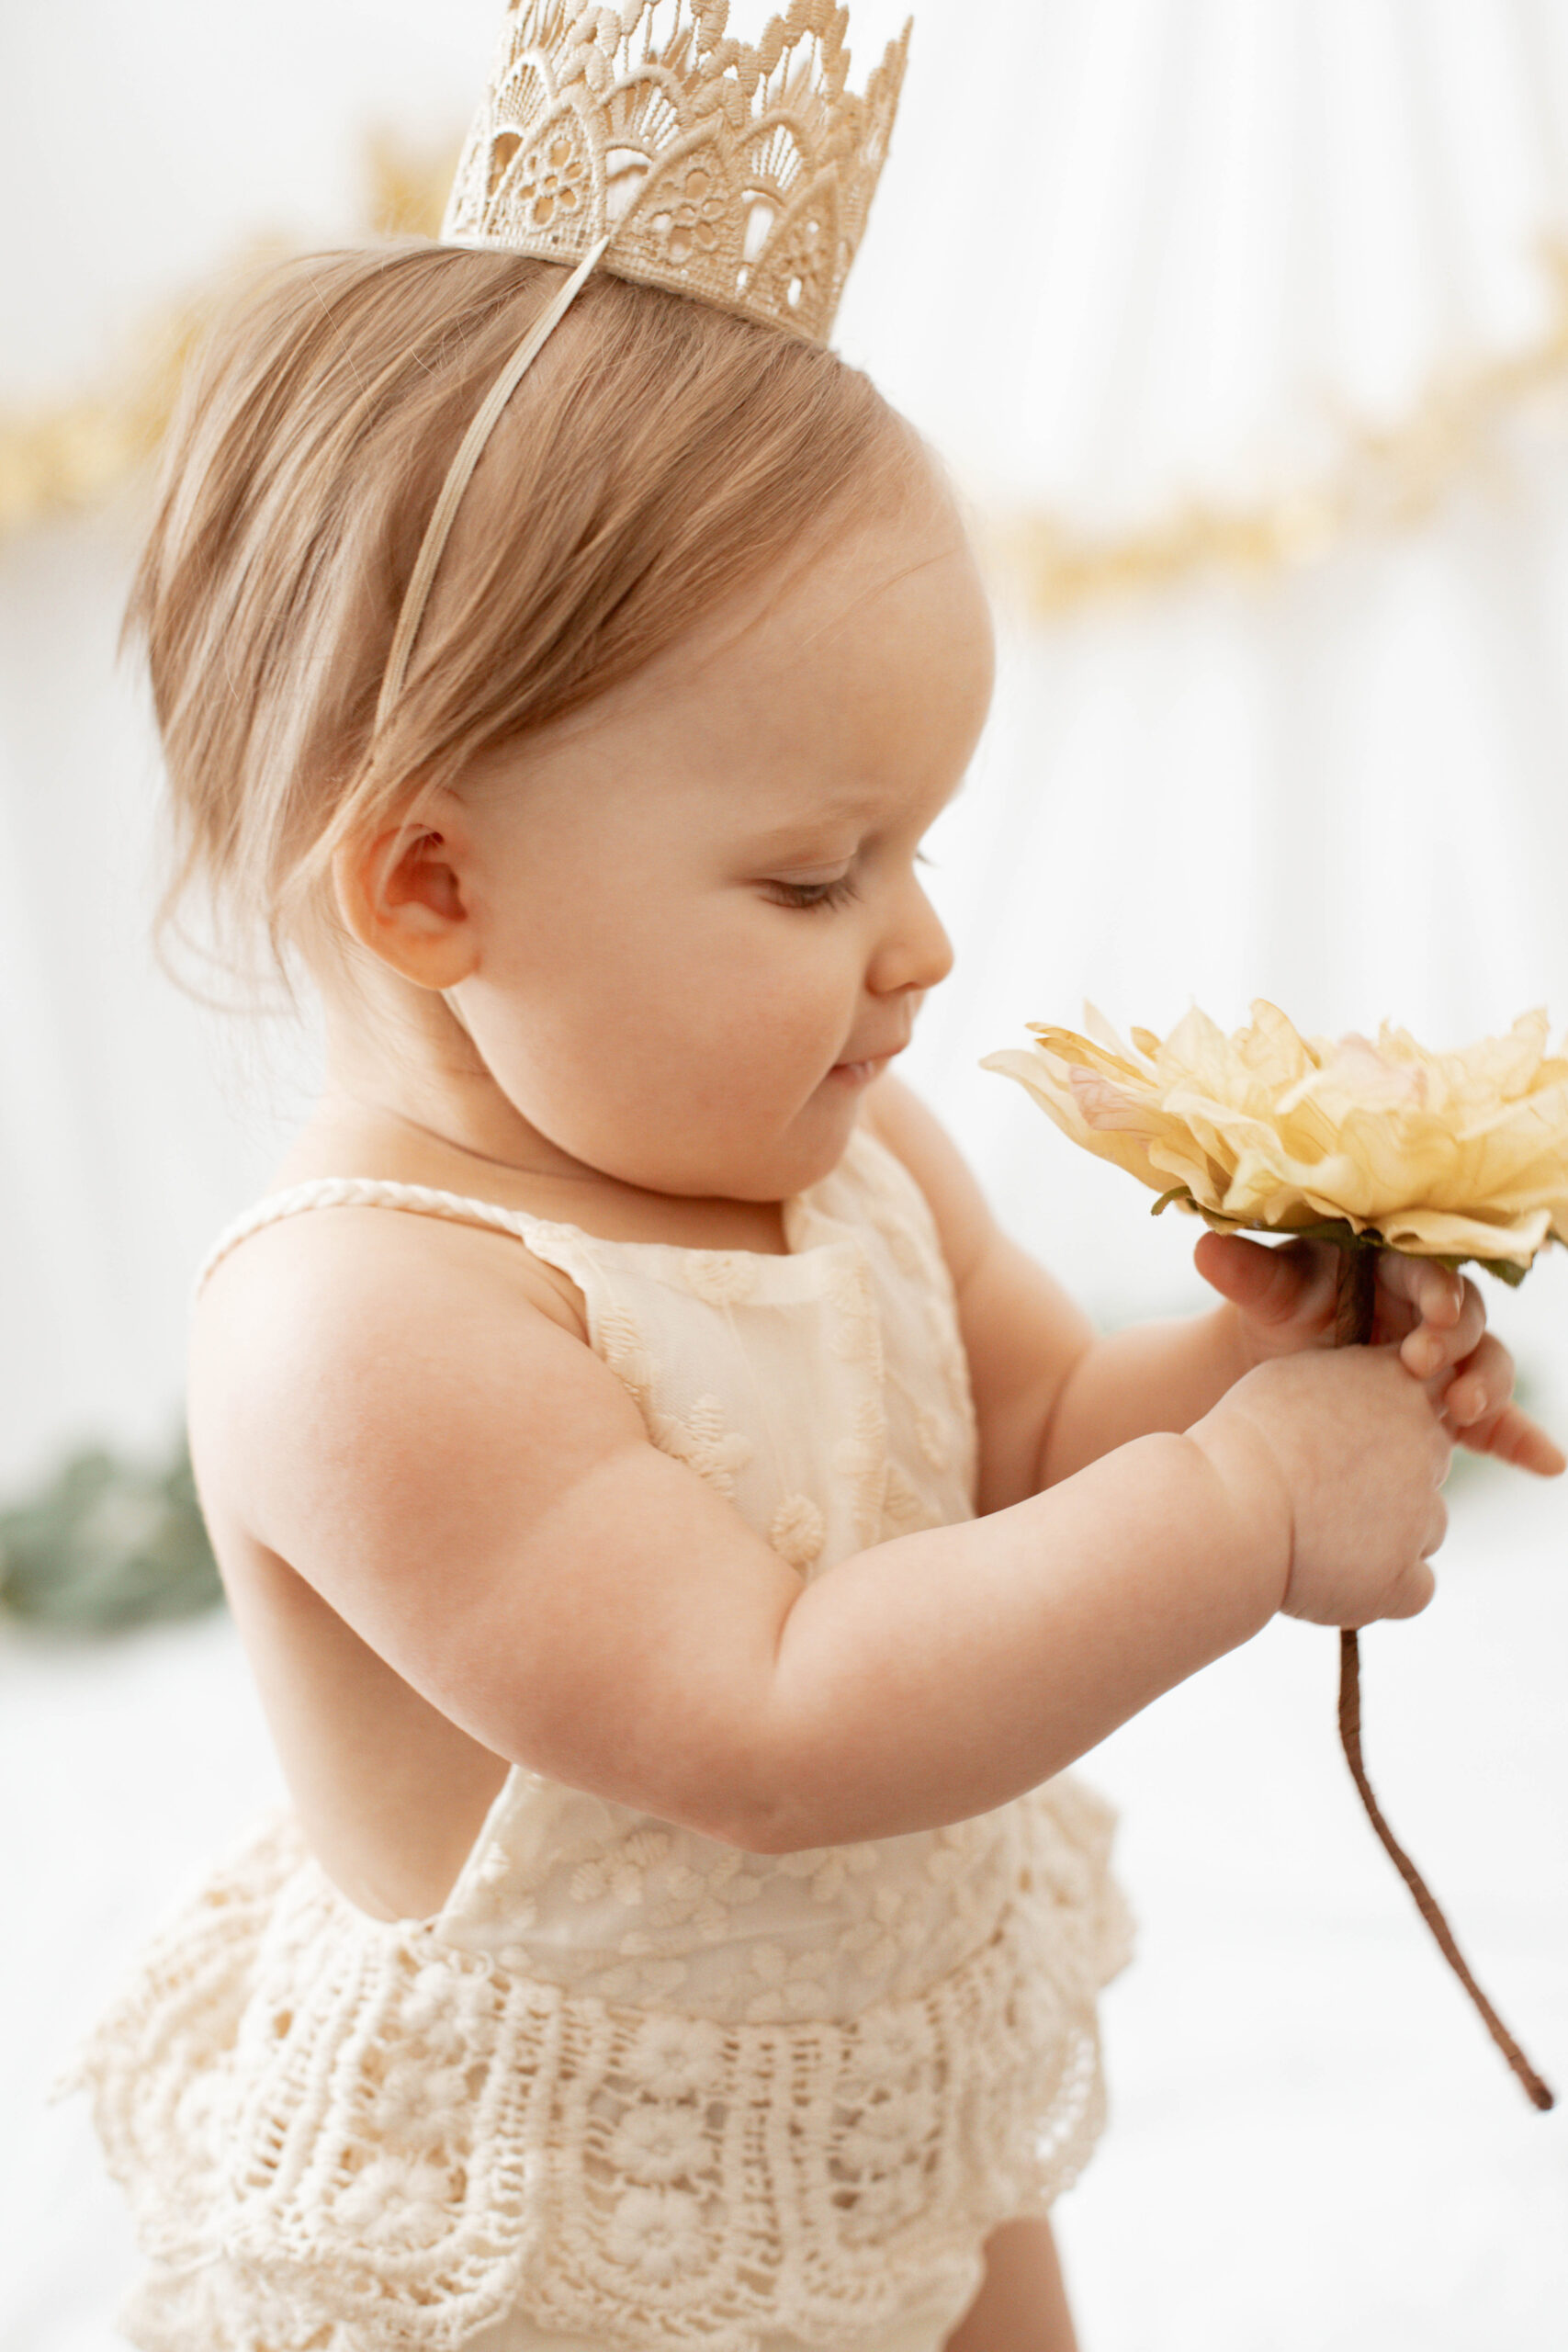
3. Have A Photoshoot Without The Cake First – In order to get your baby comfortable in the photoshoot setting, snap some photos without the cake first. This not only helps get your little one having fun in front of the camera, but it also helps you get proper settings and a good read on how your baby’s going to react. Plus, those extra photos will be very special to have. Here’s one of my favorite “practice” photos of Taya. 🙂
4. Give Your Baby A Break Before Introducing The Cake – Instead of bringing the cake in right away, give your baby a little play break away from the photoshoot scene. This play break is dual-purpose. 1. It gives your baby a moment to get some energy out and to get extra happy. 2. It gives you time to set up the cake and take some photos of the cake alone.
5. Have The Photographer Set In Place – Mike and I decided that for this shoot it’d work best if he was the photographer and I was the one entertaining and redirecting Taya. It just made sense and it was the right decision for us. Once Mike was all ready to go for the smash cake portion, I brought Taya into the room and sat her down right next to the cake.
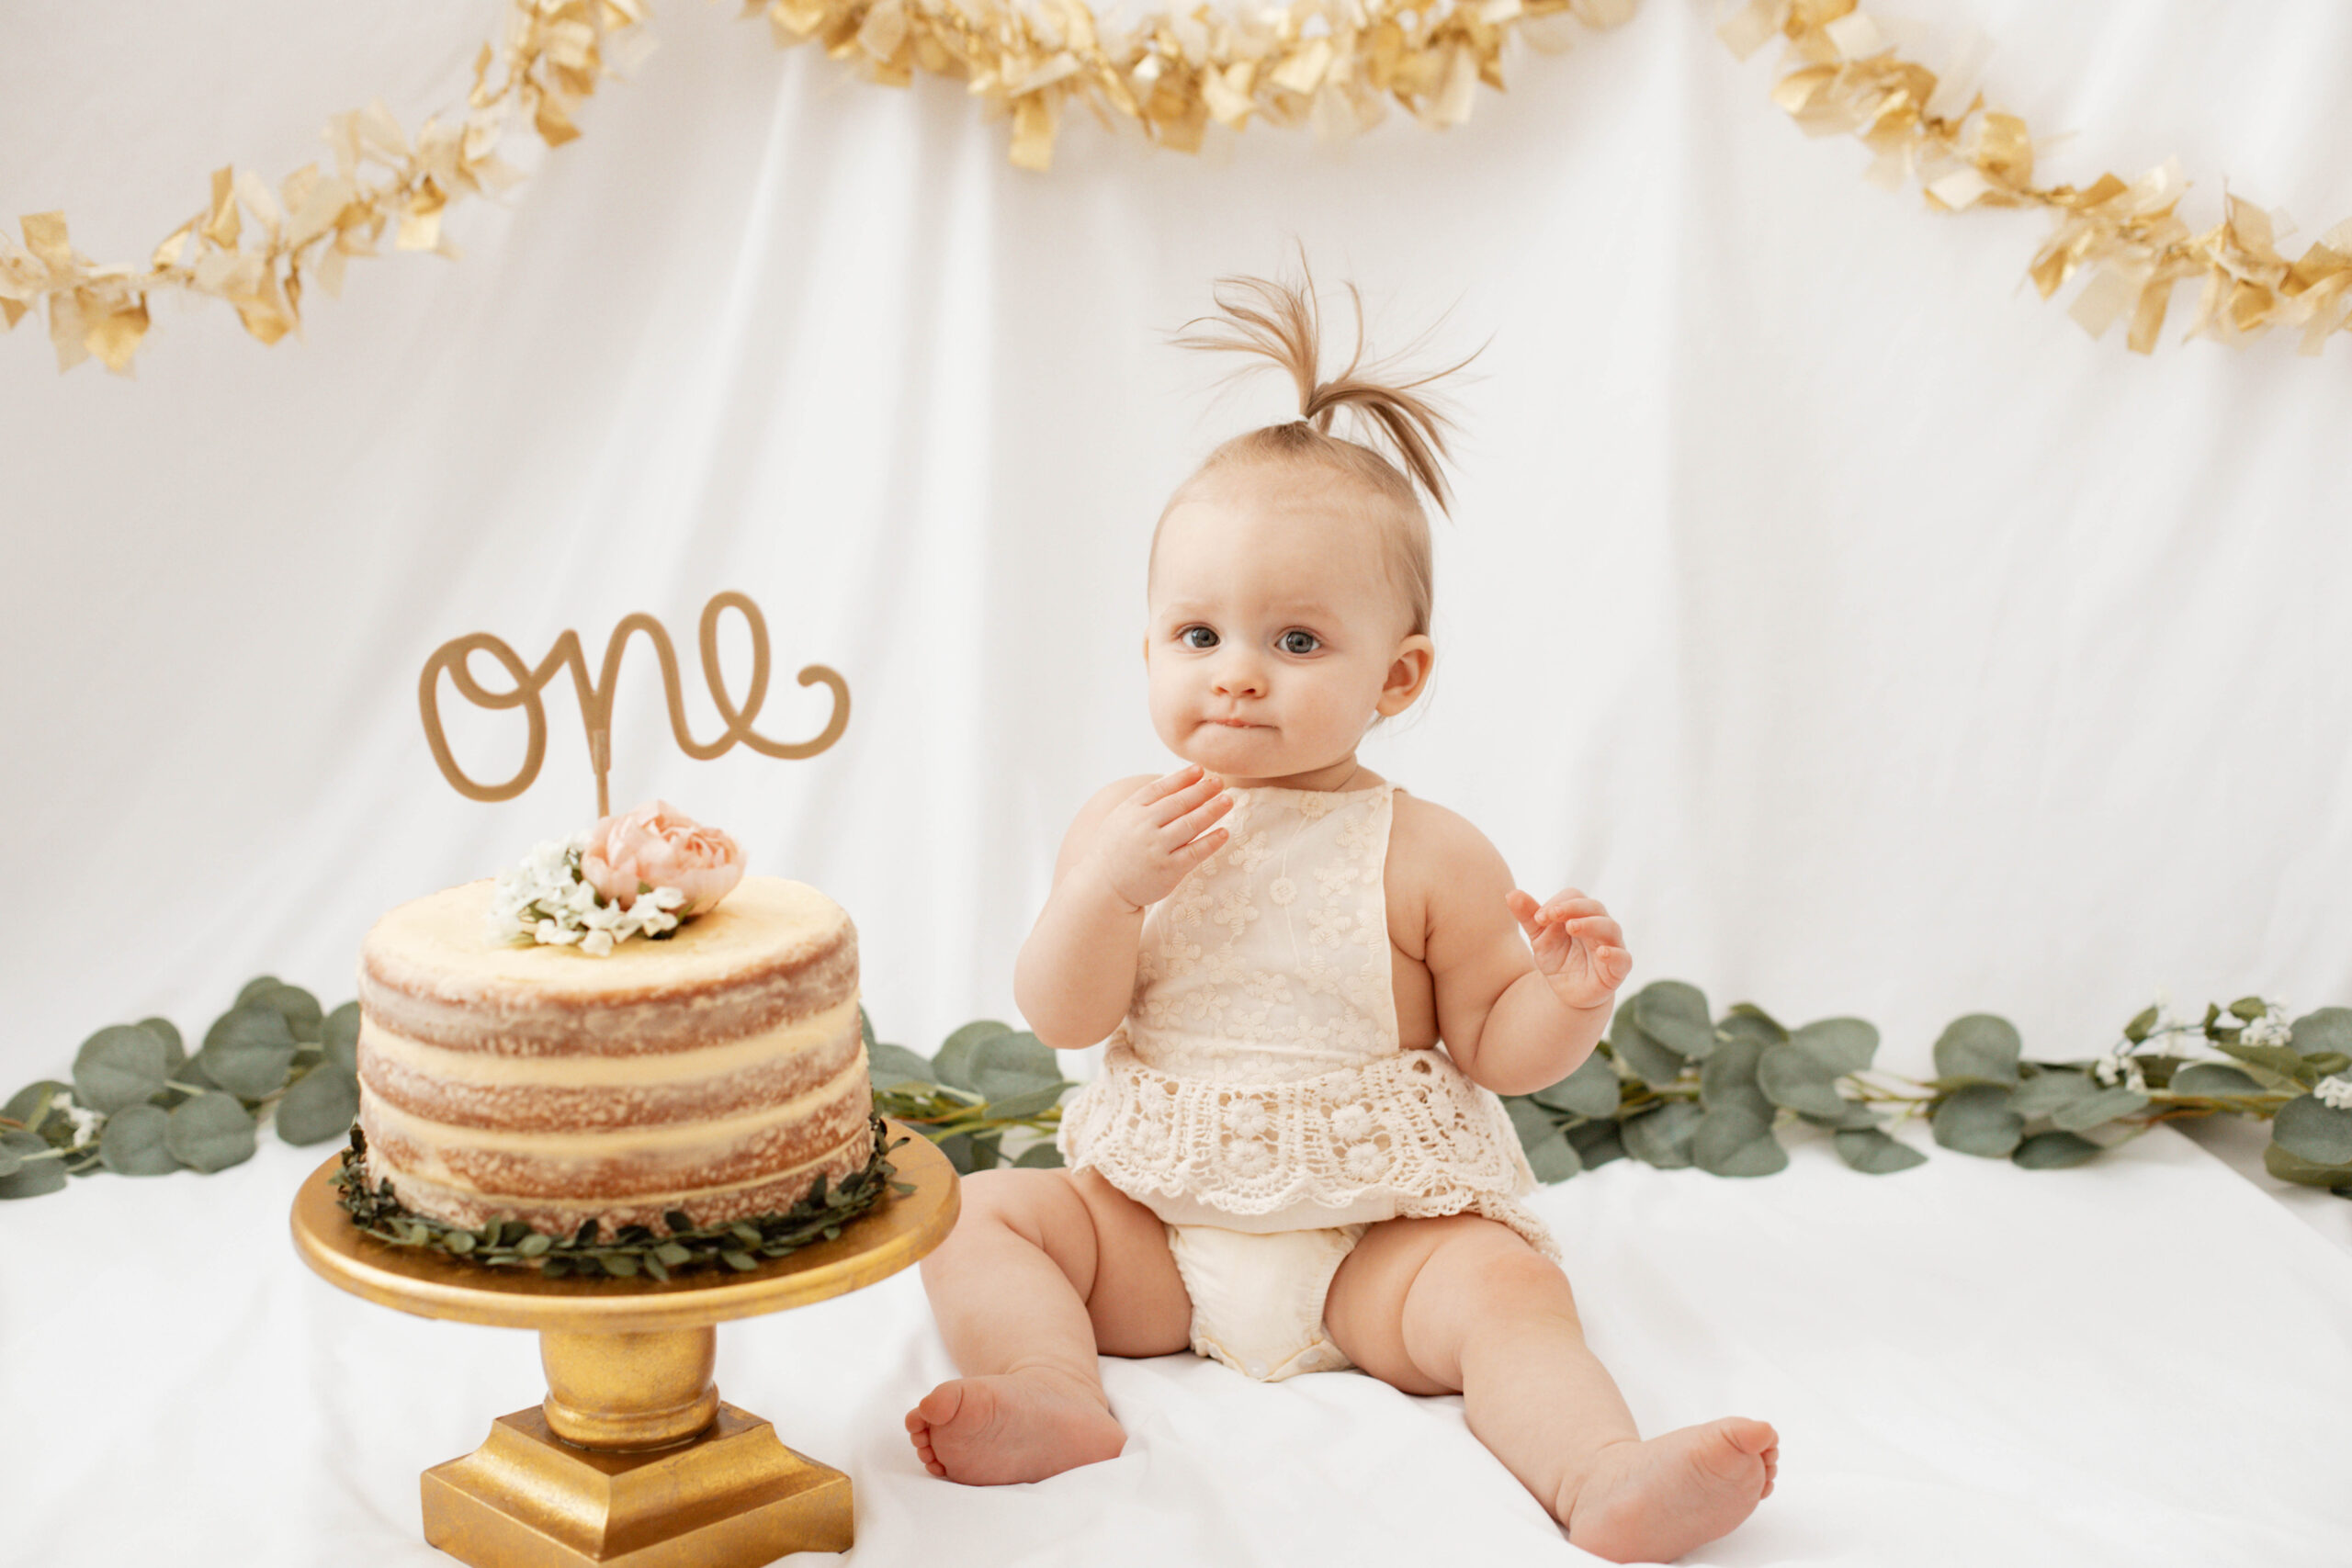
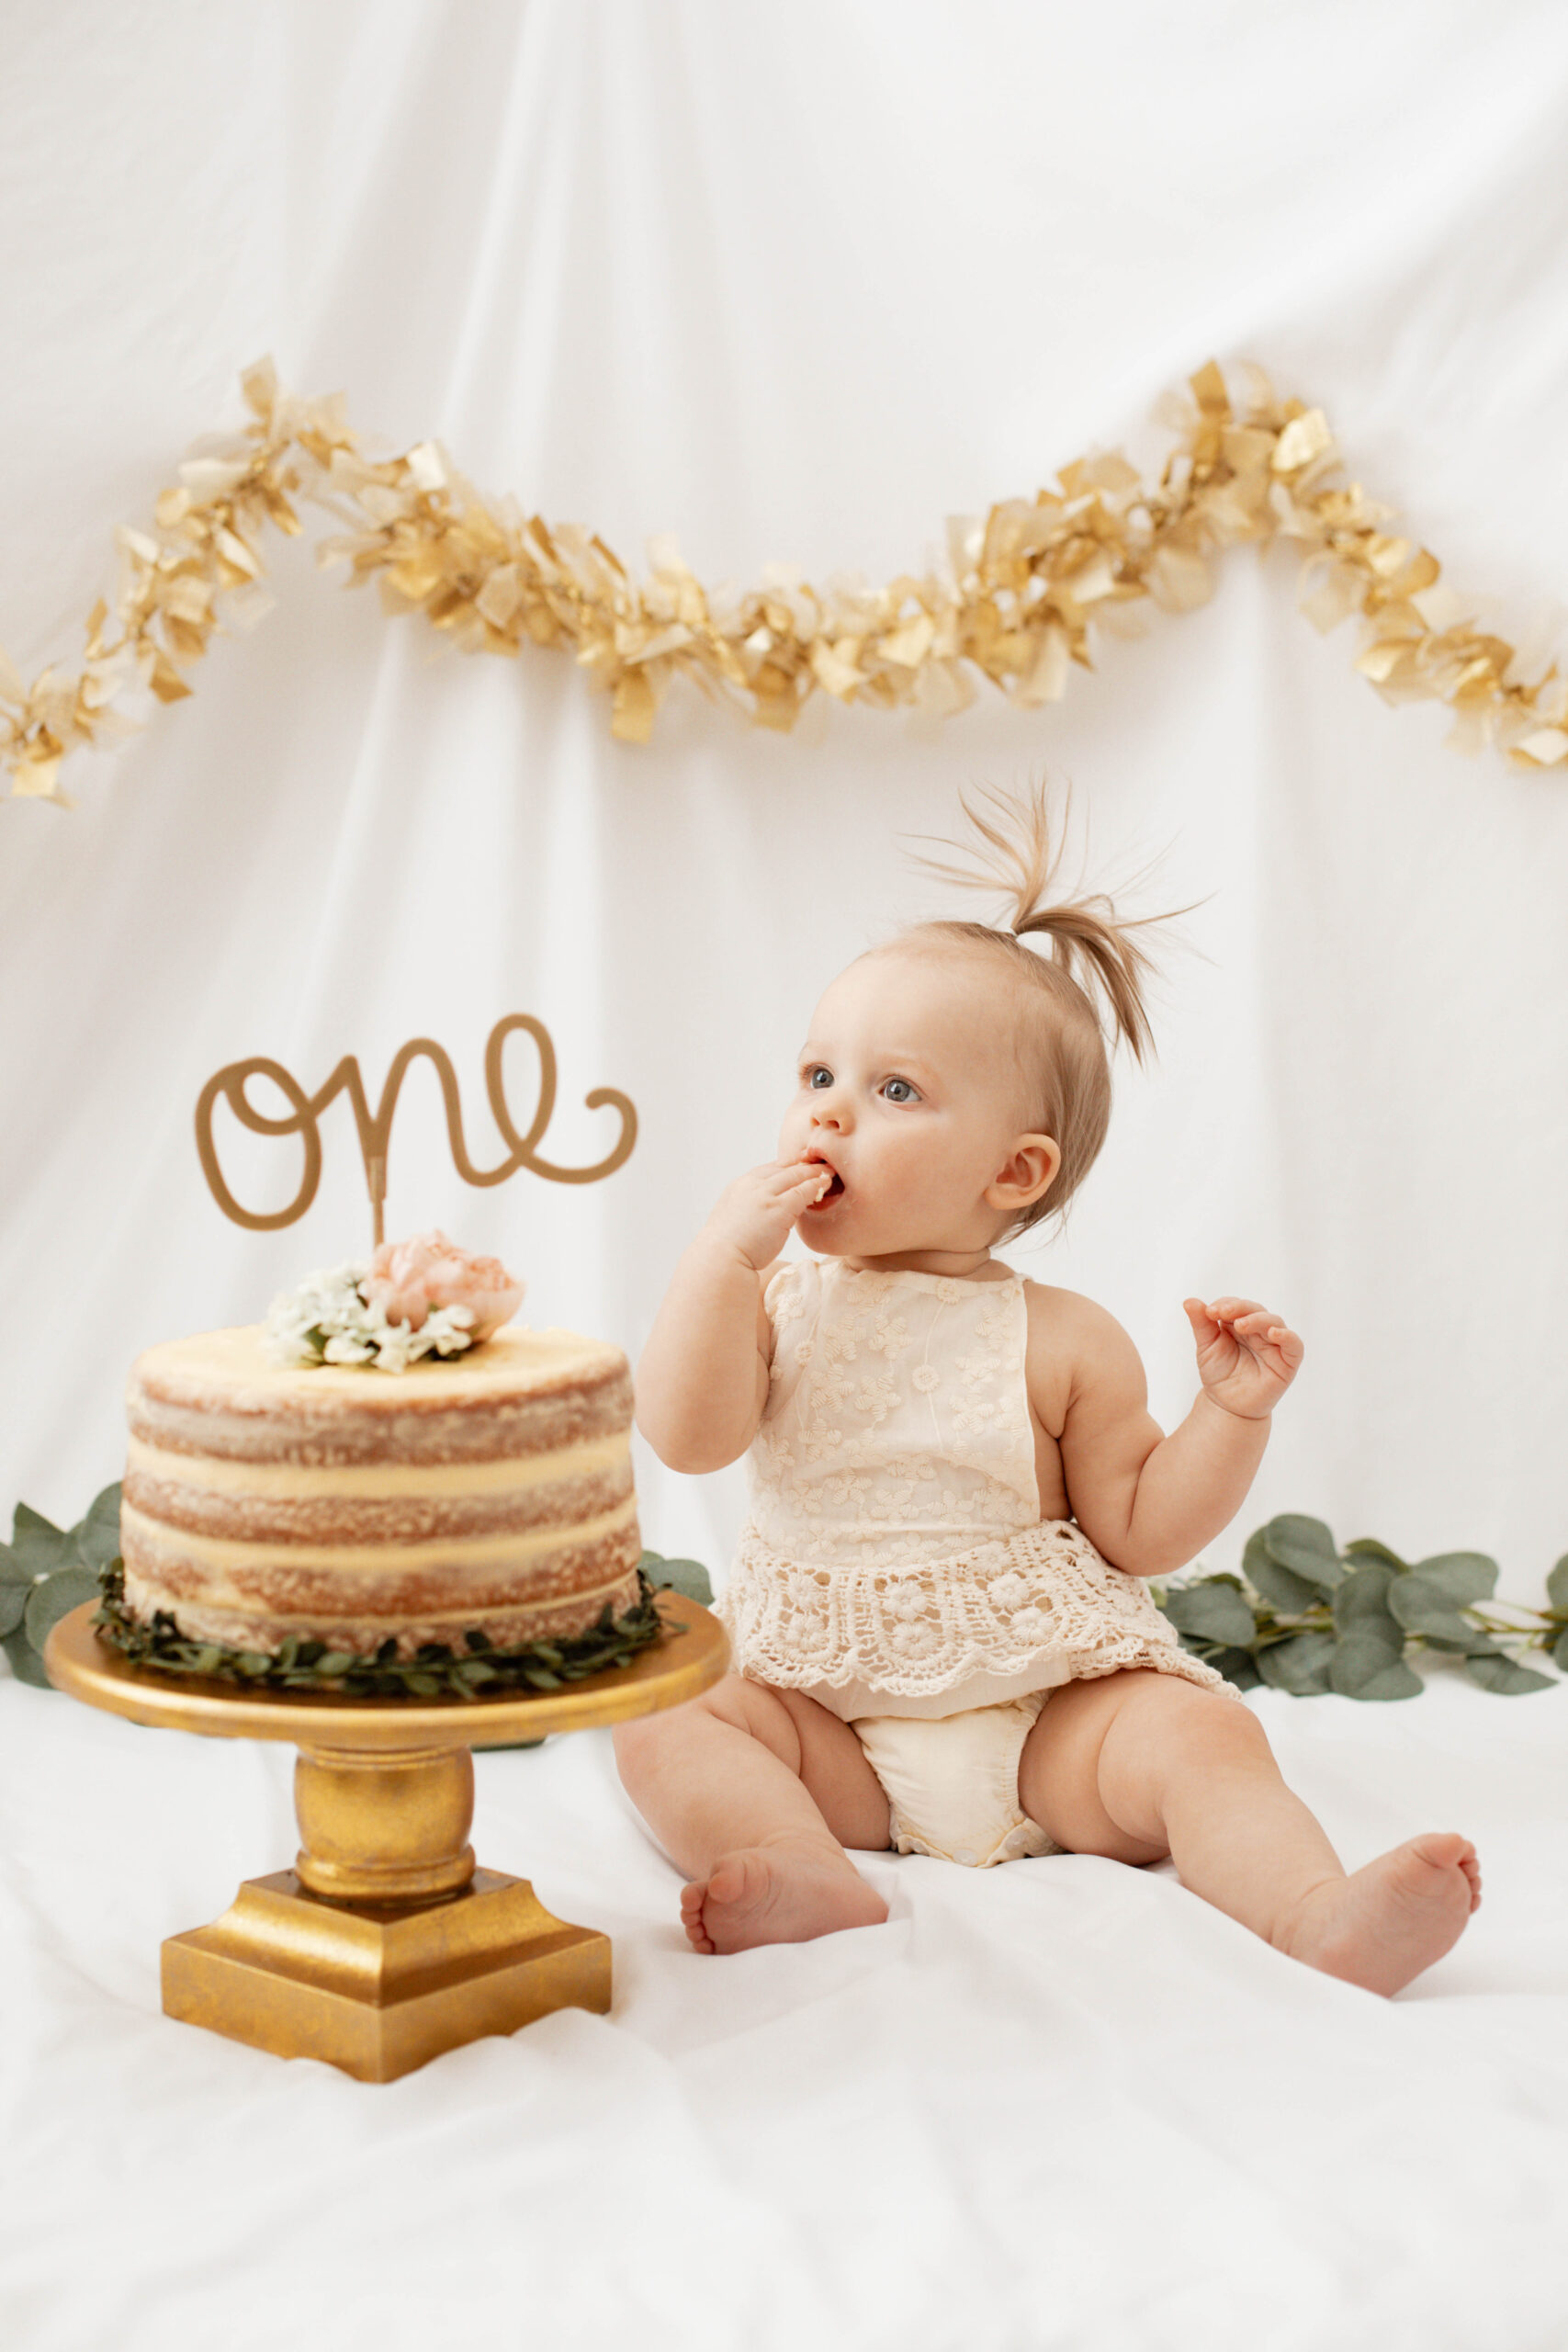
6. Let The Baby Lead – While preparation is a huge part of having a successful photoshoot… for a smash cake shoot, you just have to follow your baby’s lead! See how they respond to the cake – are they gentle at first and needing encouragement to dig in? Or are they bulldozing right into the cake? Definitely entertain your little one enough to look at the camera for some shots, but just let them lead overall and have fun. 🙂 Mike and I would sing Taya’s favorite songs to get her to look at the camera.
7. Edit The Photos With A Natural Look – Editing photos is a great way to really make the best images come to life. You don’t have to go overboard on the editing at all. In my opinion, I think images that are bright and have true-to-life tones are best for these kinds of baby milestone photos. Natural editing = timelessness!
Not sure how to go about editing? I recommend getting the free Lightroom Mobile app and using presets. Whether you create your own presets or buy some, having presets will help make editing easier and faster. If you like bright and true-to-life toned edits, check out my Etsy Shop, Breezey Co. I have a handful of affordable presets you’ll love.
I hope these tips help you on your own DIY smash cake photoshoot! Or really, any photoshoot with your baby! Let me know if you have any questions.
XO,

