Hey there, blog friends! Time and time again, I’m always asked on how I edit my photos for the blog and Instagram. You have asked and I have always delivered! I just recently did an entire blog post all about my current photo editing process for my blog photos. You all loved it! I like getting to show you all the behind-the-scenes of my work, especially when you could possibly learn from it.
Another question that has arisen in the CWS lately is, “What are some general photography tips that you could give me to improve my photos?” And today, I’m going to tap into the answers for you!
[bctt tweet=”Simple Ways To Improve Your Blog Photography” username=”SummerTelban”]
As a little disclaimer, I am not a professional photographer by any means and typically my *editing* style isn’t what’s always “proper”. With that being said, I do have sound knowledge of the basics of proper photography techniques and general editing. Again, I am not a pro! But I have learned a lot over the past few years in the area of photography.
SIMPLE WAYS TO IMPROVE YOUR BLOG PHOTOGRAPHY:
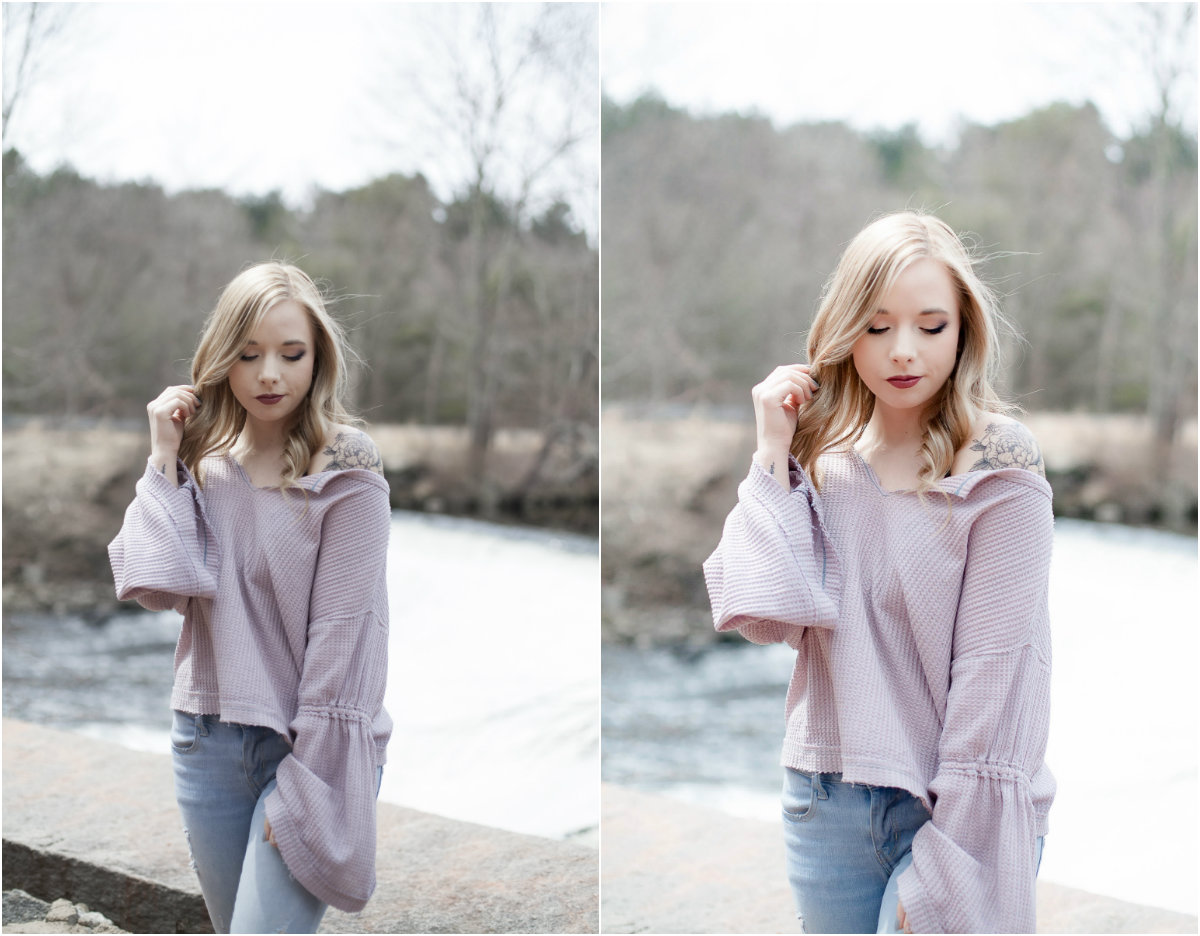
1. Straighten (Level) Your Photos // Okay, we’re starting off with my #1 pet peeve when seeing other photos online: photos that aren’t straightened out or balanced. What do I mean by this? I mean the background isn’t completely level, causing your image to be slanted. Friends!! This is SUCH an easy fix to make and it REALLY makes a world of difference in your final image! Below I have an example for you.
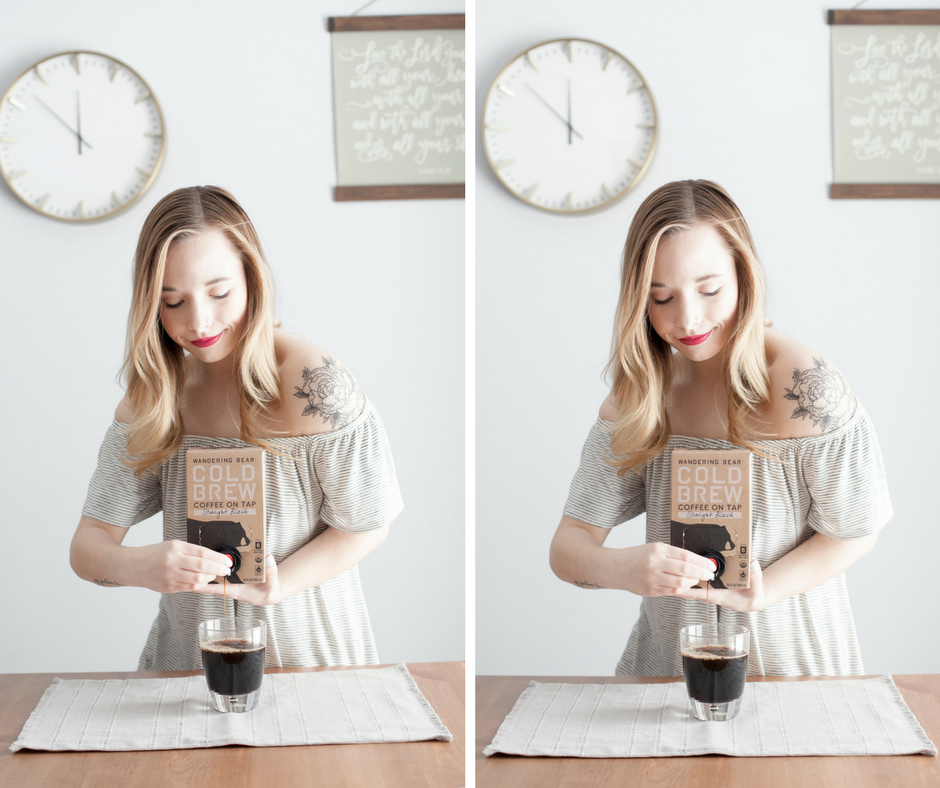
See how much of a change that made to the overall image? It literally takes .5 seconds to level out your photo. You can do this easily in Adobe Camera RAW in Photoshop or use can use an app on your phone like VSCO. It’s a quick & simple fix that you need to be on top of.
2. Natural Light // Lighting is everything when shooting photos. Whether you’re on a fashion photo shoot or you’re shooting stock photography, the lighting can be a make it or break it element for you, even if you’re shooting in RAW. Always aim to shoot in the soft natural light. You want to avoid direct sunlight at all costs because direct sunlight means tons of shadows and overall, harsh light in your images. You don’t want that.
If shooting in natural light isn’t an easy thing for you, definitely consider investing in some extra photography equipment like reflectors and softboxes.
If you have a camera and shoot in RAW you’re able to do more tweaking to the lighting when editing, but still, always try to shoot in natural light if you’re able to.
Side Note & Pro Tip: If your camera has the option to shoot in RAW, always shoot in RAW! RAW files capture more data when you shoot, which gives you more options when editing.
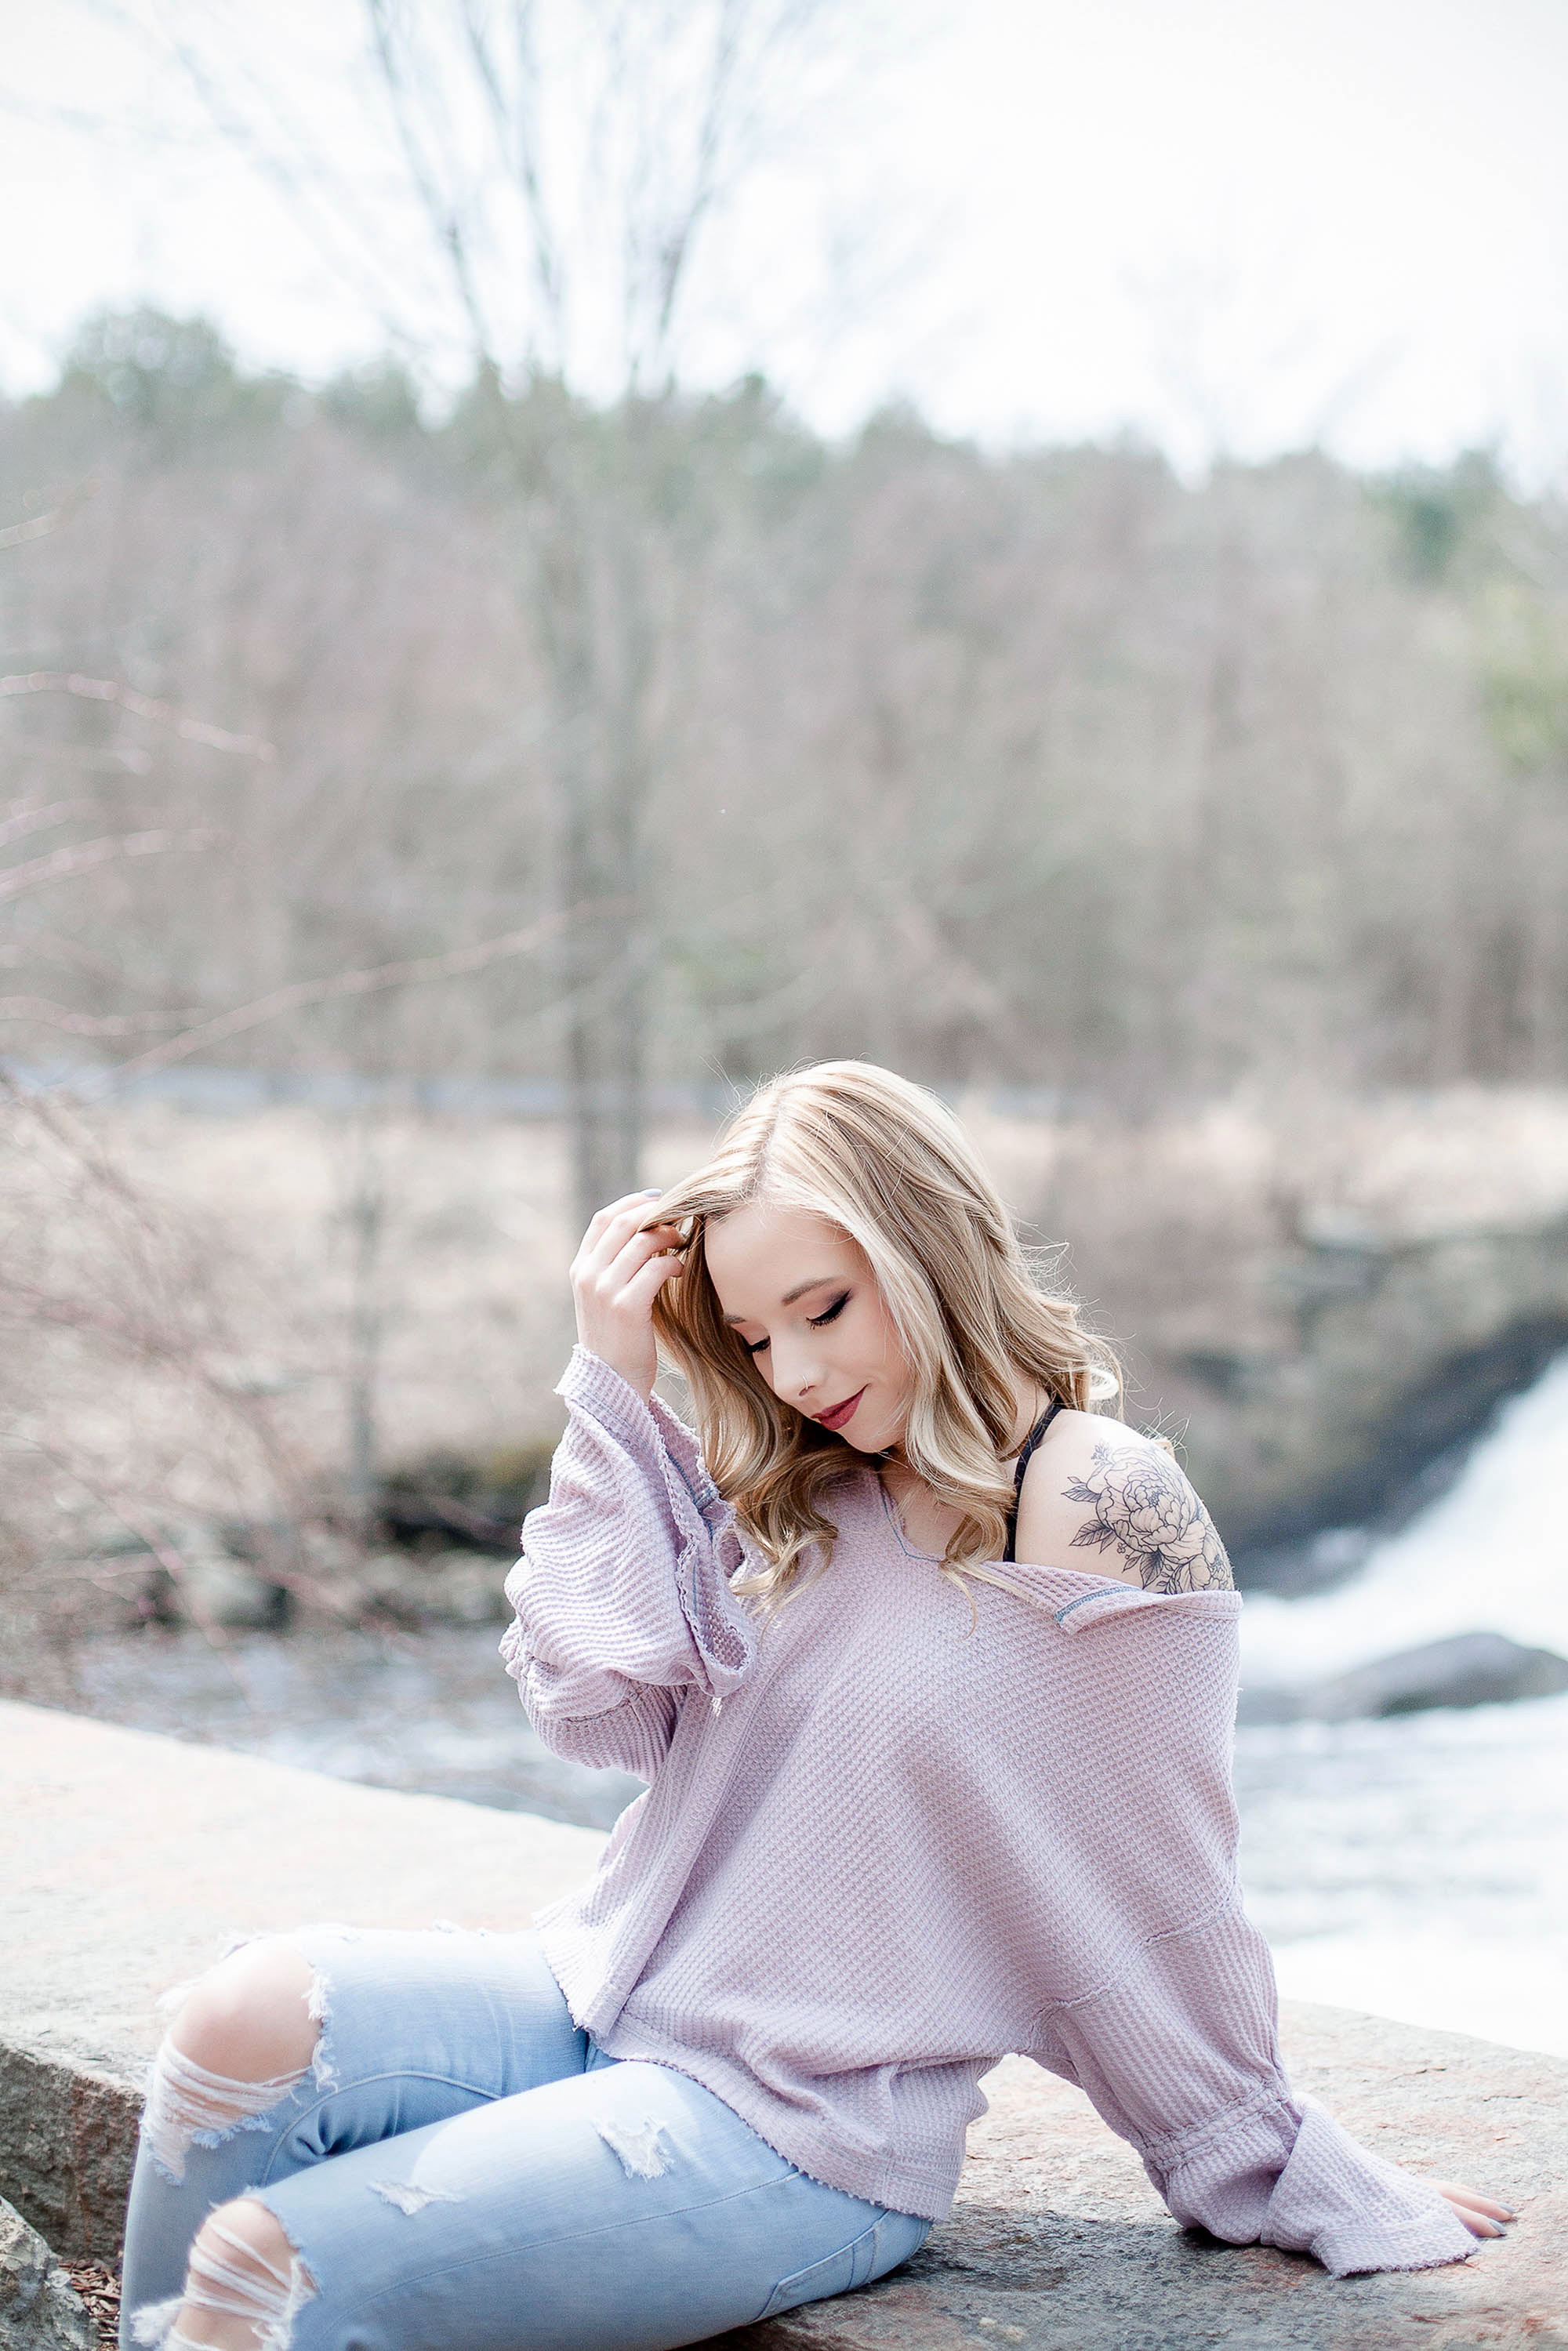
3. Switch Up Your Composition & Angles // I think that many bloggers tend to shoot 2-3 ways, especially when just starting to shoot their own photos for their blog. Straight on, simple side angles and flat lay shots are typically the top 3 “go-to” shots of bloggers. There is nothing wrong with that at all but if you want to amp up your photography game, you have to be willing to experiment with composition and angles.
One of the beautiful things about photography is that there are no rules. But there are general guidelines which can help you take your photos to the next level, making them more impactful.
A few composition guidelines:
- Rule of thirds
- Leading lines
- Framing
- Symmetry & patterns
- Cropping
I want to encourage you to experiment with this area of your photography! I bet you that there’s a new angle you haven’t tried out yet that’ll end up being your favorite once you discover it.
Another thing along the lines of this point is switching up how you shoot: landscape and portrait.
Before I knew how useful Pinterest is for bloggers, I photographed in landscape the majority of the time. After learning that Pinterest only favors vertical (portrait) pins, I started shooting in portrait and over time found that portrait was the best way for me to photograph. I find that photographing in portrait helps get a better view of my entire shot, as it picks up on all of the details and depth I want in my images.
I still will shoot in landscape but not as much as I shoot in portrait. I just feel that portrait helps to tell the entire story of my photo and not just a part of it.
[bctt tweet=”Wanting to up your photography game on your blog & Instagram? Here’s where to start!” username=”SummerTelban”]
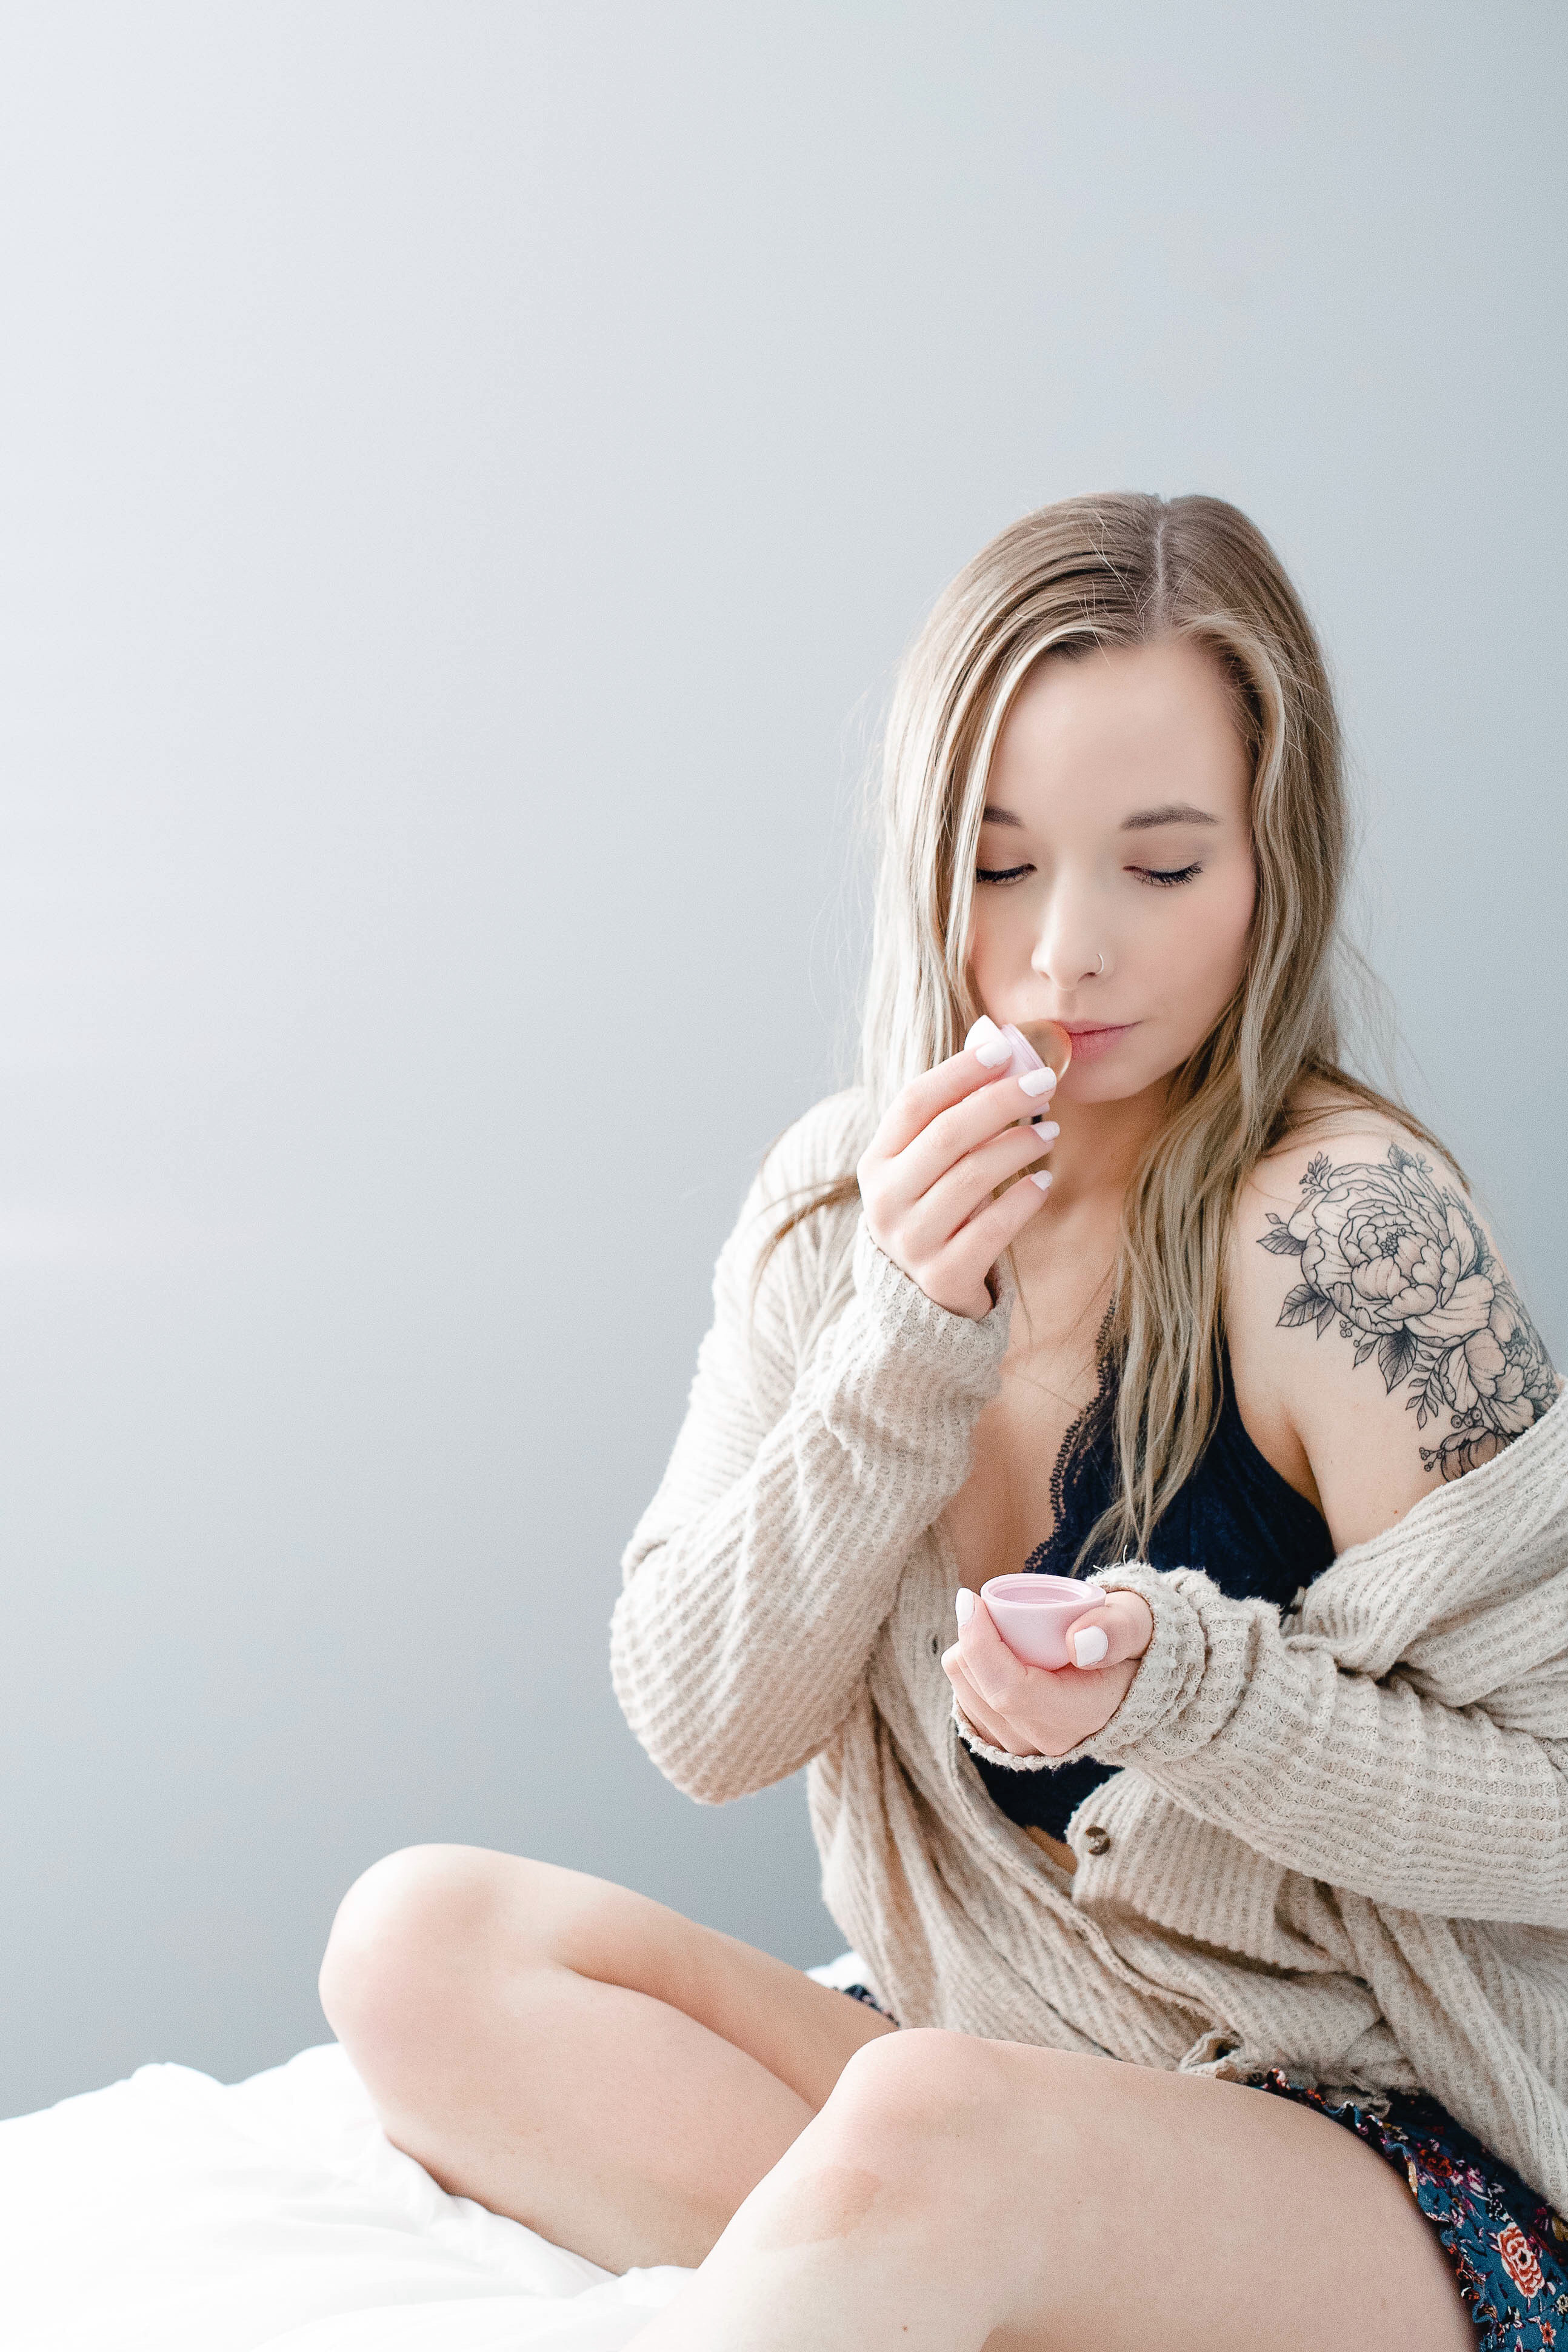
4. Use A Tripod // Over the past few months, I have started using my new tripod more and more and it’s really helped my photos. Before using a tripod, I’d shoot my stock and product photography on my own holding the camera. I have found that using a tripod helps to ensure that all of my images are always crisp and clear. I also started to use a tripod for taking images of myself when my husband wasn’t available to help. It’s been a game-changer for me!
While my husband is a joy to work with and I’m so glad that he’s always willing to help me out, using a tripod has helped me capture the exact shot I want sooner. Directing someone for a specific shot can be difficult but with the tripod, you can set it up exactly how you want it right away.
Both the photos above and below were taken with the help of my trusty tripod!

5. Make Sure Your Subject Is Clear // As bloggers, when we’re shooting product or stock photography, we’re typically focused on one main point of the shot: our subject. Looking through my Instagram feed and browsing through blogs I can say that not having a clear focus on your subject is one of the most often mistakes I see of blog photography.
You can’t always count on your camera’s autofocus because it can really surprise you with what it’ll pick up. Even if you can choose the focus point for the autofocus, don’t count on that completely. Autofocus is great and I use it the majority of the time but you need to always go back and check your images before thinking you’re satisfied with the product. Be sure to zoom in and evaluate because sometimes a subject will look like the focus is clear, but when you zoom in you’ll find that it’s not.
Ask yourself these questions when reviewing your images:
- Is my subject crisp and clear?
- Will my readers be able to pick up on the subject immediately?
- Is focus on my subject actually clear?
6. Get Comfortable Editing // I don’t know why some bloggers are so nervous to edit their photos but it’s a must to have a complete and impressive image. By editing, I don’t mean manipulating the subject or going crazy in Photoshop. What I mean is taking the time to experiment with brightness, exposure, shadows, highlights, and so on. These are some of the basics of editing and they need to be tapped into to make your photos really appealing.
One of the best things about taking the time to edit your photos is that you can come up with your own aesthetic! This is a huge thing for branding your images.
If you’re able to, I highly suggest investing in Photoshop and Lightroom. They are both game-changers! Again, here’s my most recent blog post on how I edit my photos.
7. Don’t Be Afraid To Get Creative // Blog friends, it’s time to step out and get creative with your blog photography! Flat lays are all well and good but let’s be real, they can get boring after awhile. While it’s good to have a theme to your photos you don’t want your brand to fall flat. You still want to keep your audience engaged by surprising them with new ideas and images every once in a while.
[bctt tweet=”Keep things exciting for your audience! When you do that, you keep yourself on your toes and open to new approaches and ideas to your work. ” username=”SummerTelban”]
I think that breaking out of your creative comfort zone is key to keeping your brand and images exciting. You don’t ever want to become stagnant. The second you decide to settle in your work is the second your brand will start to fall flat. Again, it’s great to have a general theme but don’t settle there. Keep things exciting for your audience! When you do that, you keep yourself on your toes and open to new approaches and ideas to your work.
[bctt tweet=”7 Ways To Improve Your Blog Photography” username=”SummerTelban”]
It’s amazing how the tiniest little fixes can improve your photos so much! These tips have been extremely helpful to me and my coaching clients, so I hope they’ll be helpful to you, as well!
What are some of your most frustrating things when it comes to your photography? Let’s chat!
Let’s connect! >> Facebook | Instagram | Twitter | Pinterest

